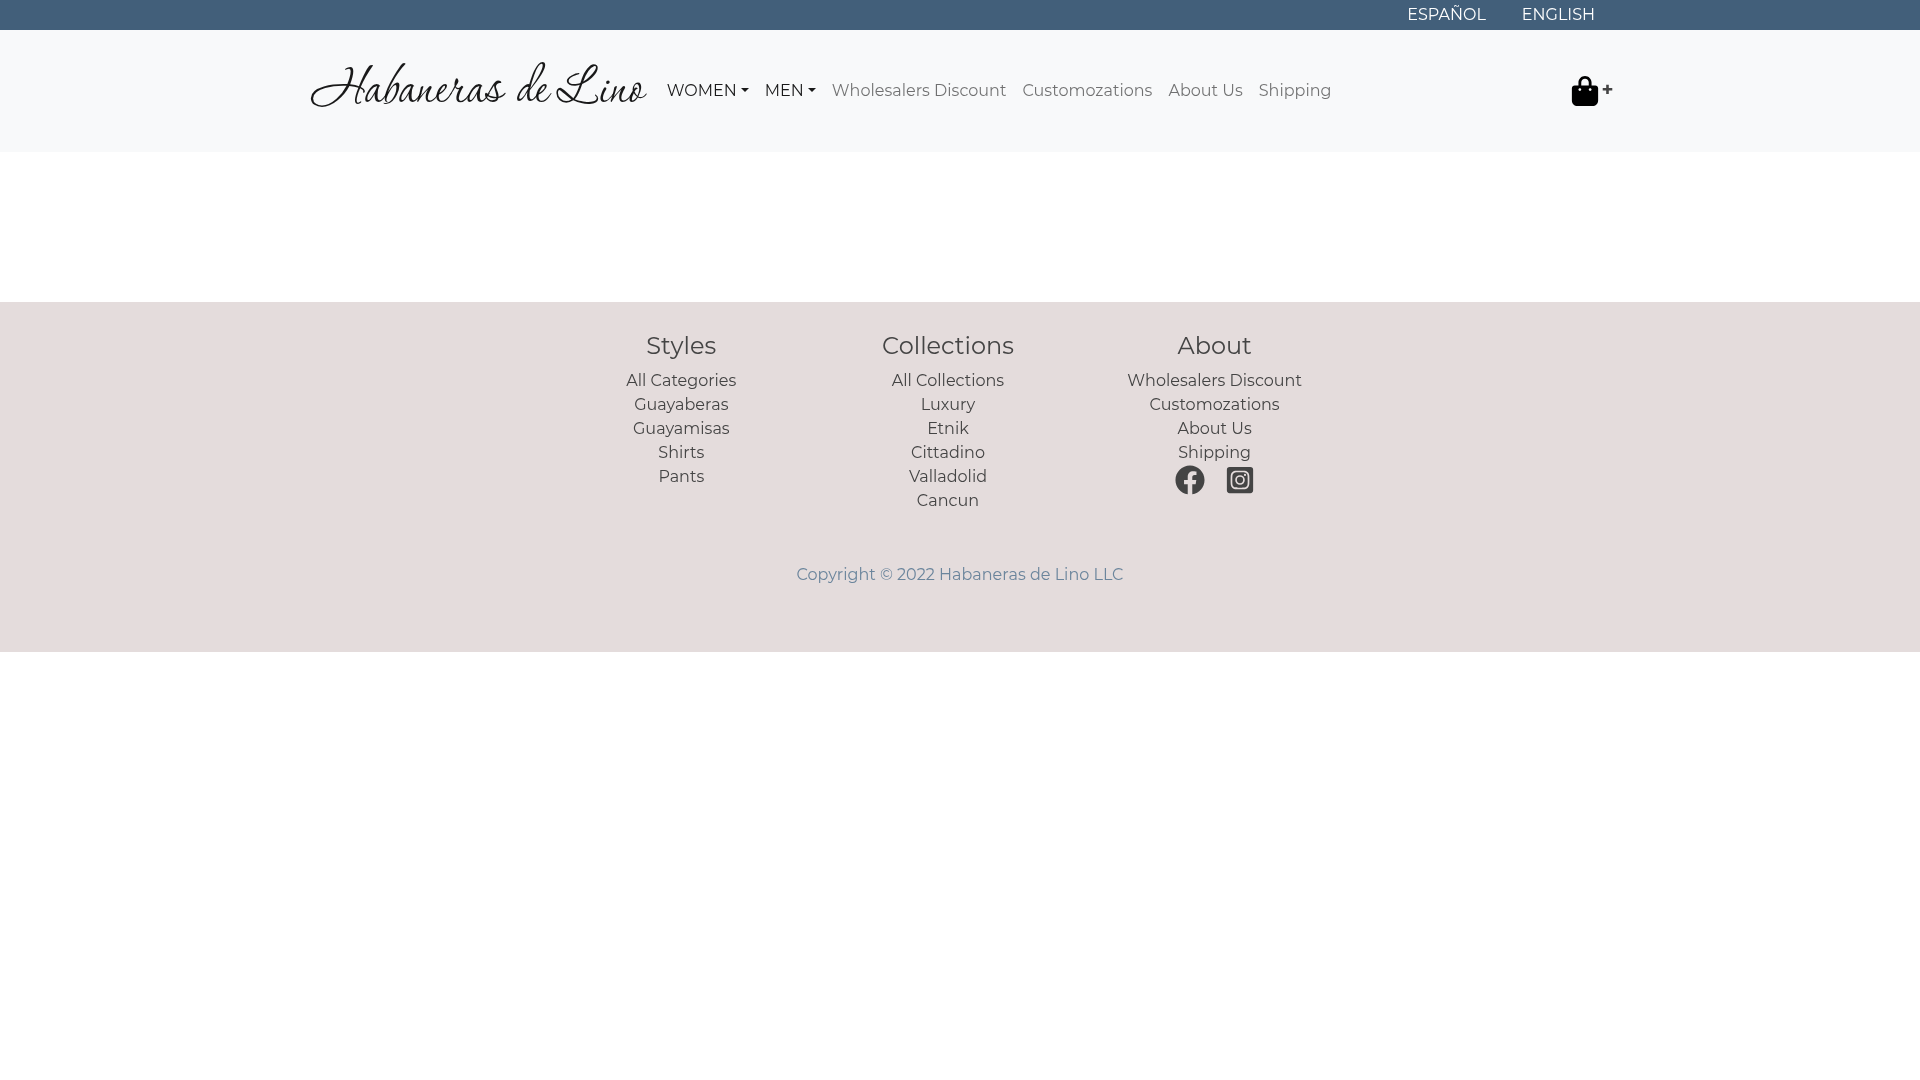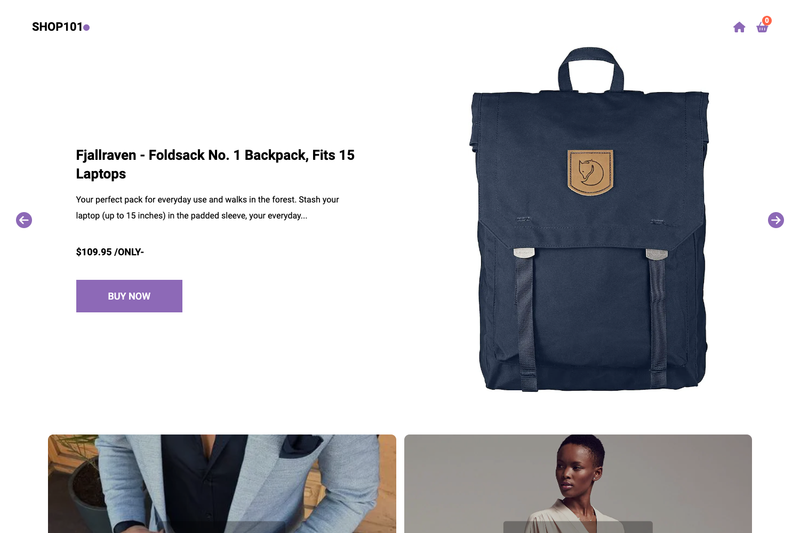
Habaneras de Lino is an open-source Next.js frontend for an ecommerce store that sells linen and cotton clothing, designed to work with a Django REST API backend. This repository contains only the frontend application; the backend lives in a separate repository (Ceci-Aguilera/habaneras_de_lino_api). The storefront lets customers filter clothing by category, collection, and other attributes, customize products (color, size, sleeve cut), save items to a cart, and apply discount coupons. Payments are handled through PayPal, configured via a client ID environment variable.
What is Habaneras de Lino?
Habaneras de Lino is a complete Next.js 12.0.8 storefront that consumes a Django 3.2.8 + Django REST Framework 3.12.4 API. It renders a responsive React web application with pages for product grids, product details, cart, and shipping information. The frontend makes backend calls using axios, and cart-related requests include a Knox token unless the customer is new. The app tracks cart state and language selection through React Context, so switching between Spanish and English or updating the cart updates the UI instantly without a page reload.
Key Features
- Product filtering and customization — Customers can filter clothing by category, collection, and other characteristics, then customize each product by choosing color, size, sleeve cut, and similar options.
- Cart with coupon support — Products can be added, edited, or deleted from the cart, and customers can apply discount coupons at checkout.
- Instant language switching — The UI includes a top-of-page toggle to switch between Spanish and English, applied immediately via Context state.
- Responsive design — Layouts adapt to Mobile, Mini-Tablet, Tablet, and Desktop using react-bootstrap and the Bootstrap 5.0.2 grid system.
- PayPal integration — Payments are processed through PayPal; the frontend only needs a PayPal Client ID in the NEXT_PUBLIC_PAYPAL_CLIENT_ID environment variable.
- Docker support — A docker-compose setup lets you run the whole app with
docker-compose up --build, or start it manually withnpx next devafternpm install.
Who is it for?
- Next.js developers — Use it as a reference or starting point for building an ecommerce storefront connected to a Django API.
- Clothing store owners — Adapt it to sell linen and cotton products with customizable product options, coupons, and multilingual support.
- Full-stack learners — Study how a Next.js frontend integrates with Django REST Framework, axios, Knox tokens, Context API, and PayPal.
What can you do with it?
- Add product filtering and personalization — Let shoppers narrow results by category and collection and pick options like color and sleeve cut before adding to cart.
- Implement a coupon-enabled cart — Let customers manage cart items and apply discount codes, with the cart state kept in Context for fast updates.
- Deploy a bilingual storefront — Show content in Spanish or English with instant switching, and adapt the responsive layout for any device.
How does it work?
After cloning the repository, create an .env.local file in the root with NEXT_PUBLIC_API_DOMAIN_NAME pointing to the Django backend URL and NEXT_PUBLIC_PAYPAL_CLIENT_ID set to a PayPal app's Client ID. Then either run docker-compose up --build or, without Docker, run npm install followed by npx next dev. The app will be available at localhost:3000 and will call the backend API for products, cart, and checkout.
FAQ
Does Habaneras de Lino include the backend?
No. This repository is the frontend only. The Django backend is in a separate repository, Ceci-Aguilera/habaneras_de_lino_api, and the frontend expects it to be running and reachable via the NEXT_PUBLIC_API_DOMAIN_NAME variable.
What environment variables are required?
Two variables are required: NEXT_PUBLIC_API_DOMAIN_NAME (the backend URL) and NEXT_PUBLIC_PAYPAL_CLIENT_ID (the PayPal Client ID from a PayPal developer app). Without them the frontend cannot reach the API or process payments.
How do I obtain a PayPal Client ID?
Log into developer.paypal.com, create or use a sandbox business account, then go to Dashboard > My Apps & Credentials > Create App. Copy the Client ID of the new app and put it into NEXT_PUBLIC_PAYPAL_CLIENT_ID.