Newsletter
Join the Community
Subscribe to our newsletter for the latest news and updates

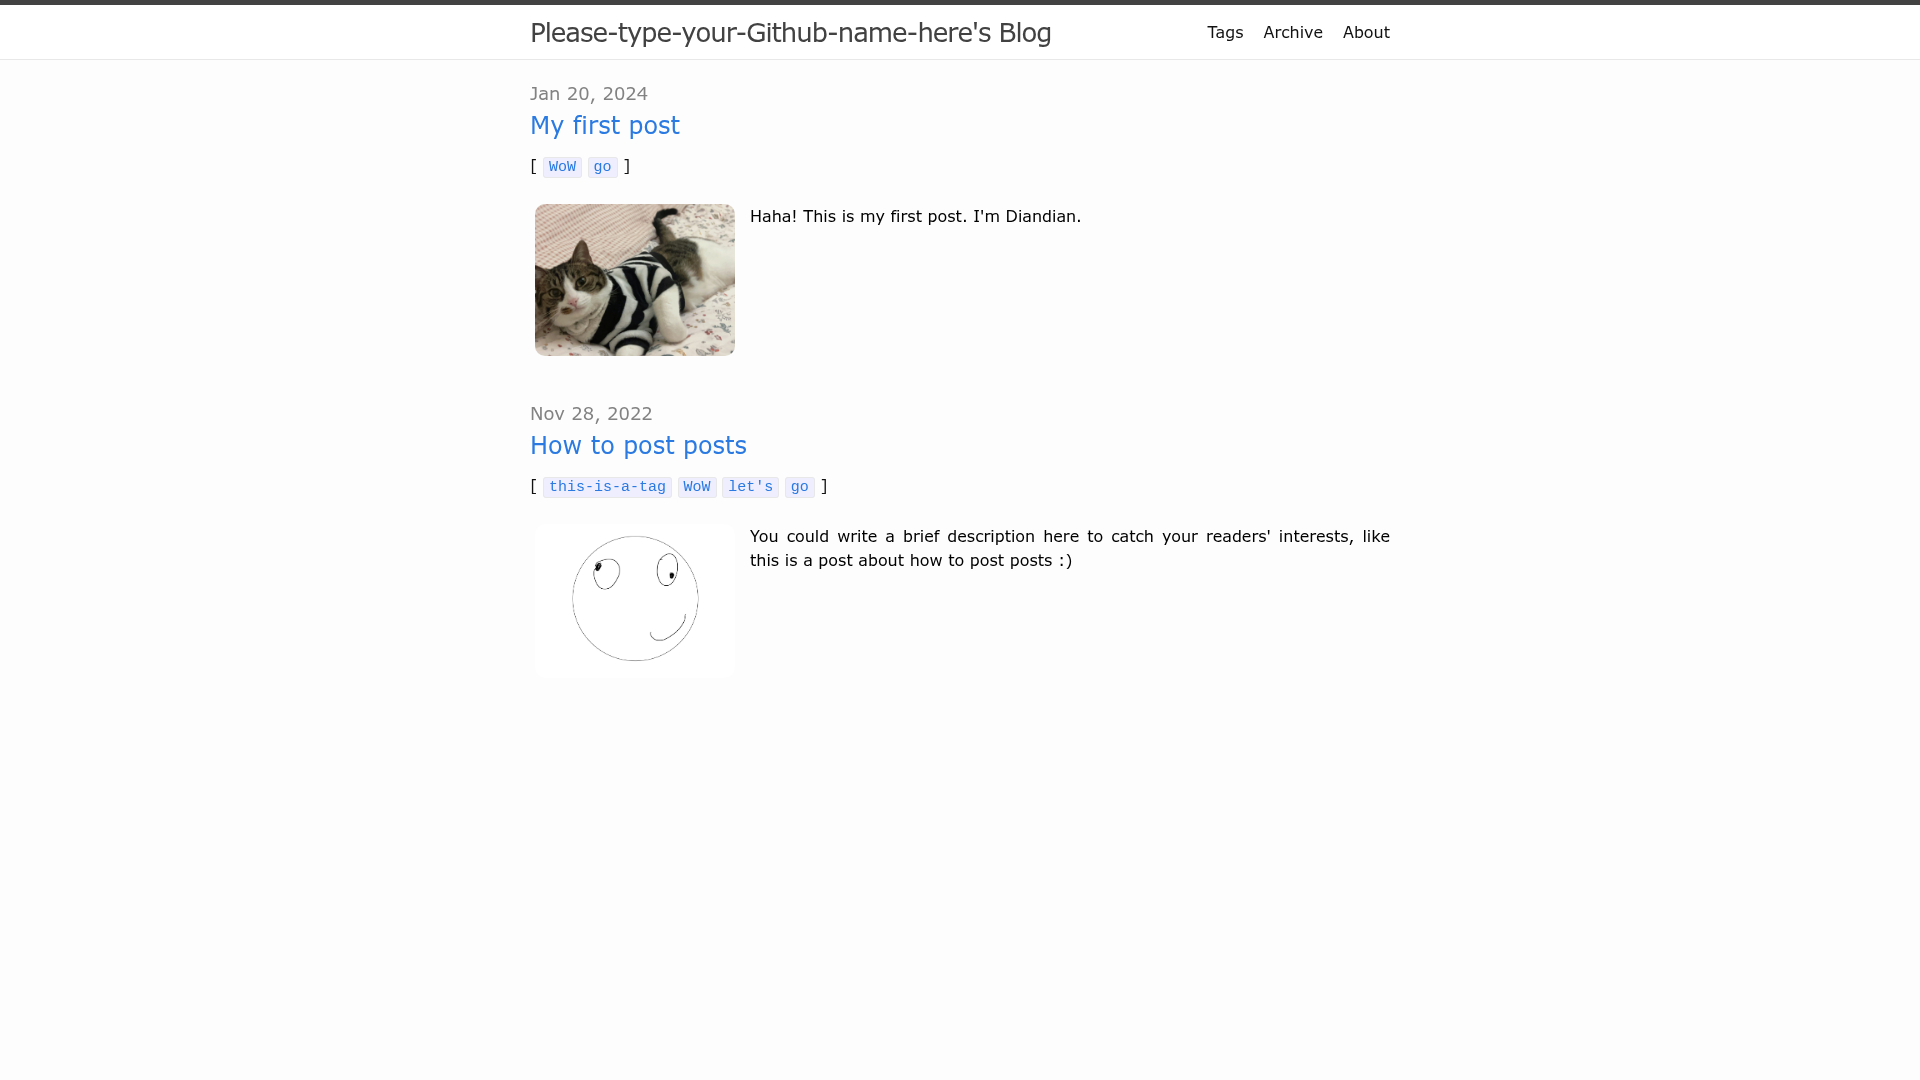
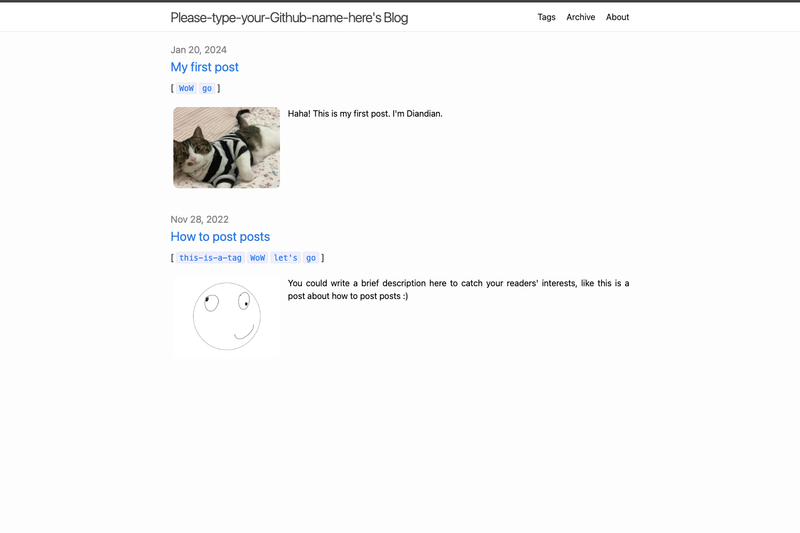
An enhanced Jekyll blog template built on Minima, with beginner tutorials for GitHub Pages deployment.
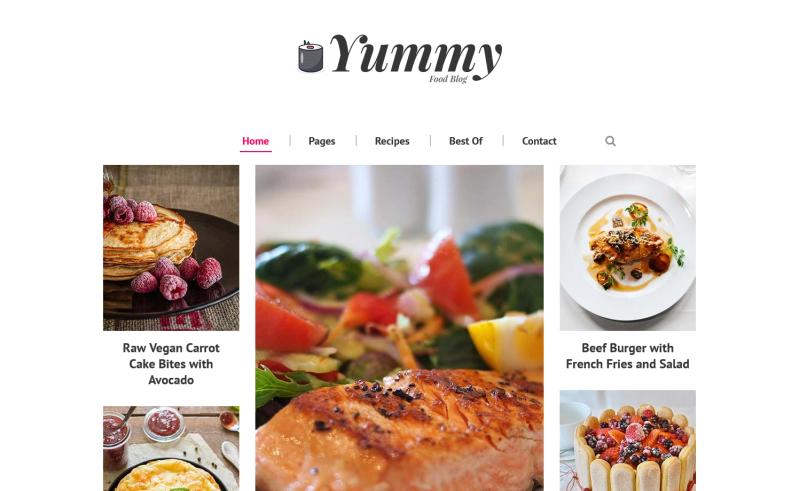
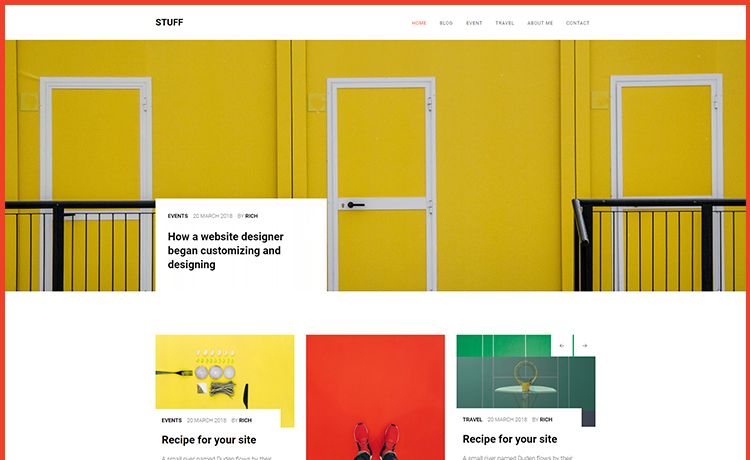
Free Bootstrap 4 HTML5 food magazine and blog template for recipes, cooking tips, and food articles with a responsive multi-page layout.
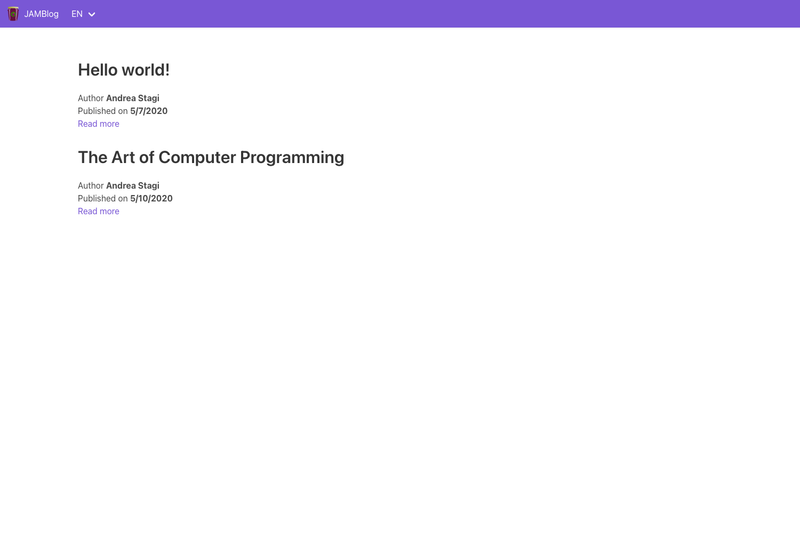
Use Nuxt.js + Strapi to build a JAMStack multilanguage blog.
Web Tech is a free 2-column blog layout HTML/CSS template with a black and dark gray color scheme, usable for commercial and non-commercial sites.
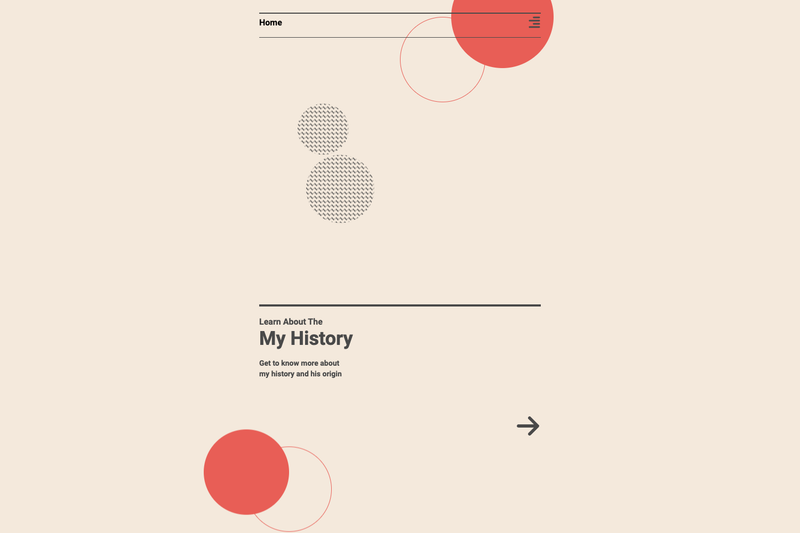
A minimal Astro blog theme with Tailwind CSS, Markdown/MDX support, RSS, sitemap, and perfect Lighthouse scores.
2nd-Minima is a GitHub repository template for building a personal blog with Jekyll, derived from the official Minima theme and tailored for users new to front-end development.
2nd-Minima is an enhanced version of the Jekyll-theme-Minima, packaged as a GitHub template for creating static blogs deployed on GitHub Pages. It takes YAML configuration and Markdown posts as input and outputs a generated Jekyll site with about, archive, all-tags, and tag pages out of the box. The repository is maintained by Deep0Thinking and includes a README that doubles as a full setup manual.
First, click "Use this template" on GitHub to create a repository, then clone it locally. Run bundle install and bundle exec jekyll serve to preview the site; edit _config.yml, _posts, about.md, and archive.md; then push to main — the GitHub Actions workflow handles deployment to GitHub Pages automatically.
Yes, the repository is released under the MIT License, which permits personal and commercial use, modification, and redistribution.
No, the template is designed for people unfamiliar with front-end programming. The README guides you through configuration and content edits using YAML and Markdown, and the 2nd-Minima Helper chatbot can answer setup questions.
2nd-Minima uses giscus.app for comments. Get the embed code from giscus.app, then replace the fake comments sections in /_layouts/post.html, /about.md, and /archive.md with that code.
After pushing changes to the main branch, the included GitHub Actions workflow builds the Jekyll site and publishes it to GitHub Pages. You may need to enable Pages under Settings → Pages; the README explains the steps and how to check the deployment status.
Yes, create a favicon.ico (e.g., with favicon.io) and replace the existing file in the /favicon/ folder. The file must be named exactly favicon.ico to work.