Newsletter
Join the Community
Subscribe to our newsletter for the latest news and updates

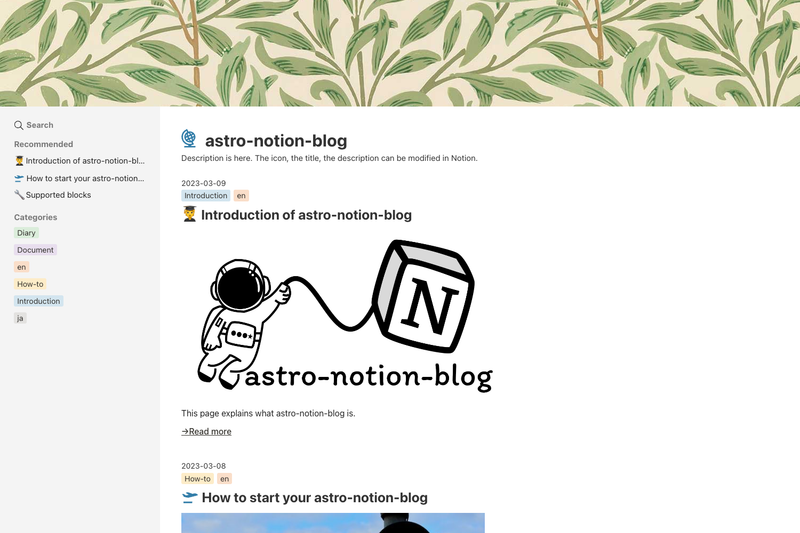
Create a fast static blog by writing content in Notion, built with Astro and deployed on Cloudflare Pages.
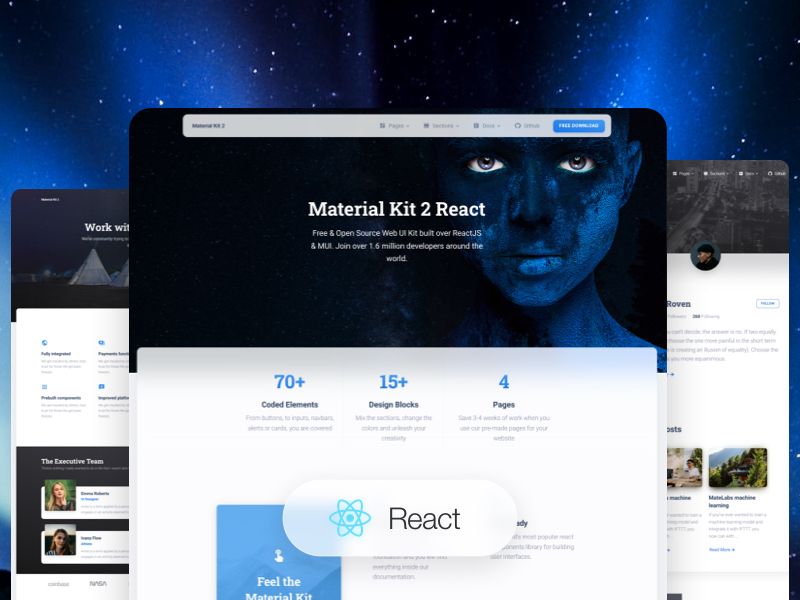
Free React & MUI design system with 40+ components and pre-built landing pages from Creative Tim.
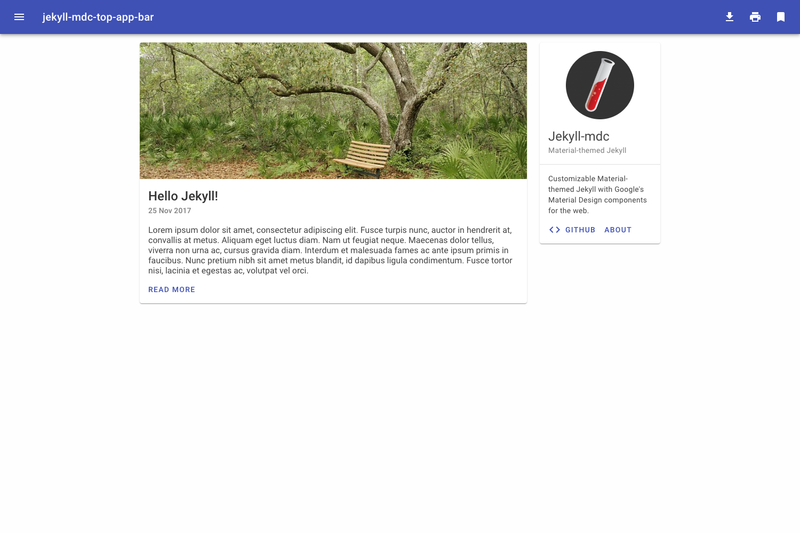
Customizable Material-themed Jekyll with Google's Material Design components for the web.
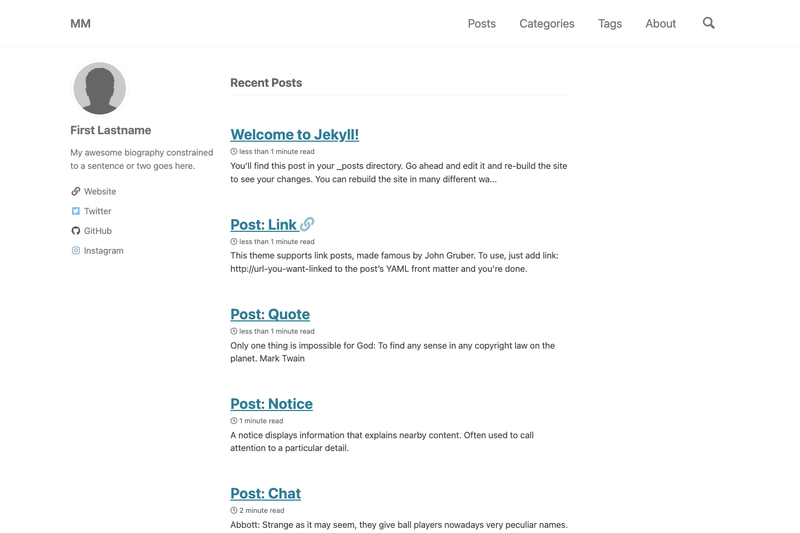
Starter site for Minimal Mistakes Jekyll theme with sample posts, navigation, archives, and search for GitHub Pages.
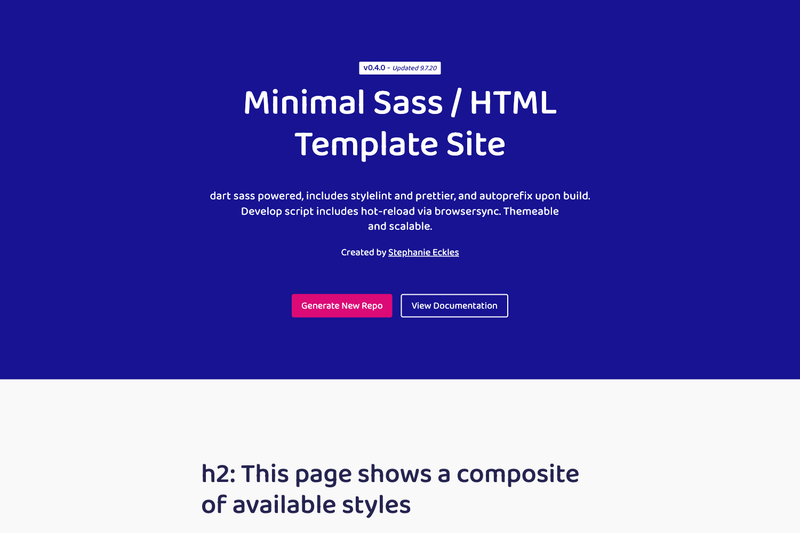
Deploy Flask 3 on Vercel using Serverless Functions with the Python runtime.
Astro Notion Blog is an open-source starter template that turns a Notion database into a static blog built with Astro and deployed on Cloudflare Pages. It uses the official Notion API to pull posts from a Notion database, generates static HTML, and offers a local development workflow for customization.
Astro Notion Blog is a blog starter that uses Notion as its content management system and Astro as the static site generator. It takes a Notion database (duplicated from the provided blog template) as input and produces a fully static blog that can be hosted on Cloudflare Pages. The project is maintained by GitHub user otoyo and is available on GitHub.
NOTION_API_SECRET environment variable.npm install and npm run dev to preview changes at http://localhost:4321 before deploying.NODE_VERSION, NOTION_API_SECRET, and DATABASE_ID for deployment; NODE_VERSION must be 20.18.1 or higher.npm run dev to preview changes at localhost:4321 before deploying.The setup workflow is: duplicate the Notion blog template, create a Notion integration to get an API token, share the database with that integration, fork the repo, connect it to Cloudflare Pages, and set environment variables. After deployment, you publish posts by adding content to the Notion database and triggering a new deployment manually or via CI.
Yes. The README notes that astro-notion-blog requires manual deployment every time you publish a new post or make updates. You can deploy manually from the Cloudflare Pages dashboard or set up a scheduled deploy using CI tools such as GitHub Actions.
You need NOTION_API_SECRET (your Notion internal integration token), DATABASE_ID (the ID from your duplicated Notion database URL), and NODE_VERSION set to 20.18.1 or higher.
Yes. After installing dependencies with npm install, run npm run dev to start a local server at http://localhost:4321 and make changes to the site's icons, title, description, and layout.
Yes. A live demo is available at https://astro-notion-blog.pages.dev.
Node.js v20.18.1 or higher is required for local customization.