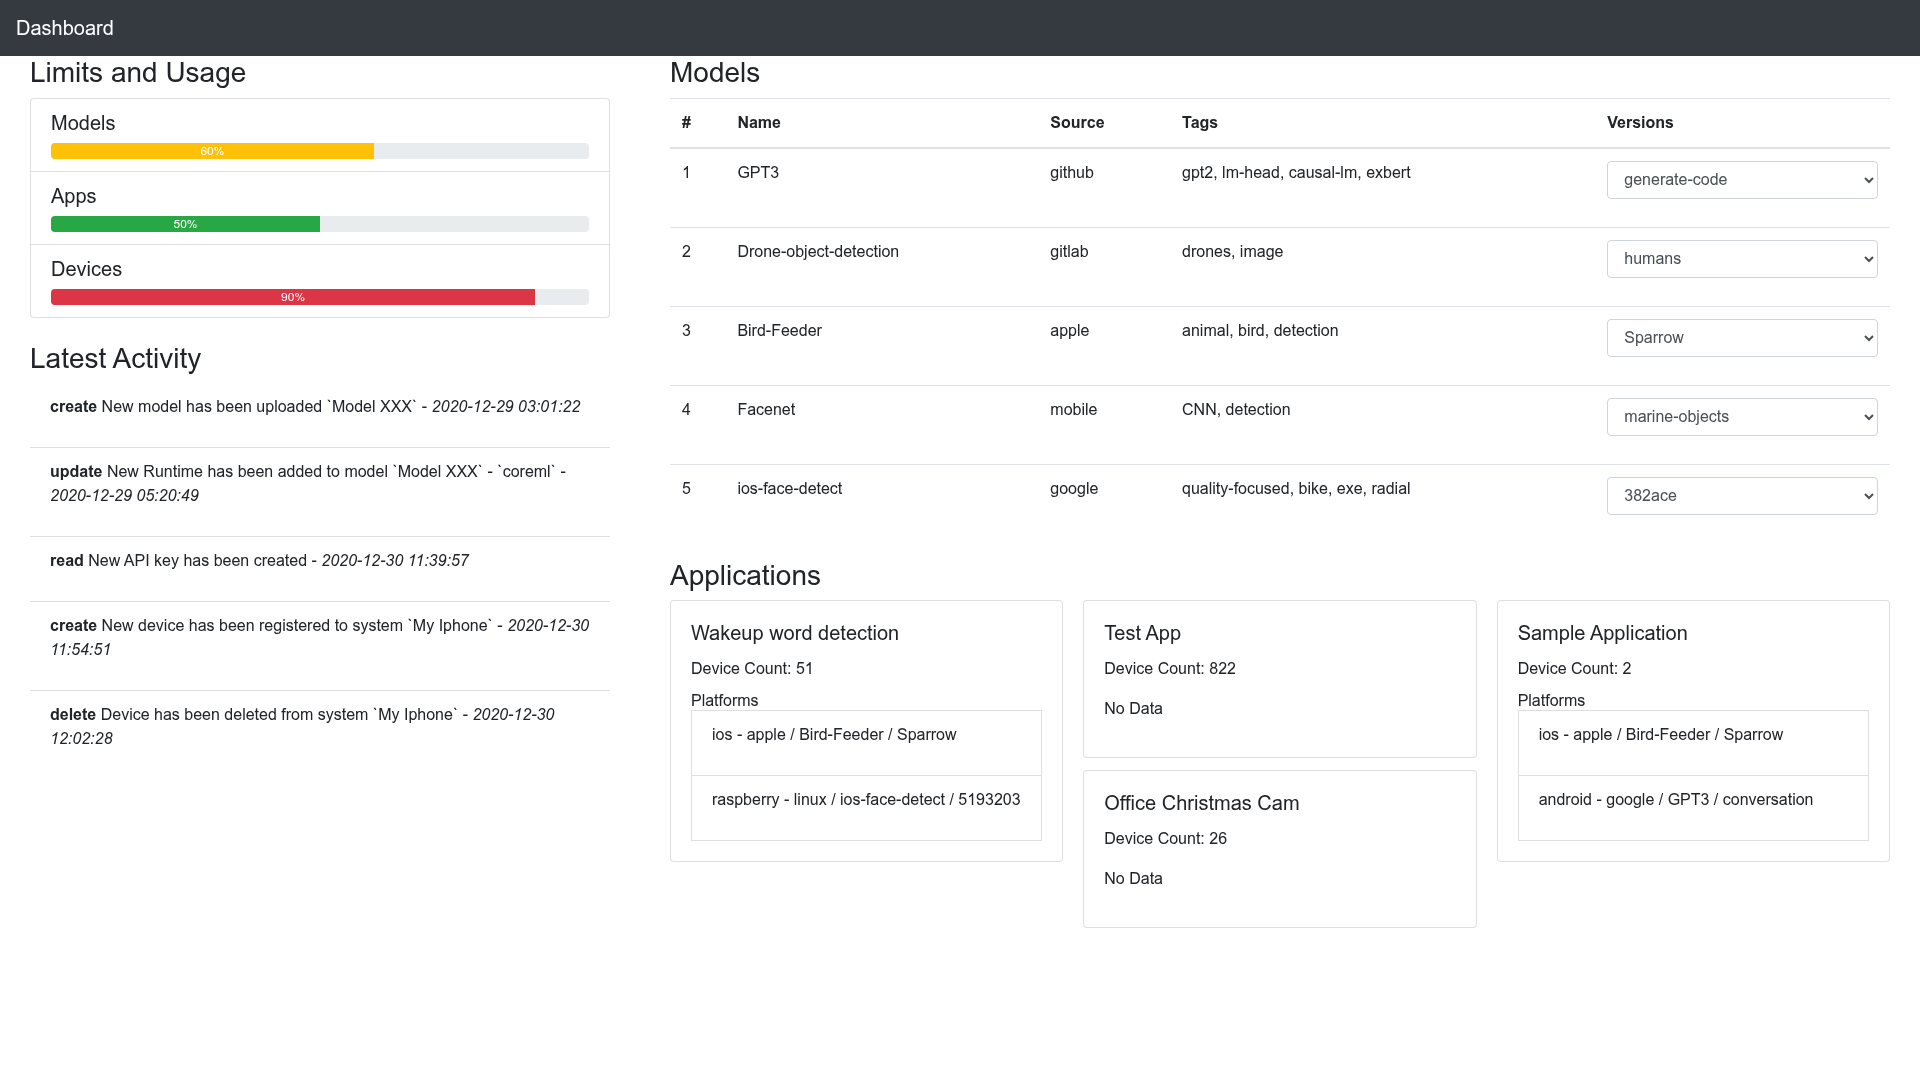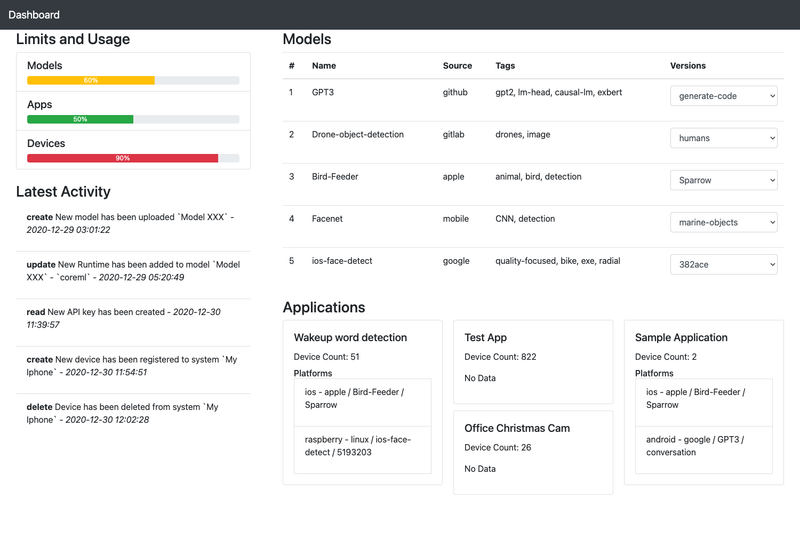
This is a sample dashboard web application built with Next.js that demonstrates two data-fetching methods — server-side rendering with getServerSideProps and Next.js API routes — using static JSON as the data source.
What is the Dashboard App Next?
This template is a sample dashboard application built with Next.js that reads static JSON data through both getServerSideProps and Next.js API routes. It takes static JSON datasets as input and outputs rendered React components on an index page. The project was created by musakacmaz and is published as a public GitHub repository, with a live demo hosted at https://dashboard-app-next.vercel.app.
Key Features
- Dual data-fetching patterns — Demonstrates both
getServerSidePropsand Next.js API routes on the same dataset, making the comparison explicit. - Component-per-dataset structure — Each dataset is paired with its own React component, and the index page imports those components and passes the required data.
- Built with Next.js and React — Uses the React component model inside a Next.js app, with JavaScript as the language.
- Jest testing setup — Includes
npm run testfor running test suites, as seen in the repository's topics. - Lint and format scripts — Provides
npm run lintandnpm run formatfor code quality and consistency. - Local development workflow — Start the app with
npm run devafter installing dependencies withnpm install, and view it at http://localhost:3000. - Node.js 10.13+ requirement — The project requires Node.js version 10.13 or higher to run.
Who is it for?
- Next.js learners: Study how a minimal dashboard reads static JSON through server-side props and API routes side by side.
- Dashboard developers: Use the component-per-dataset organization as a scaffold for rendering multiple data views cleanly.
- React developers: Review how an index page imports separate components and passes dataset-specific props.
What can you do with the Dashboard App Next?
- Next.js beginners: Run the app locally and trace the data flow from static JSON through
getServerSidePropsor API routes into React components. - Project starters: Clone the repository and replace the static JSON with your own data to bootstrap a simple dashboard.
- Test-driven learners: Run
npm run testto see how Jest is configured for a Next.js application.
How does the Dashboard App Next work?
Clone the repository with git clone https://github.com/musakacmaz/dashboard-app-next.git, open the project directory, and run npm install to install dependencies. Then start the development server with npm run dev and open http://localhost:3000 to view the dashboard. Tests, linting, and formatting are available via npm run test, npm run lint, and npm run format.
FAQ
Is the Dashboard App Next free?
Yes, the project is a public GitHub repository with no paid tiers or licensing restrictions mentioned in the README. You can clone, modify, and use it freely for learning or as a starting point.
What Node.js version is required?
Node.js version 10.13 or higher is required. The README states this explicitly as a prerequisite before installing dependencies.
How do I run the dashboard locally?
After cloning the repository, run npm install to install dependencies, then npm run dev to start the development server. The app will be accessible at http://localhost:3000.
Where can I see a live demo?
A live demo is hosted on Vercel at https://dashboard-app-next.vercel.app, so you can preview the dashboard without setting up the project.