The Gatsby Serverless Tutorial is a step-by-step project guide for building a serverless todo application with Gatsby, Netlify, GraphQL, and FaunaDB. It walks developers through creating a Gatsby site inside a Yarn workspace, styling it with theme-ui, deploying to Netlify, and adding authentication via netlify-identity-widget. The tutorial produces a working JAMstack todo app that uses Netlify Functions for the serverless backend and FaunaDB as the data layer. It is a hands-on example rather than a ready-made template, so it is best used as a learning reference.
What is the Gatsby Serverless Tutorial?
The Gatsby Serverless Tutorial is a step-by-step project guide for building a serverless todo application with Gatsby, Netlify, GraphQL, and FaunaDB. It walks developers through creating a Gatsby site inside a Yarn workspace, styling it with theme-ui, deploying to Netlify, and adding authentication via netlify-identity-widget. The tutorial produces a working JAMstack todo app that uses Netlify Functions for the serverless backend and FaunaDB as the data layer. It is a hands-on example rather than a ready-made template, so it is best used as a learning reference.
Key Features
- Yarn workspaces setup — The project is structured as a monorepo with a packages/www workspace holding the Gatsby application.
- Gatsby static site generation — Uses Gatsby with react and react-dom to build a static front end that can be deployed anywhere.
- theme-ui styling — Adds theme-ui and @theme-ui/presets to style the site, with a shared wrap-root-element.js used in both gatsby-browser.js and gatsby-ssr.js.
- Netlify deployment — Includes instructions for deploying the built site to Netlify.
- Authentication with netlify-identity-widget — Shows how to enable Netlify Identity and configure the widget in the Gatsby app.
- JAMstack architecture — Combines Gatsby (static site), Netlify Functions (serverless), GraphQL, and FaunaDB (database) in one tutorial.
Who is it for?
- Developers learning JAMstack — They can follow the tutorial to understand how Gatsby, serverless functions, and a database fit together in a real project.
- Gatsby users who want authentication — The tutorial demonstrates adding netlify-identity-widget to a Gatsby site, which is useful for any app that needs user login.
- Anyone building a todo app with serverless backend — The final result is a working todo application that can be extended with additional features.
What can you do with it?
- Build a todo application — Follow the steps to create a Gatsby-based todo app with a serverless backend.
- Deploy a JAMstack site to Netlify — Use the deployment instructions to publish the Gatsby site to Netlify.
- Add identity-based authentication — Configure netlify-identity-widget to handle user sign-up and login.
How does it work?
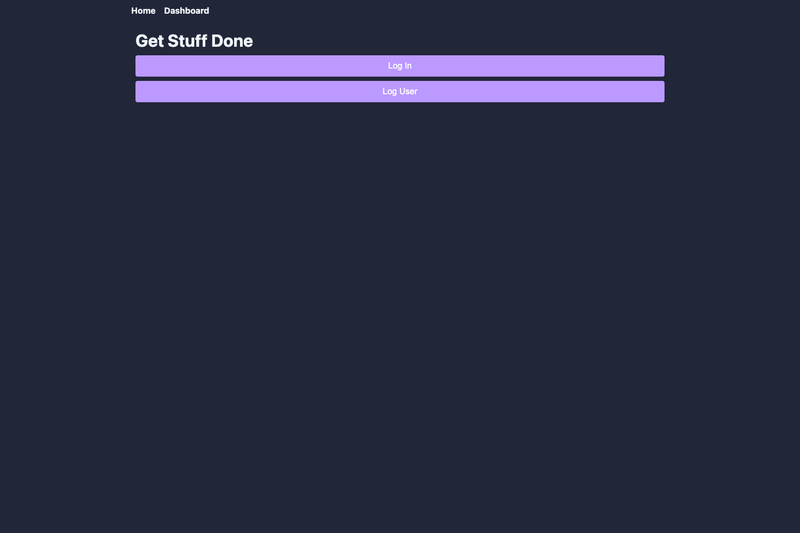
The tutorial is organized as a sequence of steps. First, you set up the project by creating a directory, initializing a git repository, and adding a Yarn workspace for the Gatsby app. Then you install Gatsby dependencies, create gatsby-config.js and src/pages/index.js, and run the develop command. Next, you integrate theme-ui by adding the provider component and wiring it into gatsby-browser and gatsby-ssr. Finally, you deploy to Netlify and add authentication by enabling Netlify Identity and installing netlify-identity-widget.