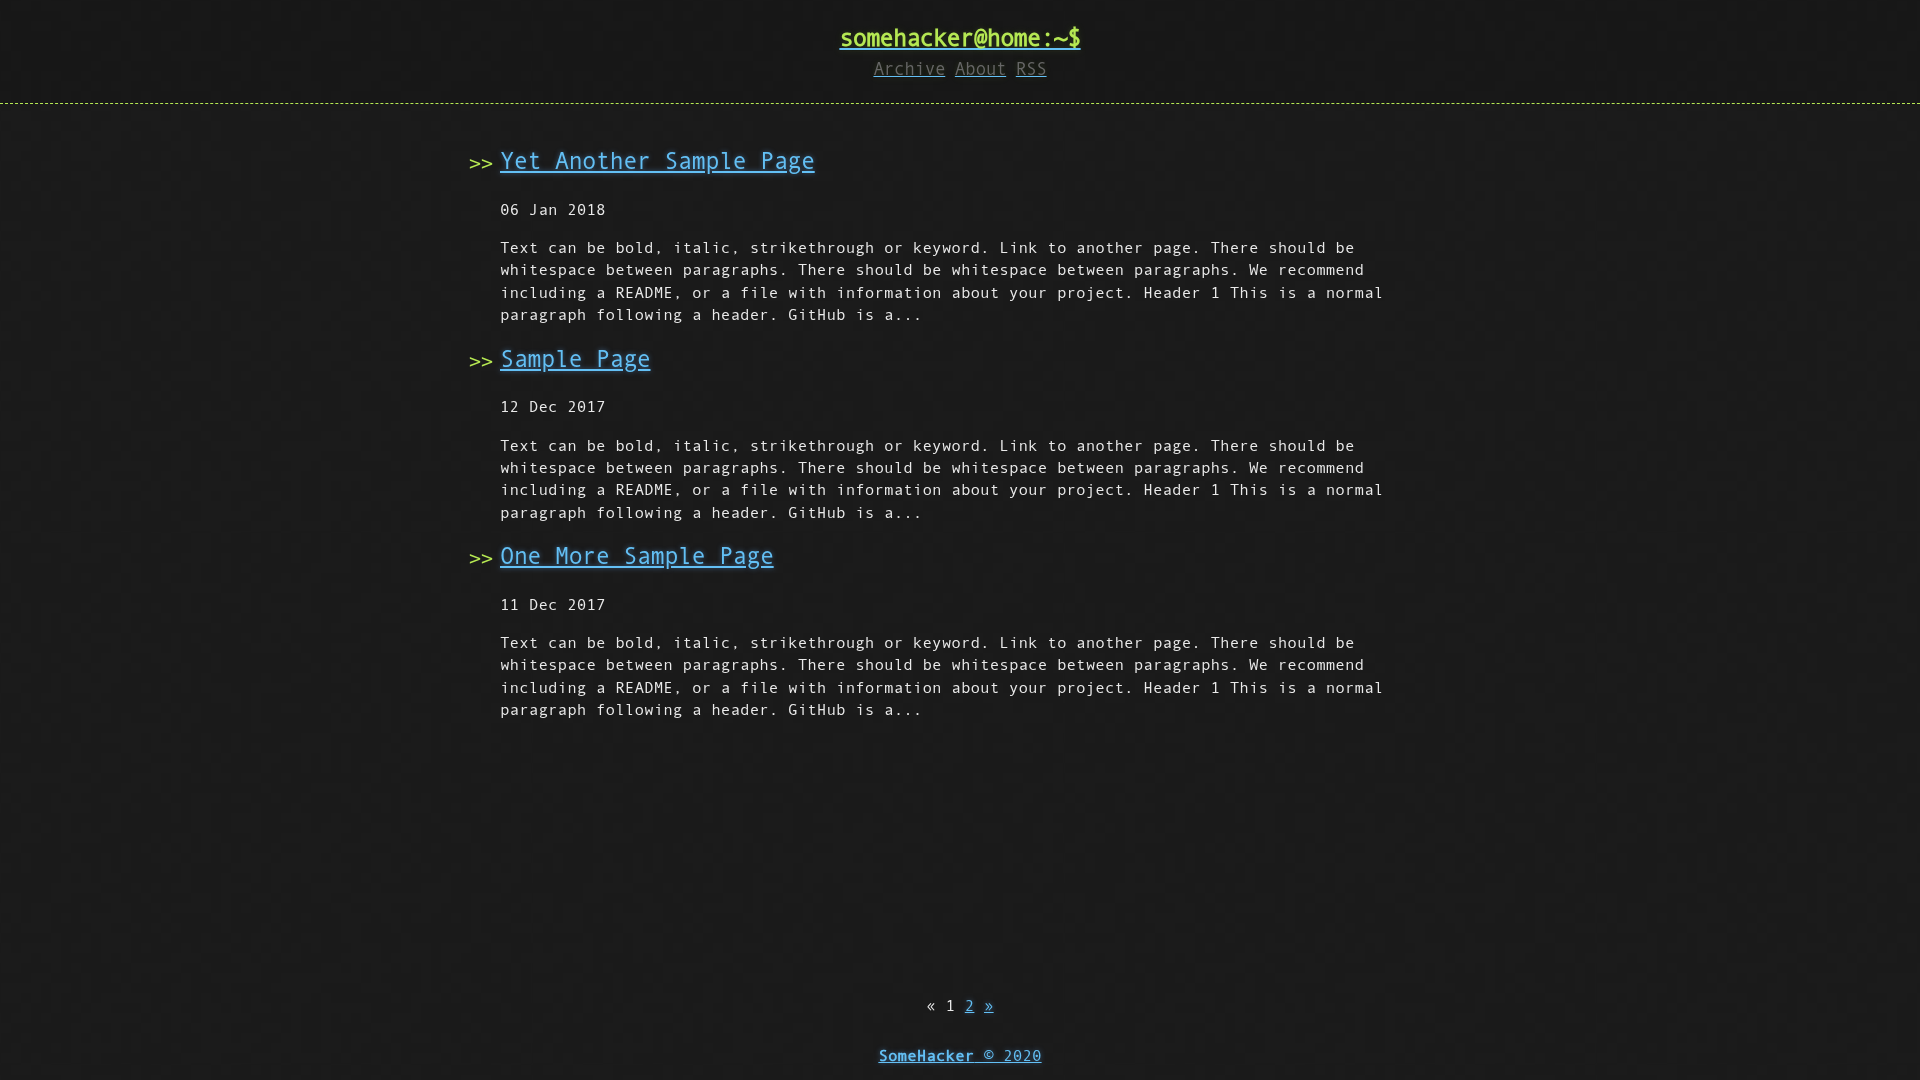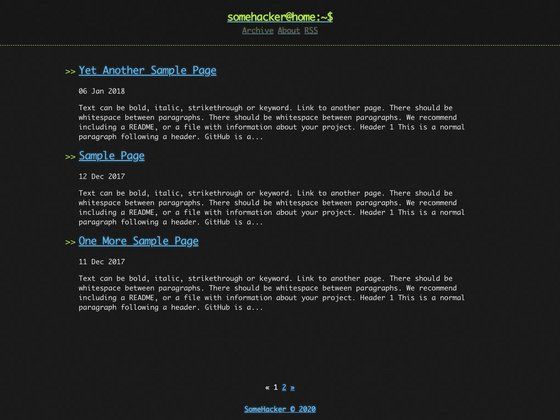
Hacker-Blog is a minimalistic, responsive Jekyll theme designed for hackers and developers, turning Markdown posts into a static blog with pagination, SEO tags, archive and about pages, RSS, and sitemap support.
What is Hacker-Blog?
Hacker-Blog is a Jekyll theme for building a minimalistic blog from plain text. You write posts as Markdown files in the _posts directory and the theme generates a static website with a hacker-inspired, monospace-based design. It is built on Jekyll and derived from the GitHub Pages "hacker" theme for project pages. The theme includes pagination, SEO tags, an archive page, an about page, an RSS feed at base-url/atom, and a sitemap, with optional Google Analytics integration.
Key Features
- Pagination — Splits the post list into pages; set the number of posts per page in
_config.ymlunderpaginate(default 3). - SEO tags — Integrates
jekyll-seo-tagto add meta tags for search engines and social sharing. - Archive and About pages — Includes ready-made
archiveandaboutlayouts; the About content is edited inabout.md. - RSS feed and sitemap — Generates an Atom feed at
/atomand an XML sitemap viajekyll-sitemap. - Optional Google Analytics — Add your tracking ID in
_config.ymland the theme injects the analytics snippet. - Responsive, minimal design — Built on a simple SCSS structure in
_sass/base.scss; custom styles can be added in_sass/custom.scss. - Customizable layout — Header, footer, and links are controlled by
_includes/header.html,_includes/footer.html, and_includes/links.html. - Baseurl support — All links respect a custom
baseurl(e.g./hacker-blog) so the blog can live in a subdirectory.
Who should use Hacker-Blog?
- Developers and hackers who want a no-frills personal blog hosted on GitHub Pages with minimal setup.
- Technical writers who want to publish Markdown-based posts without a content management system.
- Jekyll users who prefer a monospace, hacker aesthetic over heavier blogging themes.
What can you do with Hacker-Blog?
- Personal tech blog: Publish programming notes and tutorials by dropping Markdown files into
_posts, then pushing to a repository named<username>.github.io. - Project documentation: Use the theme's simple layout to document an open-source project, with the archive and about pages serving as a mini-site.
- Local preview: Build the blog locally using Ruby gems or Docker to preview changes before deploying to GitHub Pages.
How does Hacker-Blog work?
- Fork and clone the repository to your machine.
- Edit
_config.ymlto set title, description, author, and optional Google Analytics ID. - Add new posts in
_posts/using a filename with the required date format (as shown in the placeholder posts). - Push the repository to GitHub under the name
<username>.github.ioto publish. - For local preview, install the required gems (
jekyll,jekyll-seo-tag,jekyll-paginate,jekyll-sitemap) and runjekyll serve --watch --port 8000, or use the provided Docker command.
Pricing
Hacker-Blog is free and released under the CC0 1.0 Universal license, so you can use, modify, and distribute it without restrictions.
FAQ
Is Hacker-Blog free?
Yes, Hacker-Blog is open source under the CC0 1.0 Universal license, meaning you can use it for personal or commercial projects without paying anything or providing attribution.
How do I create a new post?
Create a file in the _posts directory with a name following the Jekyll convention, such as 2025-01-01-my-post.md. The theme's placeholder posts demonstrate the required format, and the front matter includes title and layout.
How do I set a custom baseurl?
In _config.yml, set the baseurl variable. For example, baseurl: /hacker-blog will make the site available at http://domain.name/hacker-blog. If you changed the baseurl, run jekyll serve and visit http://0.0.0.0:8000/BASEURL/ for local preview.
How do I enable Google Analytics?
Add your Google Analytics tracking ID to _config.yml under the google_analytics variable. The theme will automatically include the tracking snippet when the site is built.