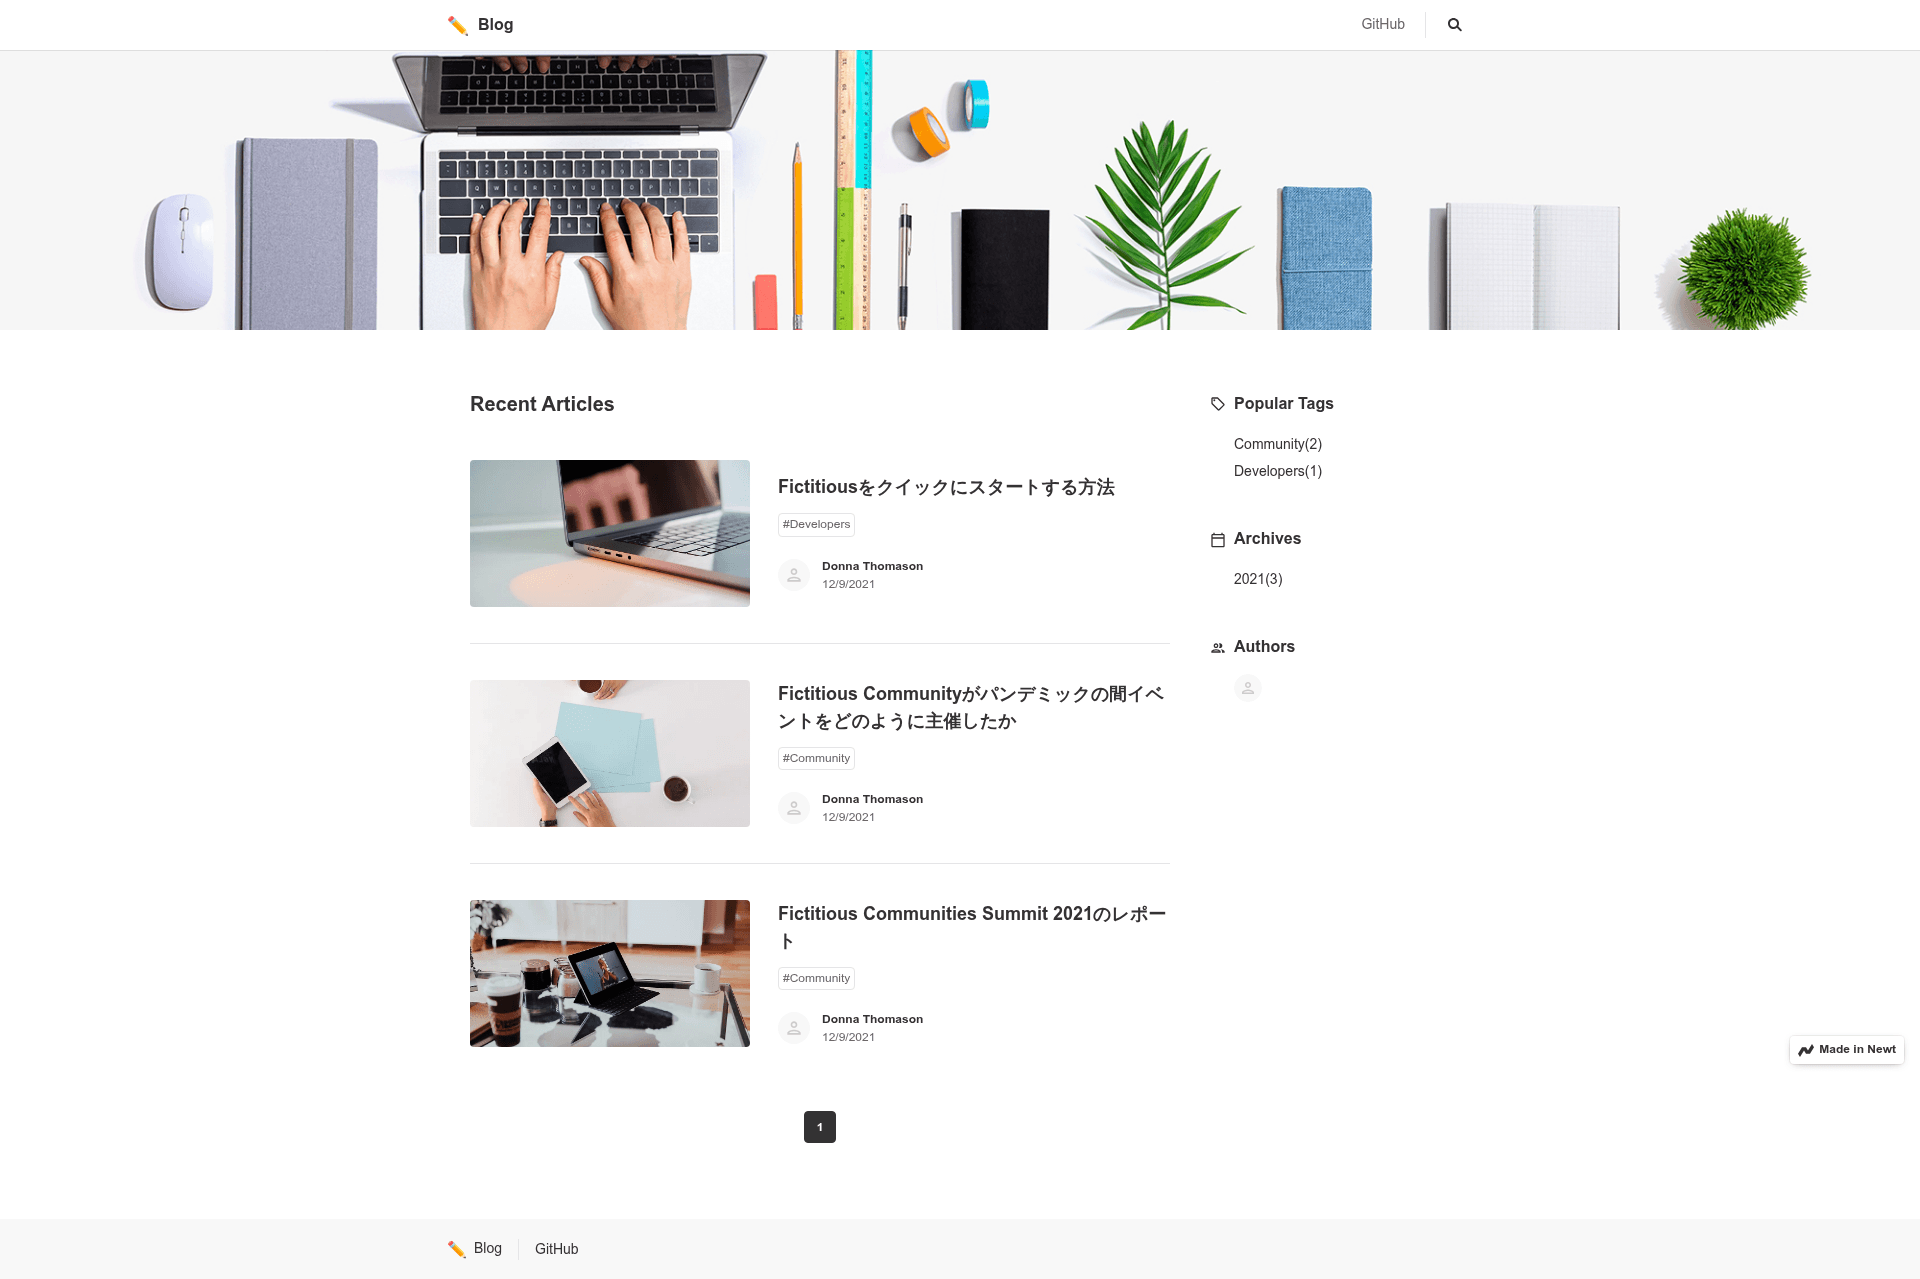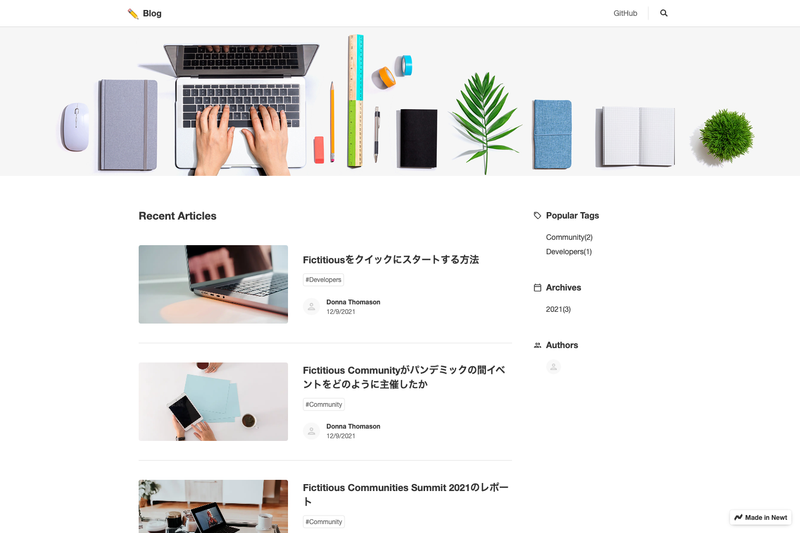
Newt Starter Nextjs Blog is an open-source blog starter template created by Newt Inc. that pairs the Next.js App Router with the Newt headless CMS. It takes a Newt space configured with Article, Author, and Tag models and turns it into a blog with listing, pagination, filtering, search, and article detail pages. The template is distributed under the MIT License and can be deployed to Vercel with a single click, though the Newt CMS is scheduled to retire on 2026-11-24.
What is Newt Starter Nextjs Blog?
Newt Starter Nextjs Blog is a boilerplate blog template built on Next.js App Router and the Newt headless CMS, designed to help developers launch a content-driven blog quickly. It accepts Newt space credentials and content model definitions as input and produces a fully functional blog with dynamic routes, pagination, and search. The template was made by Newt Inc., the company behind the Newt CMS, and is available under the MIT License.
Key Features
The starter bundles six core capabilities: App Router routing, Newt CMS integration, tag/year/author filtering, search, predefined content models, and one-click deployment.
- Next.js App Router — Uses the app directory for all routes, including the homepage, /page/1, /tags/developers, /archives/2023, /authors/... , /search?q=, and /articles/article-1.
- Newt headless CMS integration — Reads content through the Newt CDN API using six environment variables: the space UID, app UID, API token, API type (cdn), and the article, author, and tag model UIDs.
- Full filtering system — Separates routes filter posts by tag, publication year, and author, each with pagination support (for example, /tags/developers/1 and /archives/2023/2).
- Search page — A dedicated search endpoint at /search?q= executes queries against the CMS content.
- Predefined content models — The Blog app defines an Article model (title, slug, meta, body, coverImage, author, tags), an Author model (fullName, slug, biography, profileImage), and a Tag model (name, slug), with a custom META field type for SEO.
- One-click Vercel deployment — The README includes a Deploy with Vercel button that clones the repository and wires up the environment automatically.
Who is it for?
This template suits developers and teams who want to build a blog on Newt CMS without starting from scratch. Next.js developers can study the documented source files to learn App Router patterns. Teams using Newt CMS can set up the Blog app and start authoring content immediately, while indie bloggers can deploy to Vercel with minimal configuration.
What can you do with Newt Starter Nextjs Blog?
- Create a Newt-powered blog: Set up a Newt space, create the Blog app, and connect the starter via .env.local to publish articles with cover images, authors, and tags.
- Implement pagination and filtering: Use the built-in paginated list pages and tag, year, and author archive URLs such as /tags/developers/1 and /archives/2023/2.
- Add site-wide search: The /search page accepts a q query parameter and displays matching results, making content discoverable without a separate search service.
- Deploy automatically: Use the Vercel deployment button to launch the blog without manual server configuration.
FAQ
Is Newt Starter Nextjs Blog free to use?
Yes. The template is released under the MIT License, so you can use, modify, and redistribute it freely, including for commercial projects.
When will the Newt CMS be discontinued?
According to the README, Newt headless CMS will retire on 2026-11-24. After that date, both the admin panel and the API will stop working, so sites built with this starter will need a different CMS.
What content models are included?
The Blog app defines three models: Article (with title, slug, meta, body, coverImage, author, and tags), Author (fullName, slug, biography, profileImage), and Tag (name, slug). The Article model also references Author and Tag via relational fields.
How do I set up this starter?
Create a Newt space and note its UID, add the Blog app template and note its App UID, generate a CDN API token, then create a .env.local file with these values plus the model UIDs. After that, run yarn install and yarn dev (or npm equivalents) to start on localhost:3000.