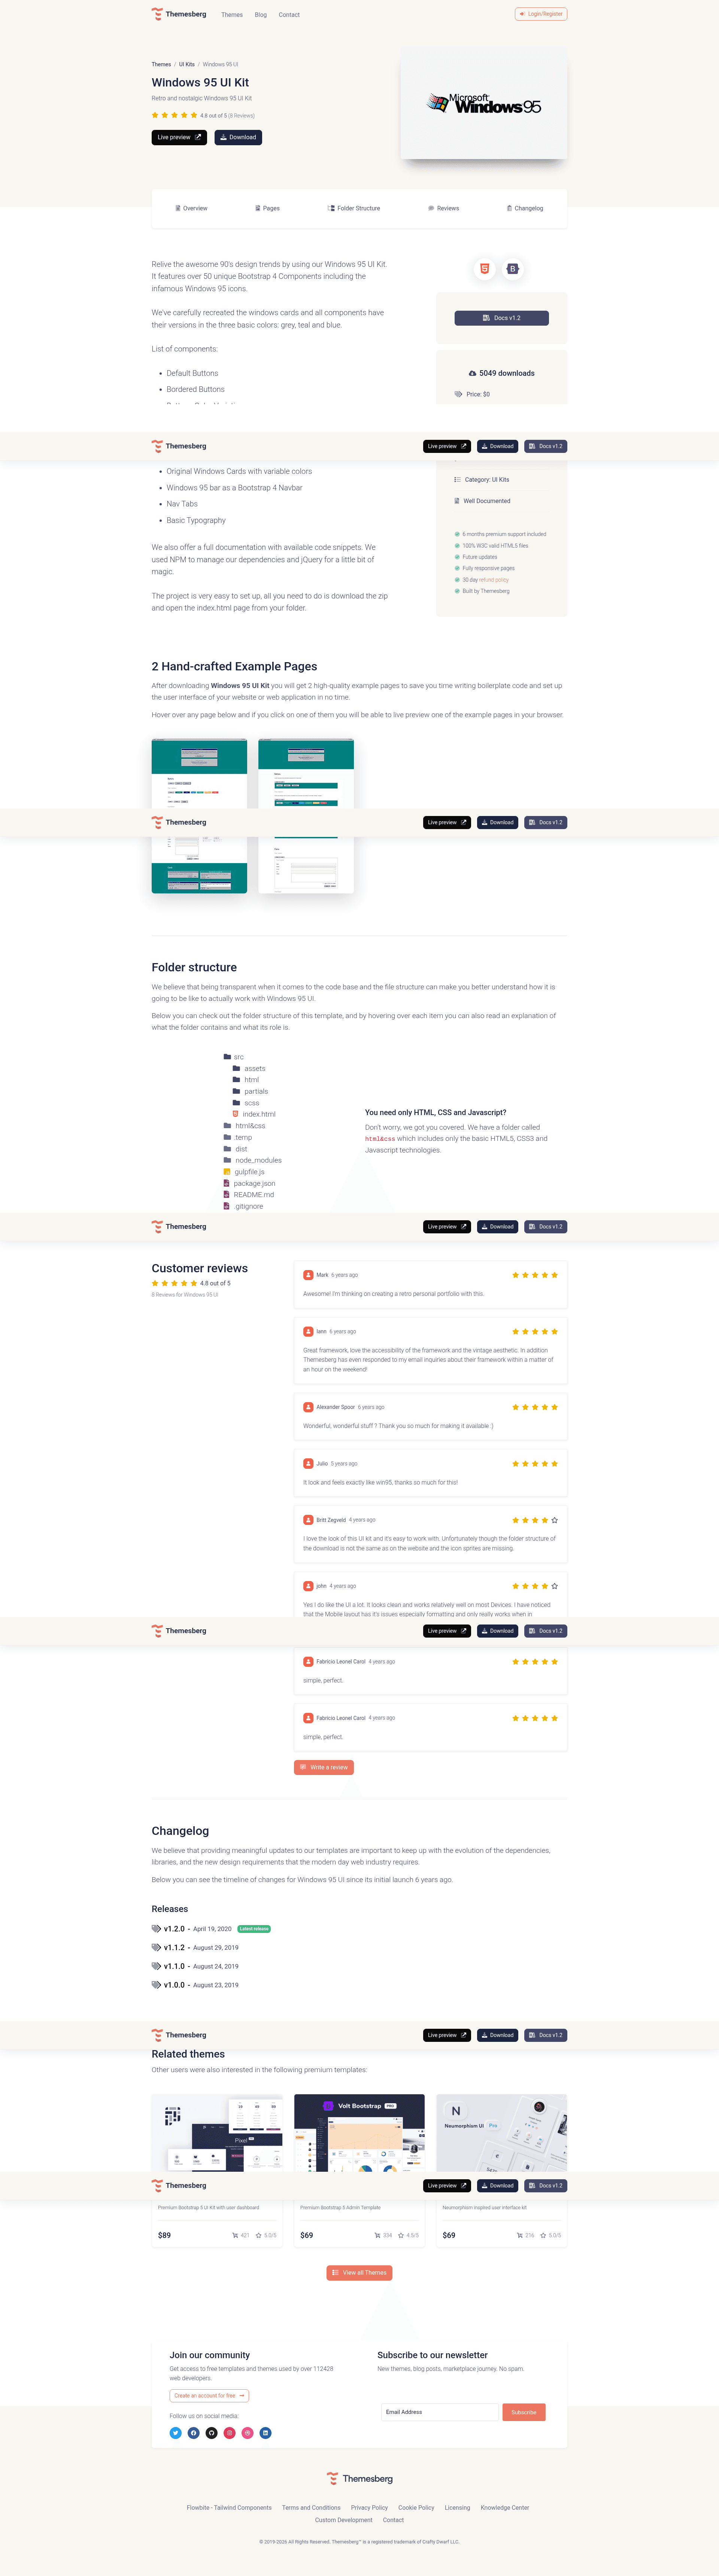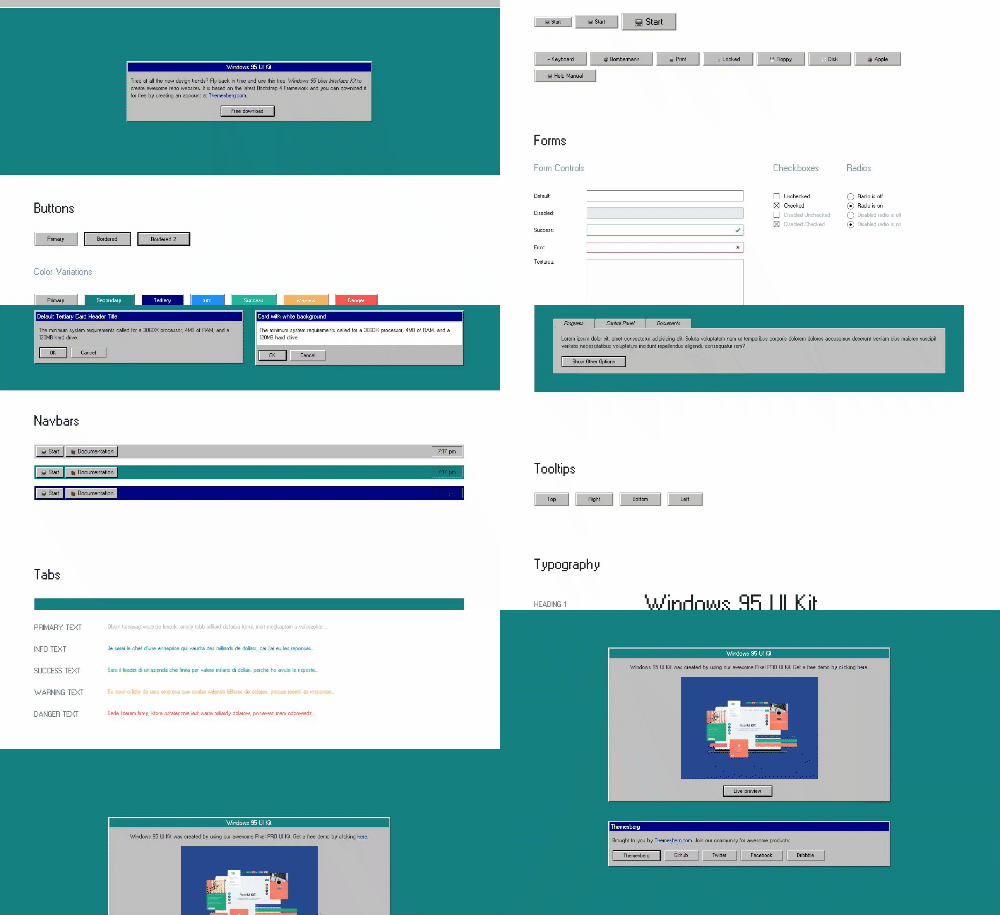
Windows 95 UI Kit is a free, open-source user interface kit that rebuilds the classic Windows 95 look using Bootstrap 4 components and jQuery, with more than 30 authentic components for retro web interfaces.
What is the Windows 95 UI Kit?
The Windows 95 UI Kit is a front-end component library created by Themesberg. It delivers a set of UI elements — including buttons, cards styled as windows, tabs, navigation tabs, and typography — that replicate the visual style of Microsoft's Windows 95 operating system. The kit is built on Bootstrap 4, so all components inherit Bootstrap's grid, utility classes, and responsive behavior, and it includes a custom w95.css stylesheet and w95.js script for the retro look and interactions. It is licensed under MIT, and the full documentation and live demo are available through Themesberg.
What makes it stand out?
- Windows 95 button styles — Buttons are styled with the beveled, chunky appearance of Windows 95, complete with the characteristic 3D borders.
- Authentic cards (windows) — Cards mimic the window frames of Windows 95, including title bars, making them ideal for desktop-like interfaces.
- Original navigation tab — A tab component styled after the classic tab controls found in Windows 95 dialogs.
- Fully responsive — Because it is built on Bootstrap 4, every component responds to screen size and works on mobile devices.
- Bootstrap 4 integration — Uses Bootstrap 4 classes, so developers can leverage the familiar utility system for spacing, colors, and layout.
- jQuery support — The included w95.js handles interactive behaviors, and the kit depends on jQuery.
- W3C valid HTML — The README states the HTML files are 100% valid W3C HTML.
- Easy setup — The quick start requires only downloading the project and running
npm installwith Node installed.
Who is it for?
- Front-end developers — Can quickly add a retro Windows 95 theme to a web project by importing w95.css and w95.js and copying the component markup.
- UI/UX designers — Can use the kit as a foundation for prototypes or mockups that need a nostalgic desktop aesthetic.
- Hobbyists and creators — Building personal projects, event pages, or playful websites that celebrate the Windows 95 era will find ready-made components.
Use cases
- Retro-themed landing pages: Assemble a landing page using window cards, buttons, and tabs to recreate the look of a 1990s desktop.
- Nostalgic web apps: Use the window components as panels or modals to give an application a classic operating-system feel.
- Design mockups: Prototype a Windows 95-style interface quickly in HTML/CSS without drawing every pixel.
How does it work?
The README outlines a simple quick start: download the project from GitHub or Themesberg, unzip it, ensure Node.js is installed locally, then run npm install to fetch dependencies. After that, the included index.html and the w95.css and w95.js files in the css/ and js/ folders are ready to use.
Pricing
The Windows 95 UI Kit is free and open source under the MIT license. The README mentions that donations go toward hosting and maintenance costs, but the kit itself has no purchase price.
FAQ
Is Windows 95 UI Kit free?
Yes, it is free and open source, released under the MIT license. You can use it in personal and commercial projects without paying a license fee.
What components are included?
The kit includes more than 30 Windows 95-style components, including buttons, cards (windows), tabs, navigation tabs, and typography. A full list appears in the online documentation.
How do I install Windows 95 UI Kit?
Download the zip from GitHub or the Themesberg website, then run npm install inside the project folder after installing Node.js. No build step is required beyond that.