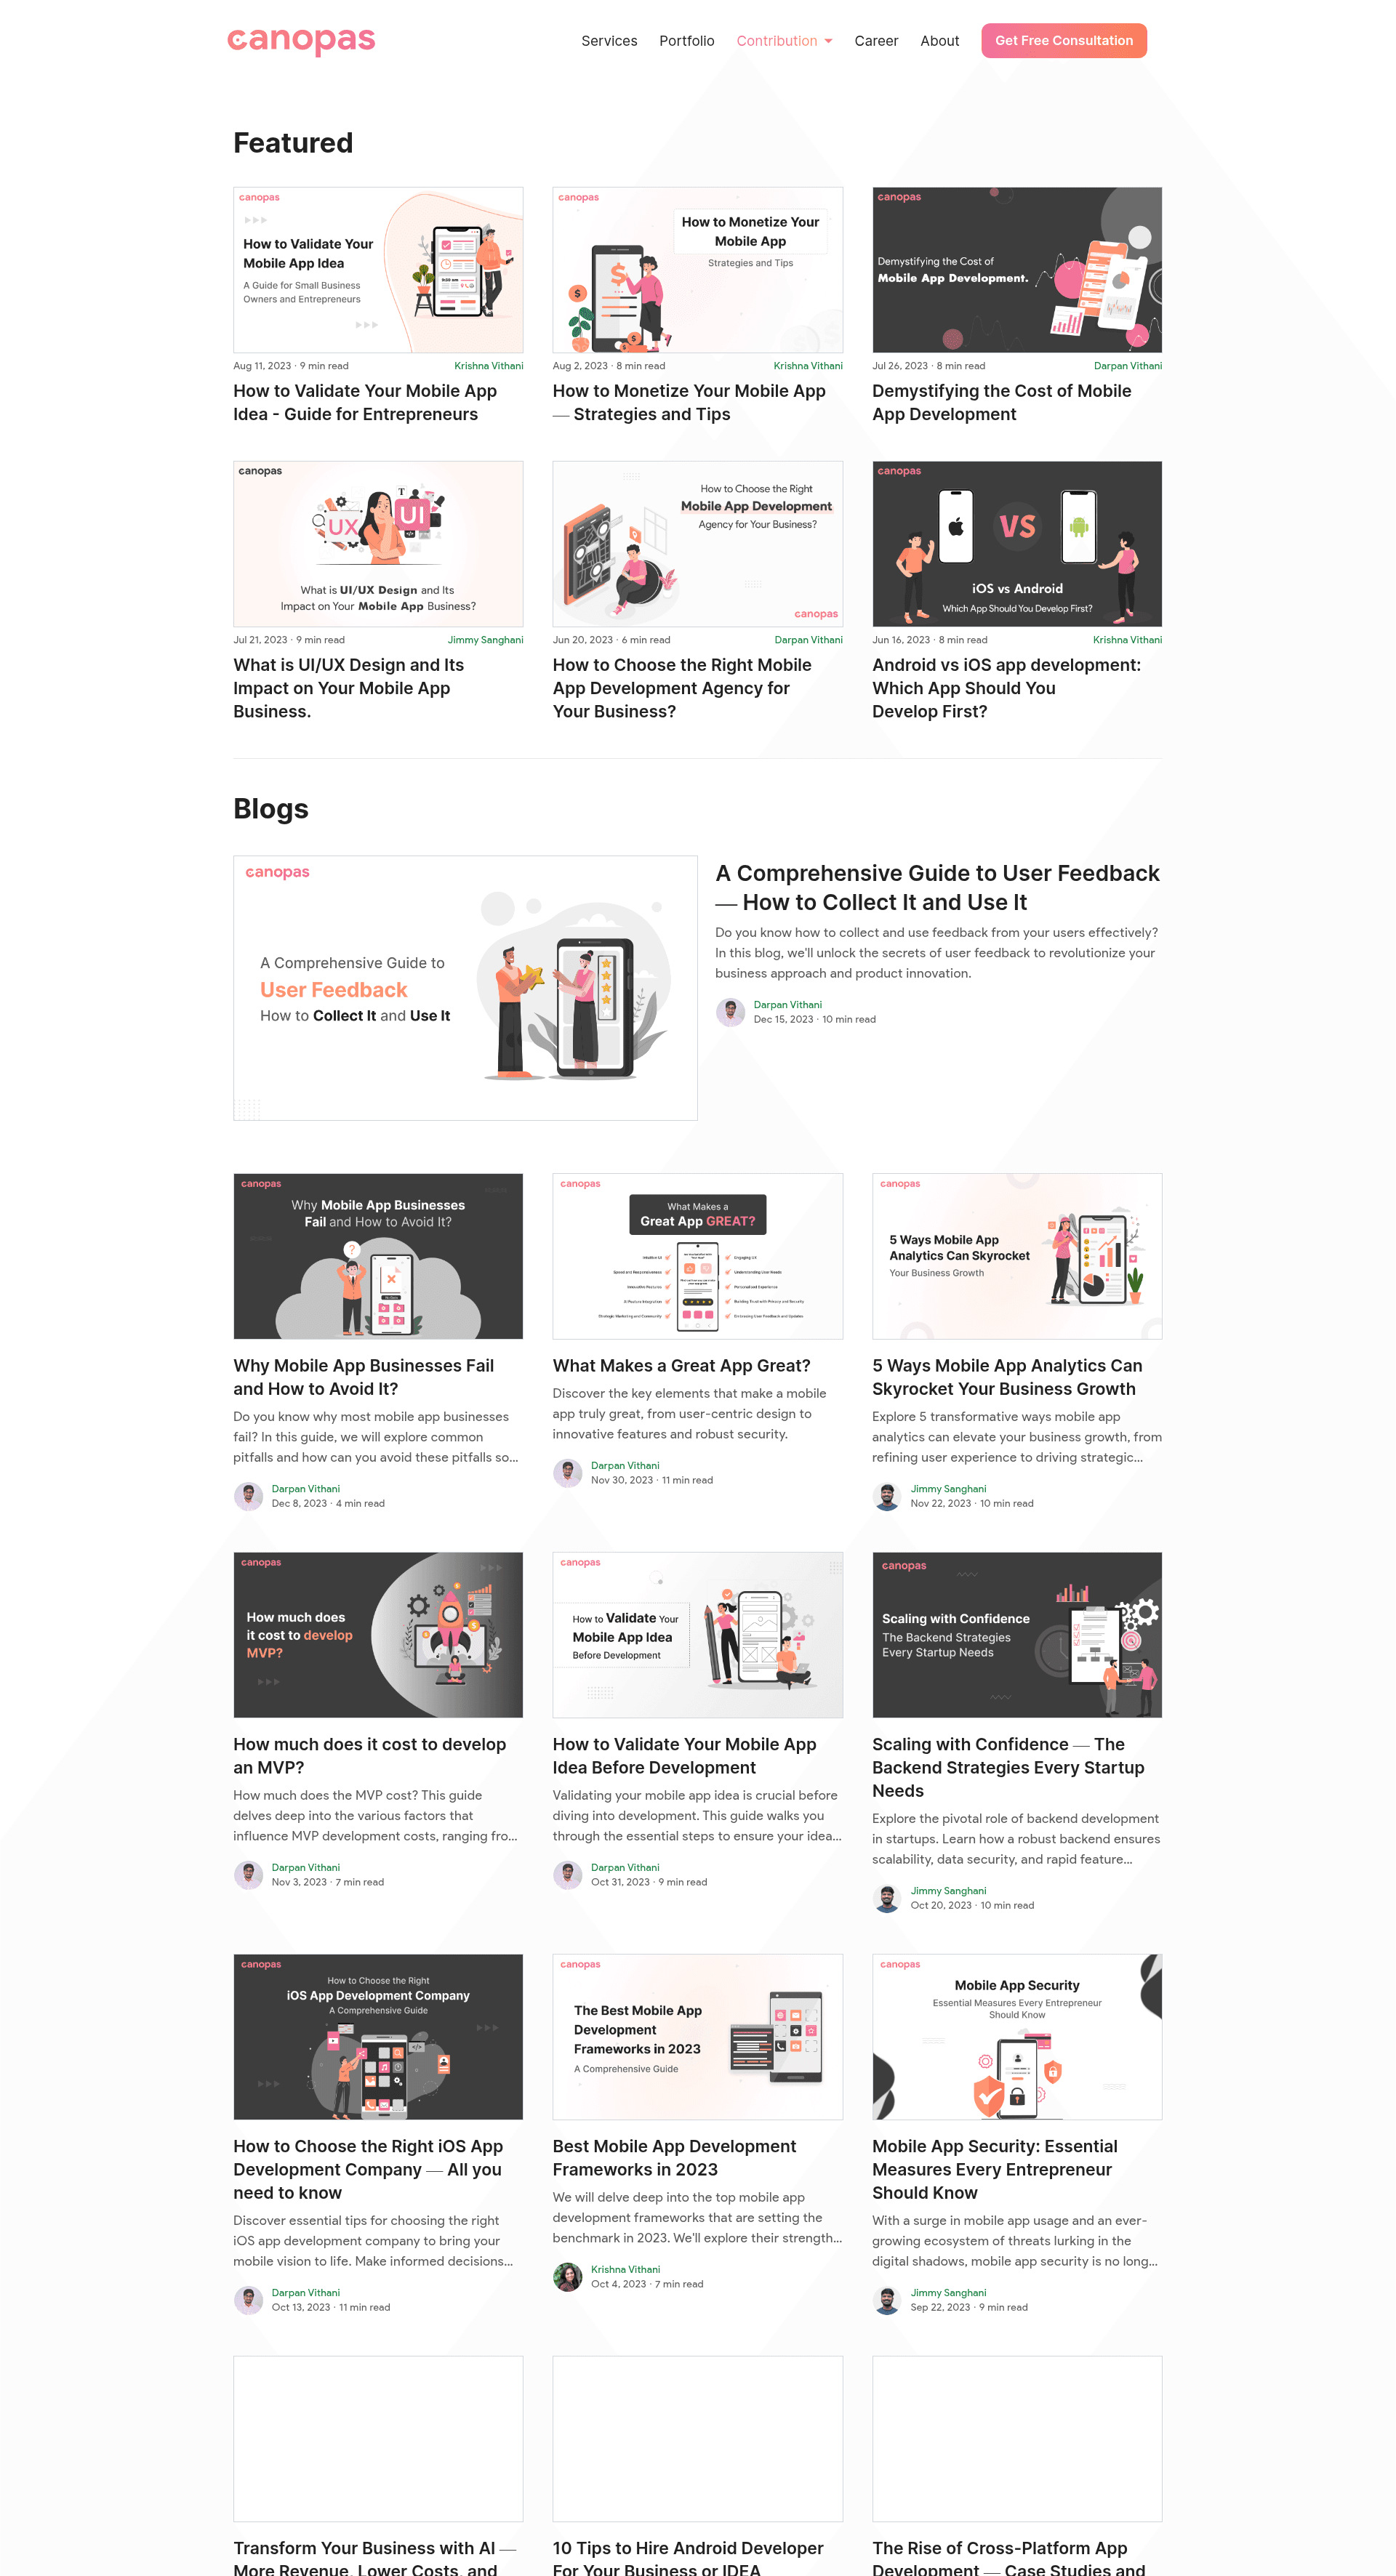
Canopas Blog Admin is an open-source Strapi-based admin panel for creating, editing, and publishing SEO-optimized blog content, built and maintained by the Canopas team.
What is Canopas Blog Admin?
Canopas Blog Admin is a self-hosted content management system built on Strapi, the headless CMS that provides both an admin interface and a backend API for blog data. It takes written content, metadata, and media links as input and produces publishable blog posts with SEO fields, automatic link previews, and subscription notifications. The project runs on Node.js v18 and Postgres, and it powers the official Canopas resources and blog at canopas.com. The full codebase is released under the MIT license.
Key Features
- Strapi CMS backend — The admin panel is built on Strapi, giving editors a ready-made dashboard and developers a REST or GraphQL API for serving content to any frontend.
- SEO-friendly URLs and metadata — Every post includes fields for meta tags, URL slugs, and sitemap integration, letting writers customize on-page SEO before publishing.
- Automatic link previews — The editor generates Medium-style previews automatically from pasted image or video links, with the preview saved and displayed on the frontend.
- Recommended posts engine — The platform suggests related content based on a reader's history, increasing time on site.
- Email subscription system — Visitors can subscribe to receive email updates when new posts publish, and users can unsubscribe at any time.
- CI/CD and Docker deployment — GitHub Actions workflows run automated tests on every change, and the admin panel can be deployed with Docker, Docker Swarm, AWS ECR, and EC2 behind an NGINX proxy.
Who is it for?
- Bloggers and content creators — Publish posts with full control over SEO metadata, scheduled content, and automatic link previews without writing code.
- Development teams — Self-host a Strapi admin panel and wire it to a custom frontend, using the provided CI/CD and Docker configuration for production rollout.
- Content operations teams — Manage a shared editorial workflow with configurable writer guidelines stored in the admin plugin, plus email template customization for subscription communications.
What can you do with it?
- Content teams: Draft, edit, and publish blog posts through a Strapi admin interface that validates SEO fields and generates link previews automatically.
- Developers: Use the provided NGINX configuration and GitHub Actions workflows to deploy the admin panel to AWS ECR and EC2 with automated testing.
- Audience growth: Run a built-in email subscription system so readers get notified of new posts and can unsubscribe easily.
How does it work?
Setup requires Node.js v18 and a Postgres database. After creating a database, copy the .env.example file to .env, install dependencies with yarn install, and start the panel with yarn develop, which serves the admin UI at http://localhost:1337/admin. Customization is done by editing email templates in admin/public/emailTemplates, updating panel titles and logos in admin/src/admin/app.js, and adding writer guidelines in admin/src/plugins/guidelines/admin/src/pages/guidelines.md.
FAQ
Is Canopas Blog Admin free?
Yes, the repository is open source and released under the MIT license, so you can use, modify, and deploy it freely for personal or commercial projects.
What are the requirements?
You need Node.js v18 and a Postgres database. The project includes a pre-commit hook for linting and formatting, which you enable with git config core.hooksPath .githooks.
How do I customize email templates?
All email templates live in admin/public/emailTemplates. You can edit them directly, and you can update the panel's title, description, and logo in admin/src/admin/app.js.
Does it include a frontend?
This repository contains only the admin panel, not the public-facing website. The admin serves content via Strapi's API, which can be consumed by any frontend framework.
Can I use it with other databases?
The documented requirement is Postgres. The project does not list support for other databases in its setup instructions.