Newsletter
Join the Community
Subscribe to our newsletter for the latest news and updates

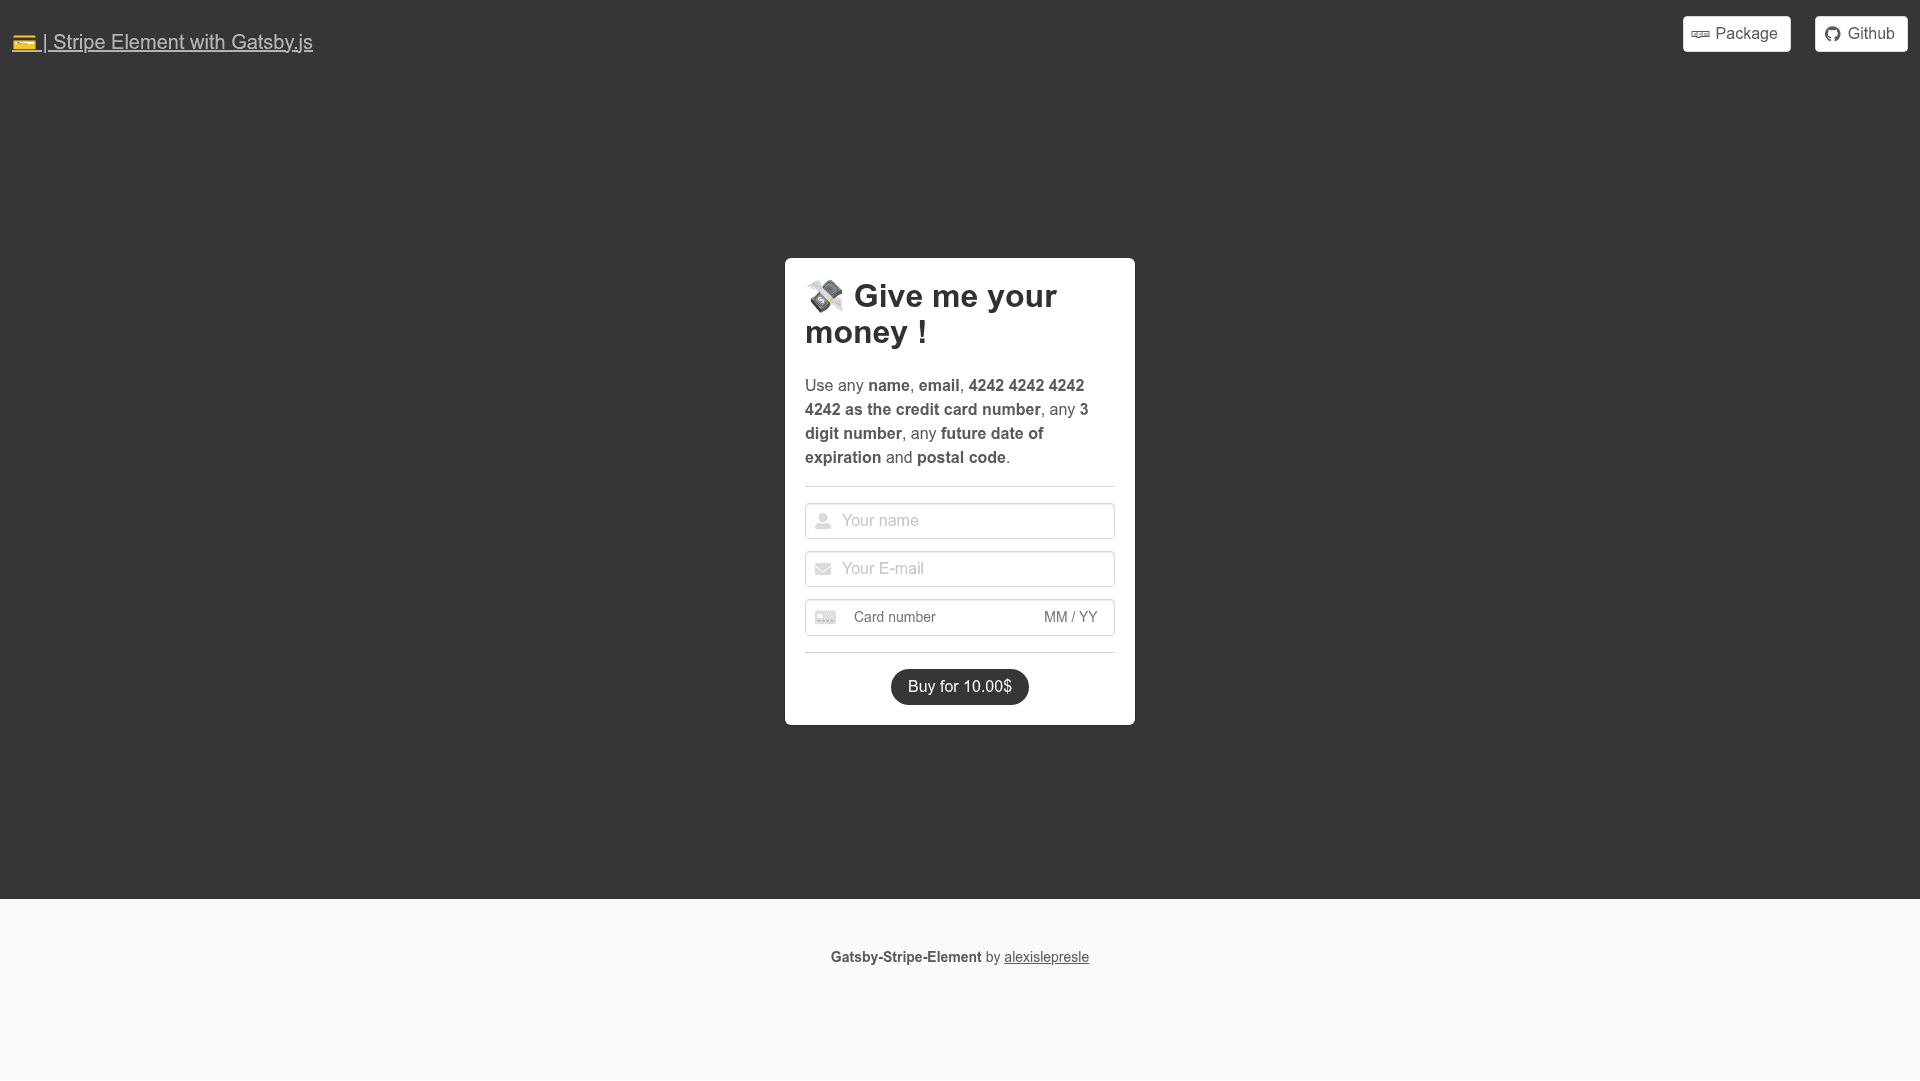
Gatsby starter demonstrating Stripe Element payments with Netlify Functions.
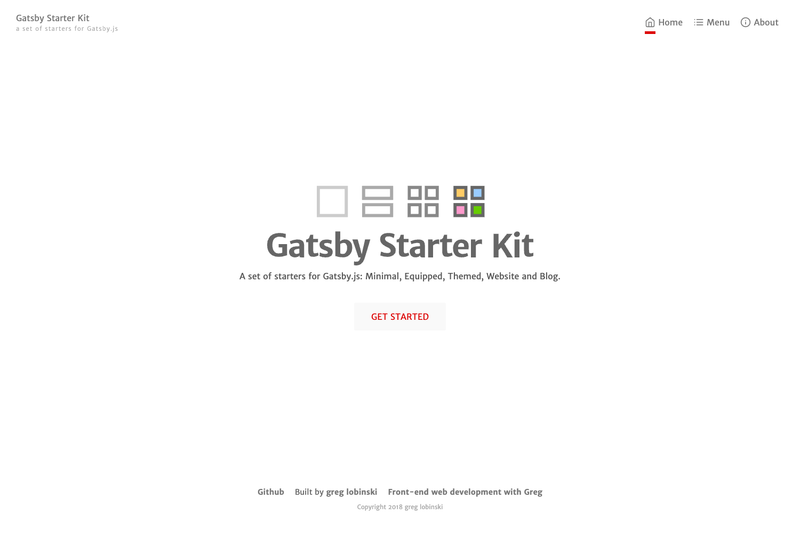
Blog-oriented starter kit for Gatsby.js by greg lobinski, MIT licensed, targeting Gatsby v2.
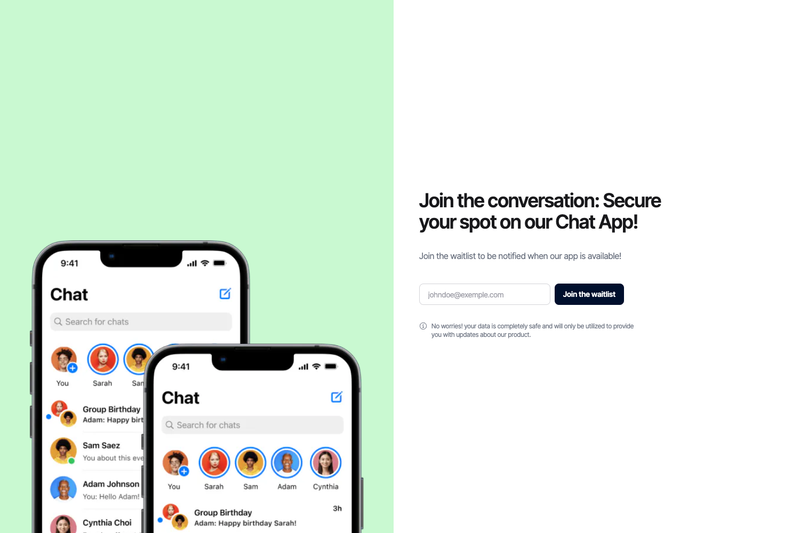
An open-source Next.js waitlist landing page that captures emails via the EmailOctopus API.
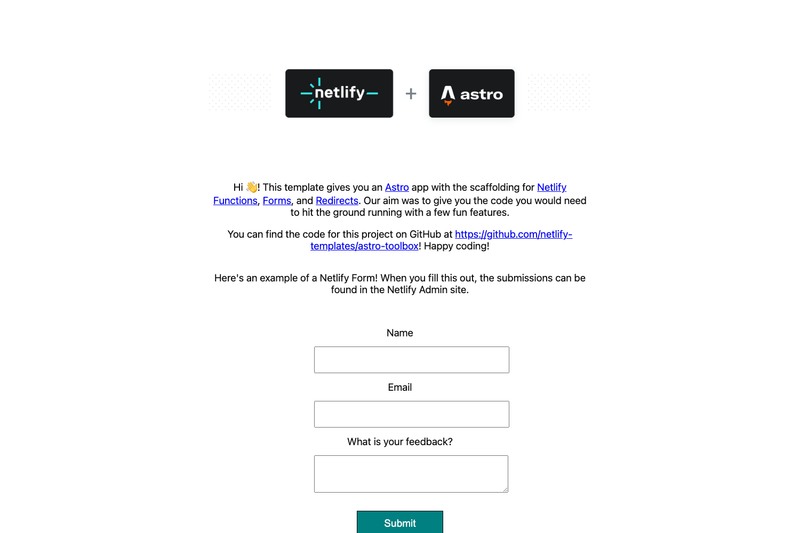
Netlify Astro boilerplate demonstrating Forms, Functions, and Redirects with one-click deploy.
Gatsby Stripe Element is a Gatsby starter that demonstrates how to integrate a Stripe Element payment form into a Gatsby site, using Netlify Functions as the serverless backend for payment processing. Built by alexislepresle and published as a public GitHub repository, the starter pairs Gatsby's React-based static site generation with Bulma for styling and Stripe's pre-built card UI.
Gatsby Stripe Element is a starter template that wires a Stripe Elements payment form to Netlify Functions. It takes a simple Gatsby project skeleton as its starting point and adds the client-side card form plus a serverless function that can call Stripe's API without exposing secret keys in the browser. The project outputs a static Gatsby site that can be deployed to Netlify, and it includes a live demo hosted at stripe-element.netlify.com.
gatsby new to scaffold a new project from the repository.netlify-lambda serve to run functions locally during development.gatsby develop for the frontend and netlify-lambda serve for the functions, both documented in the quick start.After scaffolding with gatsby new, the frontend runs on localhost:8000 through gatsby develop. Serverless functions are handled separately with netlify-lambda serve, and when deployed to Netlify the functions run in the Netlify environment. The Stripe Element sends payment data to the function, which then uses Stripe's API to create a payment.
Yes, the starter is open source and available on GitHub. You can use the Gatsby CLI to create a new site from it and deploy the repository to Netlify at no cost for the template itself.
You need the Gatsby CLI, Node.js, and a package manager. The quick start lists three commands: gatsby new, gatsby develop, and netlify-lambda serve. To process live payments you will also need Stripe API keys, but the demo can be viewed without them.
The README links to a demo at stripe-element.netlify.com, deployed by the author alexislepresle from this starter.