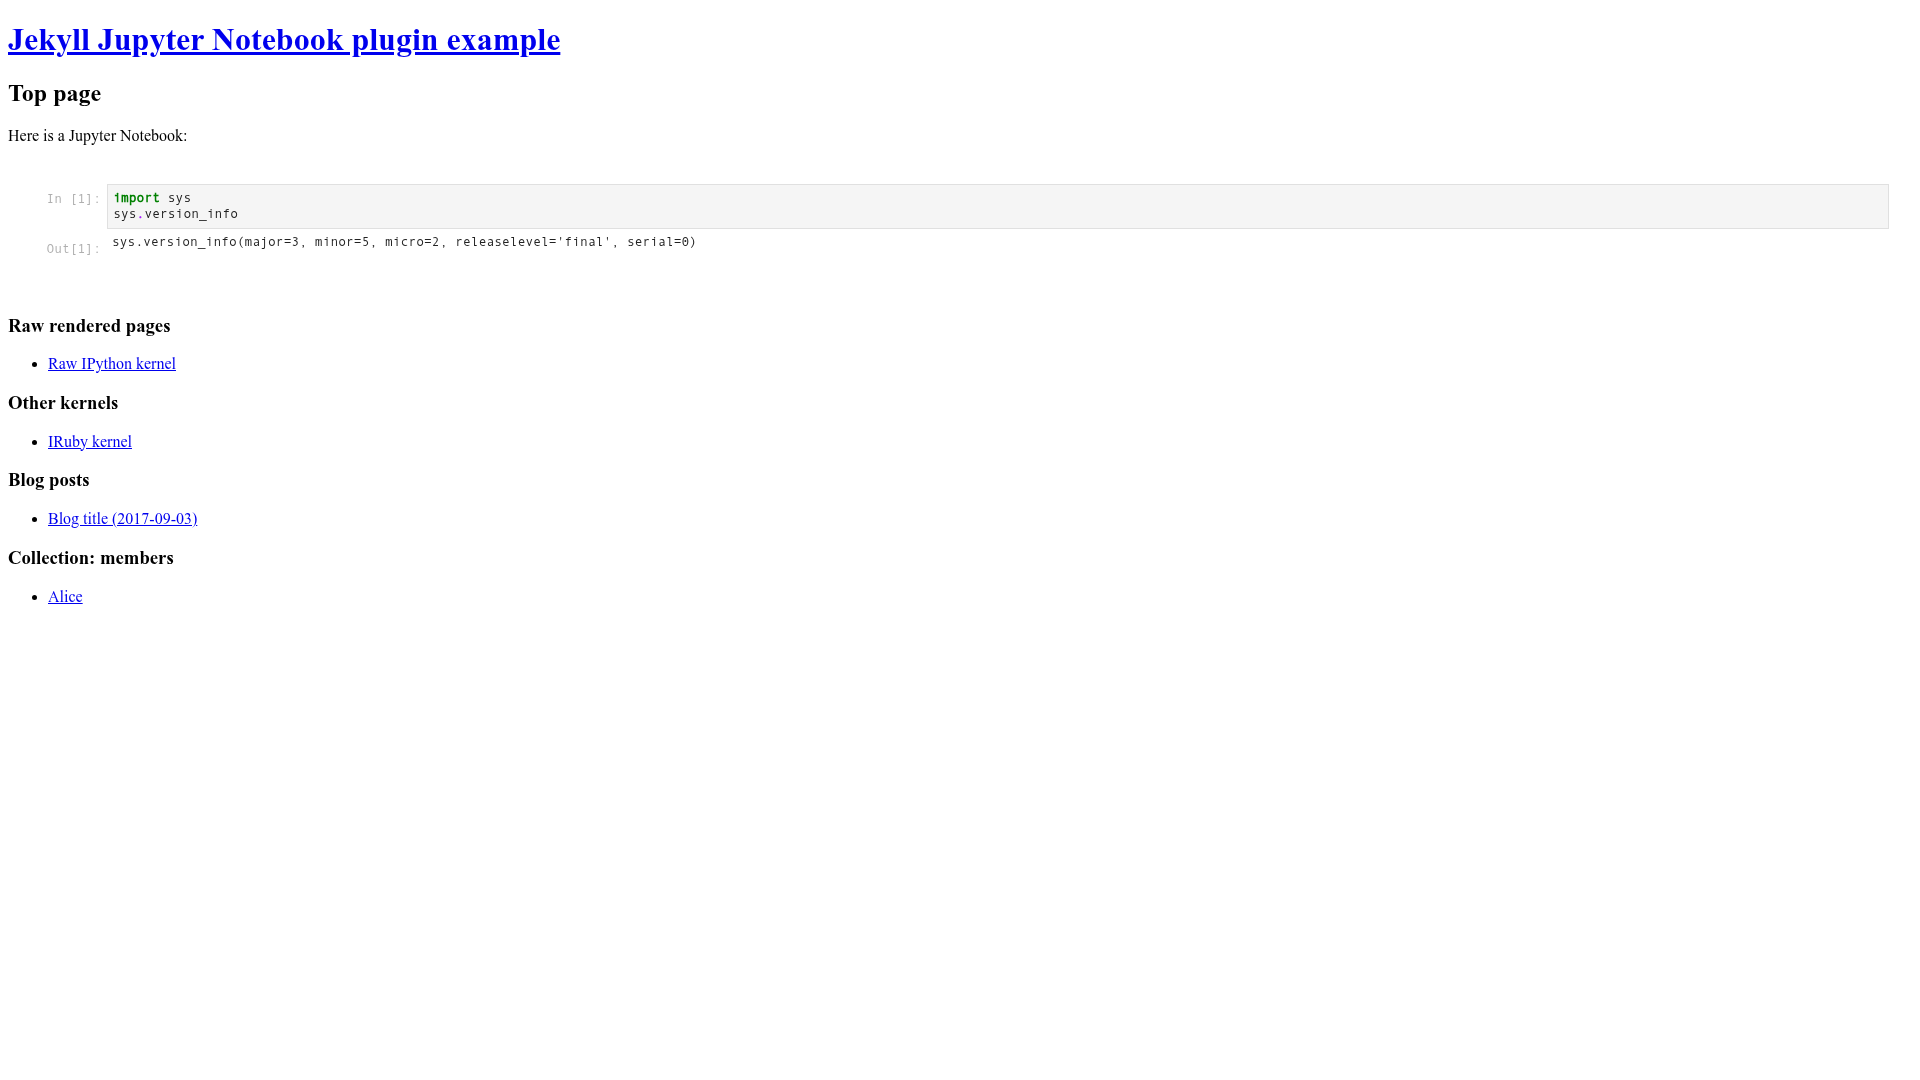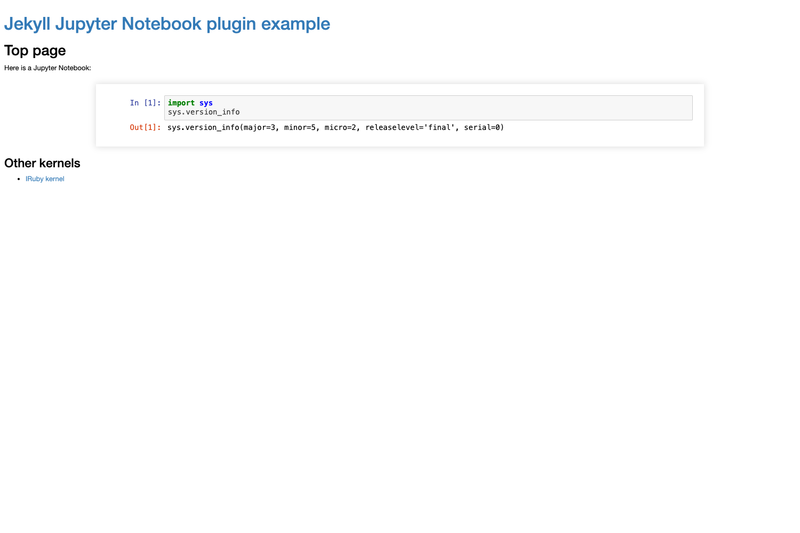
Jekyll Jupyter Notebook is a Jekyll plugin that embeds Jupyter Notebook (.ipynb) files into Jekyll-generated sites as rendered HTML.
What is Jekyll Jupyter Notebook?
Jekyll Jupyter Notebook is a Jekyll plugin that brings Jupyter Notebook support to Jekyll sites. It converts .ipynb files into HTML and lets you embed them inside Markdown posts or pages through a simple Liquid tag. The plugin is written in Ruby, distributed as a gem, and created by Kouhei Sutou under the Apache License 2.0.
Key Features (What makes it stand out?)
- Liquid tag embedding — Use
{% jupyter_notebook "sample.ipynb" %}to insert any notebook placed in the same directory as your Markdown file. - Configurable display options — The
jupyter_notebookconfig block in_config.ymlsupportspromptandinputkeys to control whetherIn [N]/Out[N]prompts and code inputs appear in the rendered HTML. - Default fully visible — By default both prompts and code inputs are shown (
prompt: true,input: true), preserving the notebook's interactive look. - kramdown compatibility workaround — If you get unexpected rendering with kramdown, the README recommends wrapping the tag in
{::nomarkdown}and{:/nomarkdown}. - Standard Jekyll plugin install — Installed via the site's Gemfile and
pluginslist in_config.yml, no extra files or build steps required. - Open source licensing — Released under Apache License 2.0, including the right of the author to change the license for contributed patches.
Who is it for?
- Jekyll site owners who publish technical blog posts and want to embed live notebook visualizations for their readers.
- Data scientists and researchers who maintain a Jekyll-based project site or documentation and need to share reproducible analyses.
- Educators creating coding tutorials on Jekyll who want to include executable examples with outputs directly in their notes.
What can you do with it?
- Write data-science blog posts: Embed a notebook that shows data exploration, plots, and results directly in your article without screenshots.
- Build technical documentation: Include executable code samples in project docs, with the ability to hide input code if you only want to show outputs.
- Maintain a code-first portfolio: Present Jupyter-based projects in a clean, Jekyll-rendered format that viewers can read in the browser.
How does it work?
- Add
gem "jekyll-jupyter-notebook"to your site's Gemfile and runbundle install. - Add
jekyll-jupyter-notebookto thepluginsarray in your_config.yml. - Place your notebook file (e.g.
sample.ipynb) in the same directory as your Markdown post. - Insert the Liquid tag
{% jupyter_notebook "sample.ipynb" %}where you want the notebook to appear. - Optionally, configure
promptandinputunder ajupyter_notebookkey in_config.yml.
FAQ
Is Jekyll Jupyter Notebook free?
Yes, it is open source under the Apache License 2.0, so you can use it in personal and commercial projects at no cost.
How can I hide the In [N] and Out[N] prompts?
Set prompt: false in the jupyter_notebook section of your _config.yml. The default is true, which shows them.
Can I show only the output of a notebook without the code?
Yes, set input: false in your configuration. This hides the input cells while keeping outputs such as plots and markdown.
What should I do if my Markdown rendering looks wrong with kramdown?
Wrap the Liquid tag with {::nomarkdown} before and {:/nomarkdown} after it, as recommended in the README.
Where do I need to place the notebook file?
The notebook must be in the same directory as the Markdown file that references it, and you refer to it by filename in the tag.