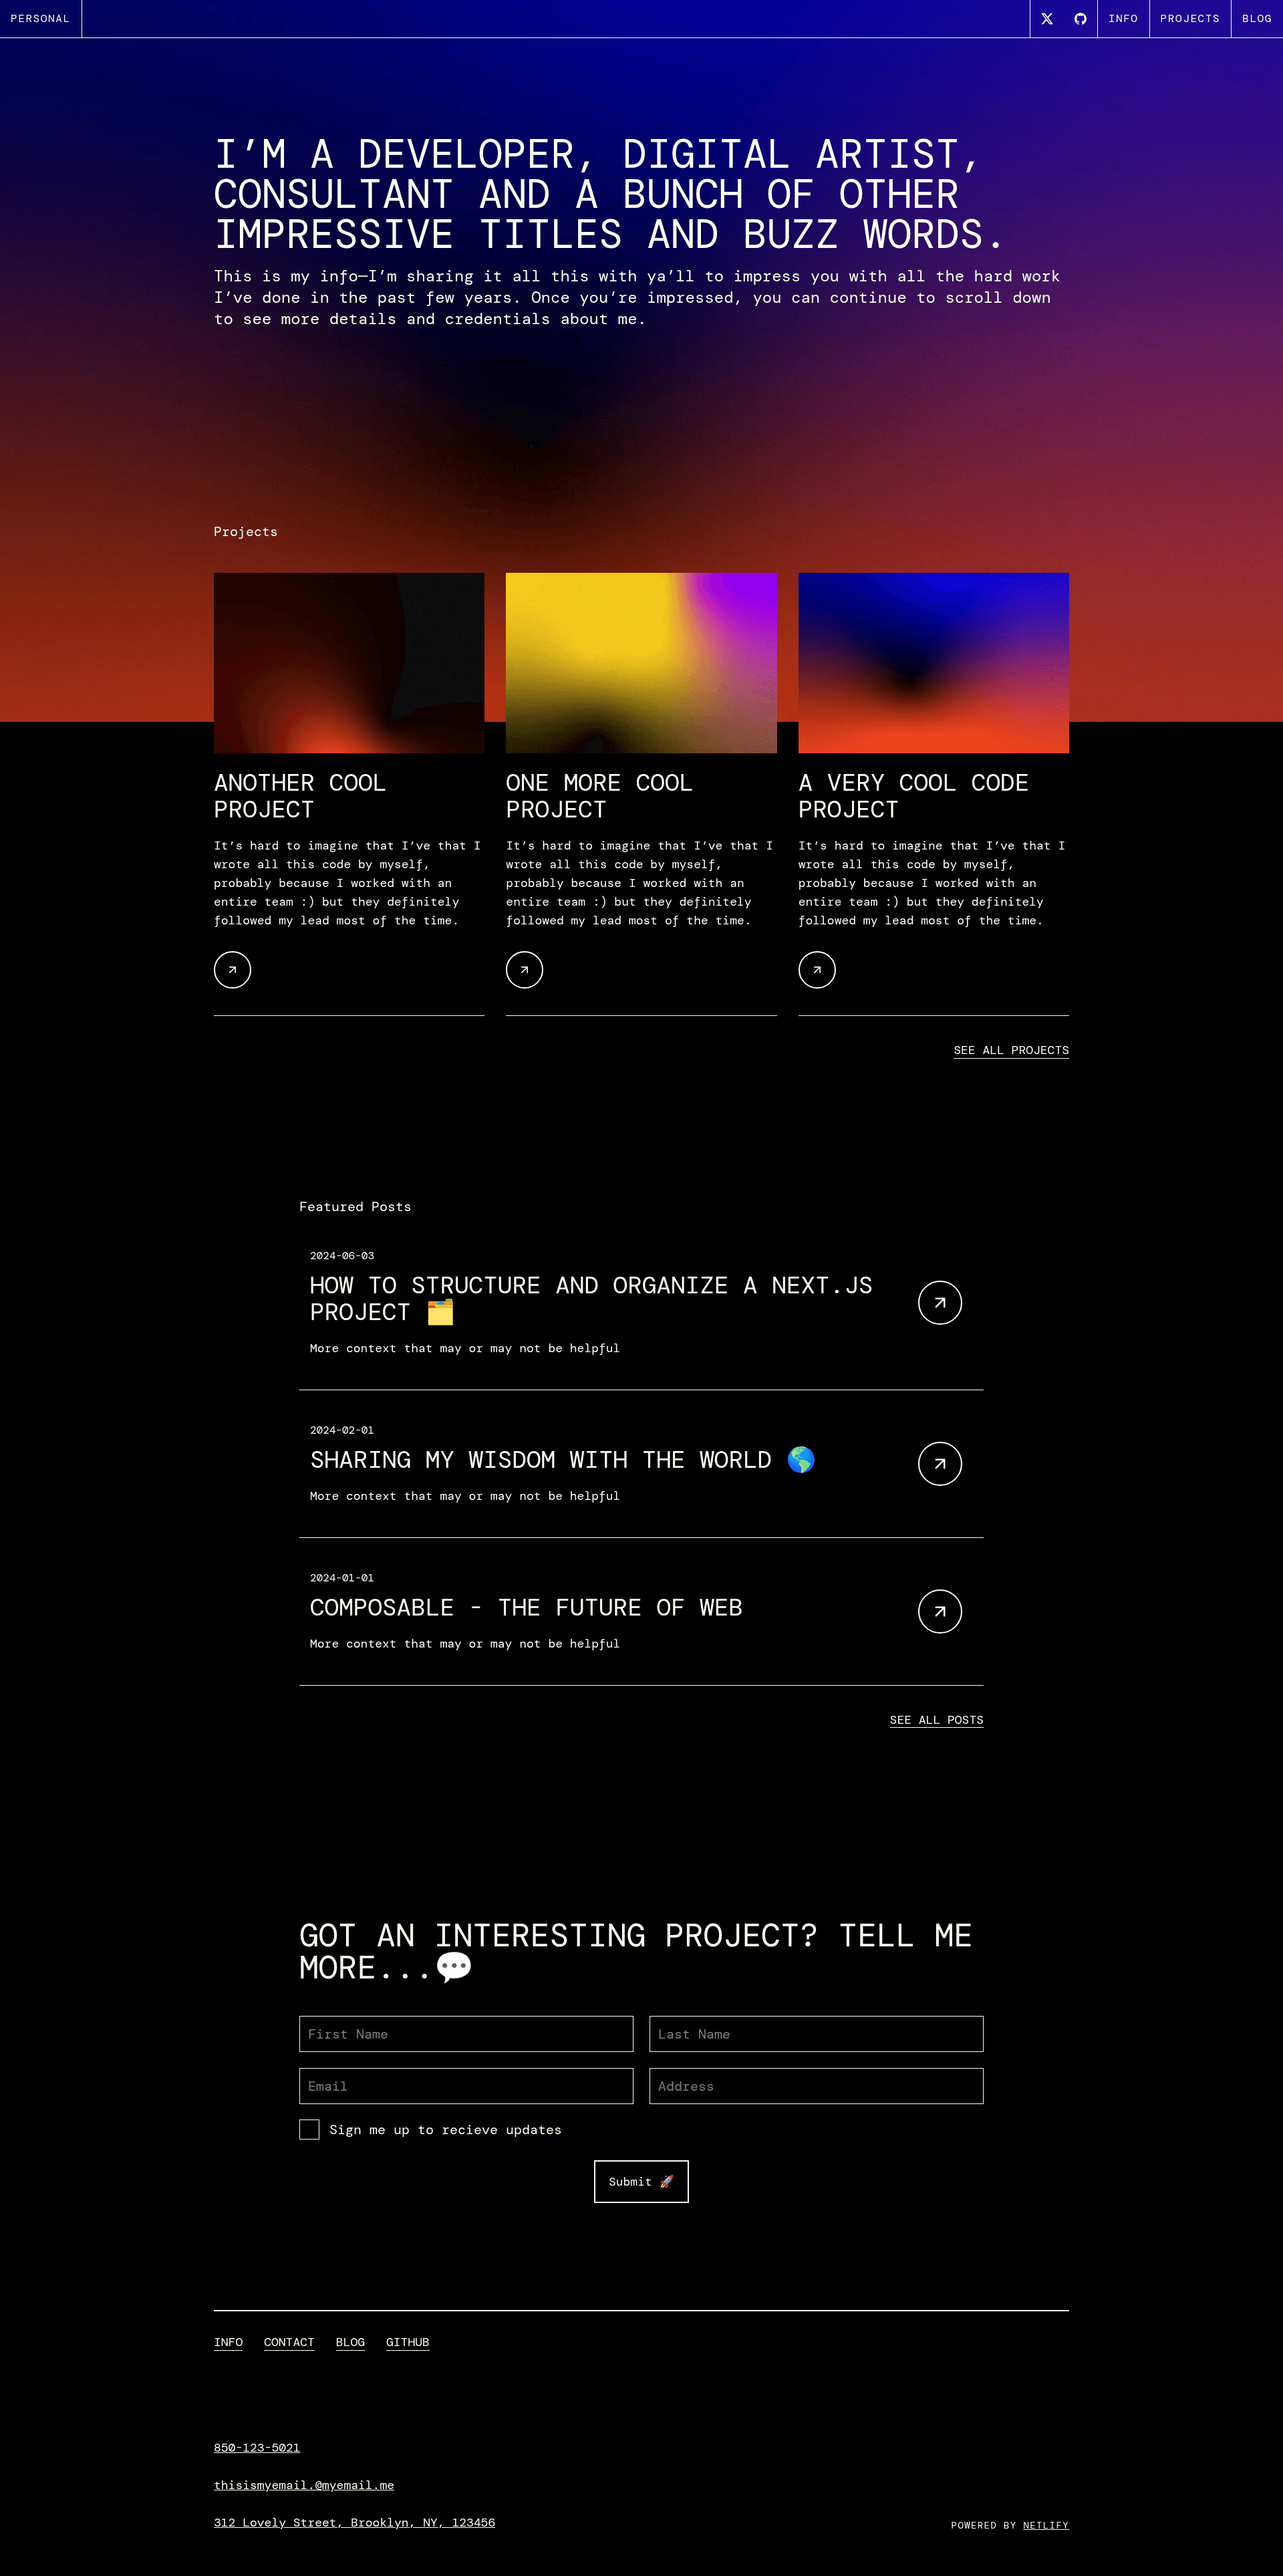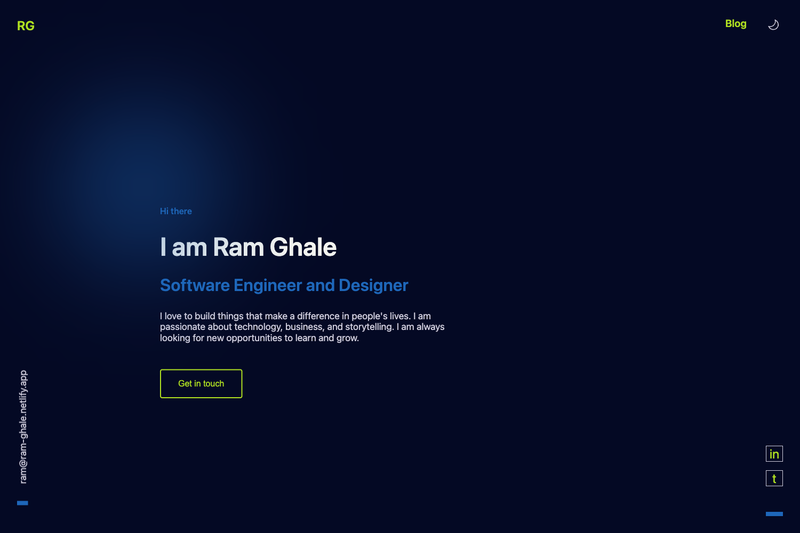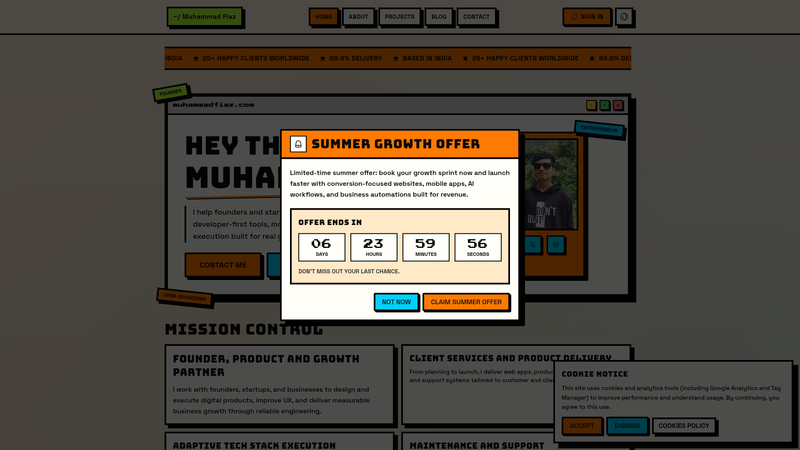
The Netlify Developer Portfolio Starter is a portfolio website template built with Next.js and Tailwind CSS that demonstrates how to apply Netlify Visual Editor annotations at scale, making every content sub-object editable in the browser without manually adding code throughout the codebase.
What is the Netlify Developer Portfolio Starter?
This is a full-fledged portfolio site template created by Netlify, based on the repository netlify-templates/auto-annotated-portfolio. It runs on Next.js and uses Tailwind CSS for styling, with content sourced from a Git repository via the Git Content Source. The template's core function is to show how to make components highlightable in the Netlify Visual Editor by adding an annotation property to content objects as they are loaded (in src/utils/content.ts) and then wrapping each component with an annotation when rendering (in src/components/components-registry.tsx). The output is a deployable portfolio site where editors can click directly on page sections to edit their content in the visual editor.
Key Features
- Next.js framework — The project is built on Next.js, with a development server started via
npm run dev. - Tailwind CSS styling — Utility-first styling is configured with Tailwind CSS, giving you a responsive portfolio layout out of the box.
- Git Content Source — Content is stored in and pulled from a Git repository, so changes can be versioned and deployed through Netlify.
- Auto-annotation at scale — Instead of hand-coding data attributes on every element, the starter adds an annotation property to each content object and dynamically matches content sub-objects to their components, wrapping each in an annotation automatically.
- One-click Deploy to Netlify — Clicking the Deploy to Netlify button creates a new repository from this template and sets it up for immediate deployment on Netlify.
- Live demo — A working demo is available at auto-annotated-portfolio.netlify.app.
- Visual Editor local workflow — You can run the Netlify Visual Editor CLI (
@stackbit/cli) withstackbit devto get a local visual editor URL for editing content in place.
Who is it for?
- Developers building a personal portfolio — You get a modern Next.js and Tailwind site ready to deploy, with a built-in editing workflow.
- Teams adopting Netlify Visual Editor — This starter serves as a reference implementation for annotation at scale, showing how to make component-level content editable without scattering annotation code through components.
- Content editors — Once deployed, editors with Netlify access can edit text and images directly on the page through the visual editor overlay.
What can you do with the Netlify Developer Portfolio Starter?
- Portfolio site creation: Deploy a complete portfolio site to Netlify with a single button, then customize the content from the Git source.
- Learning visual editor annotations: Follow the code in
src/utils/content.tsandsrc/components/components-registry.tsxto understand the pattern for applying annotations programmatically. - Local editing workflow: Clone the repository, run
npm install, start Next.js, then launch the@stackbit/clivisual editor to get a URL where you can edit content before committing changes.
How does the Netlify Developer Portfolio Starter work?
To get started locally, first clone the repository and install dependencies with npm install in the root directory. Then run npm run dev to start the Next.js development server. In a separate terminal, install the Netlify Visual Editor CLI globally with npm install -g @stackbit/cli and run stackbit dev in the same project directory, which outputs a local visual editor URL to open and sign in to. Deploying to production is handled through the Deploy to Netlify button, which creates a new repo like this one and configures it for deployment.
FAQ
Is the Netlify Developer Portfolio Starter free?
The repository is publicly available in the netlify-templates GitHub organization, so you can clone and use the code freely. Deploying it to production requires a Netlify account, and your ongoing costs depend on the Netlify plan you choose.
Does this template work without Netlify?
The underlying Next.js site is a standard application, so it can be hosted elsewhere. However, the visual editor features are built for Netlify Visual Editor and the Git Content Source, so the annotation and in-browser editing workflow works best on Netlify.
How do I run the developer portfolio locally?
Clone the repository, run npm install, then npm run dev for the Next.js server. To get visual editing, install the @stackbit/cli globally and run stackbit dev in a second terminal, then open the printed URL and sign in.
What is the Git Content Source in this template?
It's a Netlify Visual Editor integration that reads content directly from your Git repository. In this starter, content objects are defined in the repo and annotated with editable properties, then they are matched to components dynamically using the component registry.