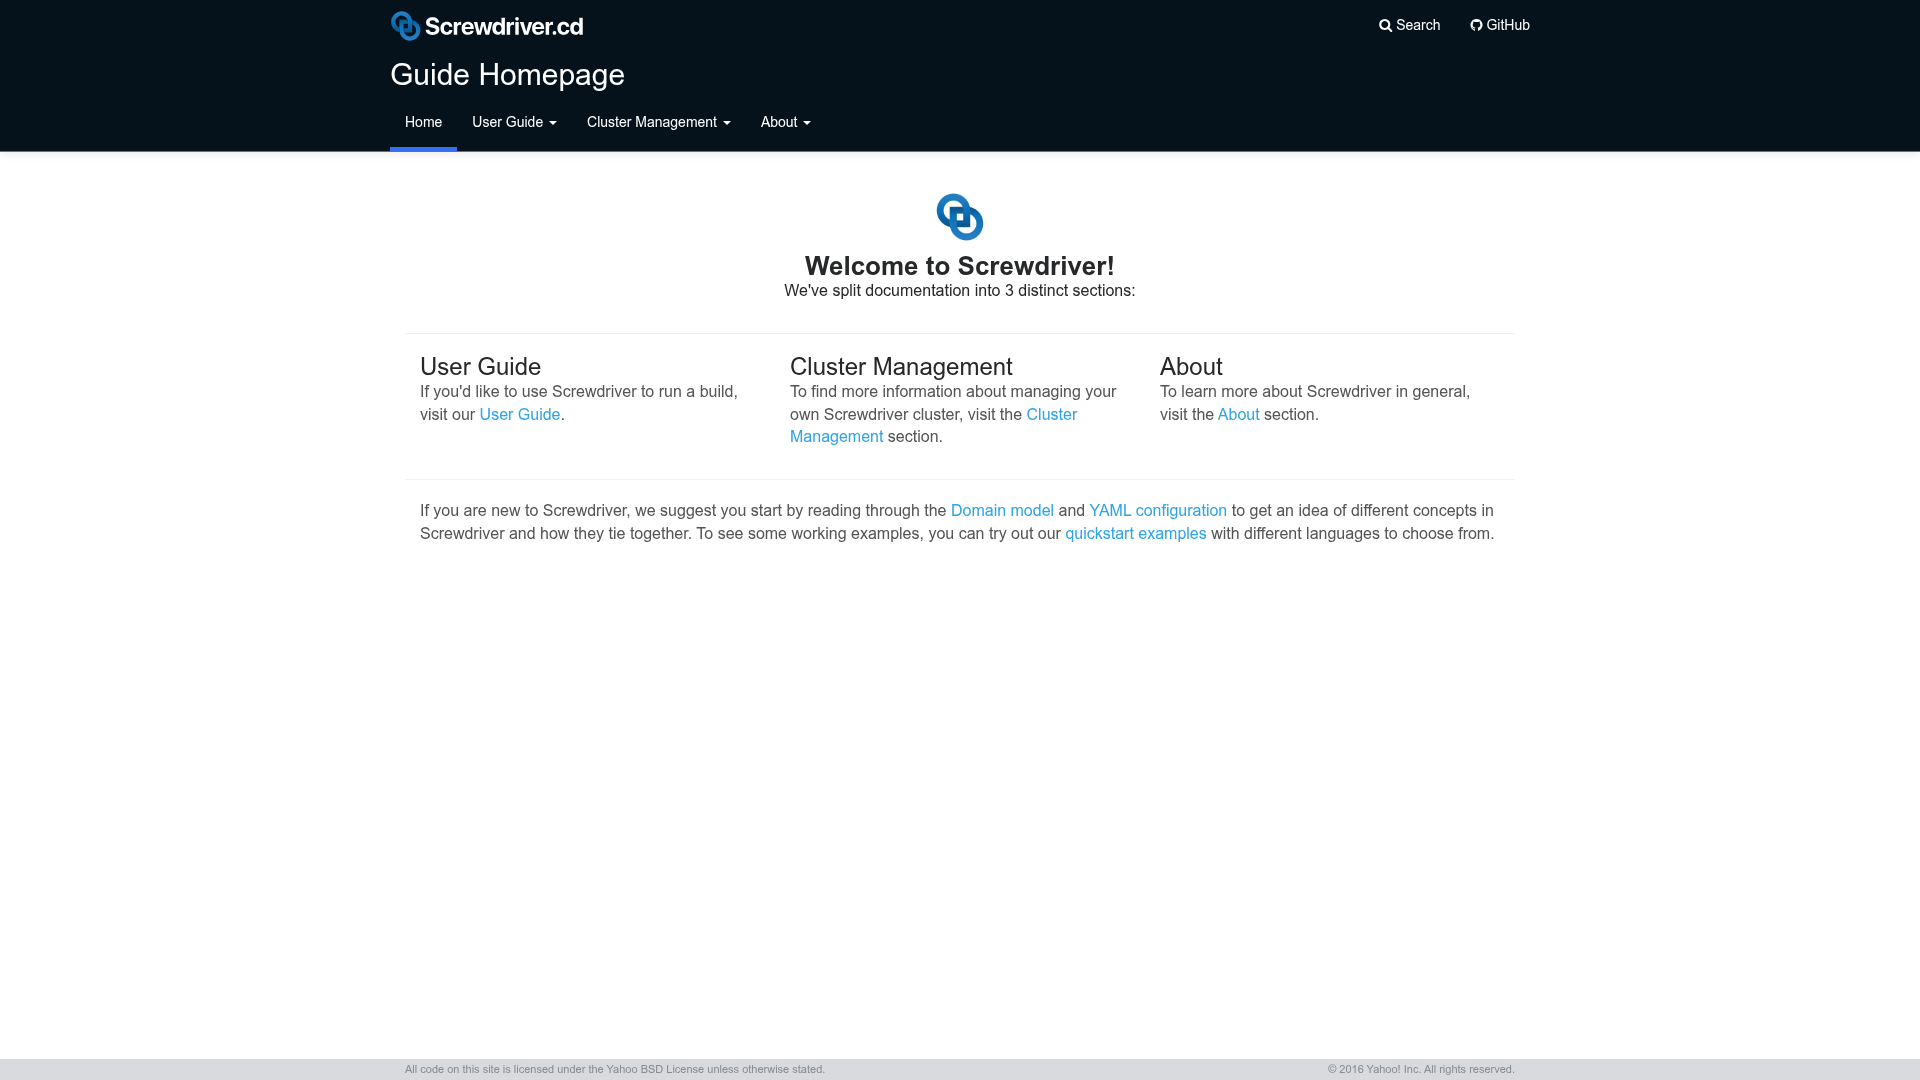
The Screwdriver Guide is a Jekyll-powered documentation template that publishes the official docs, cluster-management guides, and contributor instructions for the Screwdriver continuous delivery service. It takes Markdown source files from a docs folder, a menu tree in docs/_data/menu.yaml, and a single _config.yml configuration file, and generates a static site you can serve locally or host anywhere.
What is the Screwdriver Guide?
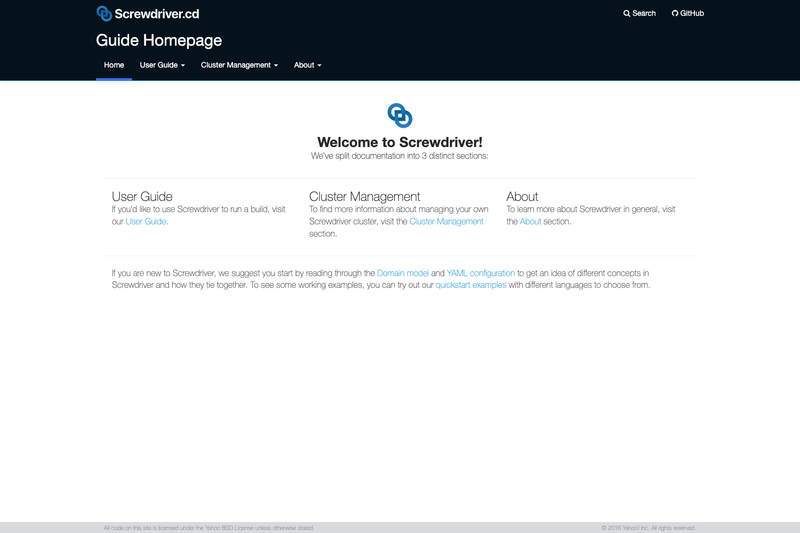
The Screwdriver Guide is the documentation repository for Screwdriver, an open-source, self-contained CD service for building, testing, and continuously delivering software using containerization. The project runs on Jekyll 3.8.4 (also validated with the jekyll/jekyll:4.2.0 Docker image) and is maintained by the Screwdriver.cd community on GitHub. The documentation covers four main sections: Homepage, Cluster Management for SD owners, User Guide, and About.
Key Features
- Jekyll static site generation — Compiles Markdown documents into HTML using Jekyll's built-in server; no database required.
- Two local run methods — Run via Docker (
docker run -v $PWD:/srv/jekyll:rw -p 4080:4000 -it jekyll/jekyll jekyll serve --source docs --destination _site) or install Ruby, RubyGems, and Bundler and runbundle exec jekyll serve --source docs --destination _site. - Automated preview server — Jekyll's webserver serves the site at
http://127.0.0.1:4000/with auto-regeneration enabled, so doc changes are rebuilt while you work. - Multi-language support — Local builds serve alternate language indexes at paths like
/ja/for Japanese. - Simple contribution workflow — Add a new Markdown file to the
docsfolder hierarchy and add an entry to the menu tree indocs/_data/menu.yaml. - Dockerized build with caching option — The Docker approach downloads all gems on every run, but you can
docker committhe container to a cached image for faster rebuilds. - Built with Screwdriver itself — The repository shows a build status badge linked to a Screwdriver pipeline (pipeline 27), dogfooding the CD service.
Who should use the Screwdriver Guide?
- Screwdriver CD users who need to get started quickly with the Quickstart guide, API reference, authentication, and
screwdriver.yamlconfiguration. - Screwdriver cluster administrators who manage their own installations and need the overall architecture, configuration of API/UI/Store/Queue services, and Kubernetes setup examples.
- Contributors to the Screwdriver project who want to follow the contributing guide and preview their documentation changes locally before submitting a pull request.
What can you do with the Screwdriver Guide?
- End users: Read the User Guide to configure pipelines, use templates, manage secrets, and set up authentication and authorization.
- Cluster owners: Follow the Cluster Management section to configure the API, datastore plugins, UI, Store logging plugins, and queue service, plus examples for setting up Kubernetes.
- Documentation contributors: Fork the repository, add or edit Markdown pages, run Jekyll locally via Docker or Bundler, and verify the rendered site before opening a change.
How does the Screwdriver Guide work?
The repository stores all documentation as Markdown files in a docs directory with a _config.yml configuration file. After cloning, you either run the official Jekyll Docker image (mounting your working directory and mapping port 4080 to 4000) or install Ruby, RubyGems, and Bundler, then run bundle install and bundle exec jekyll serve --source docs --destination _site. Jekyll generates the static site to _site and serves it locally.
Pros and cons
- Pros: No database or backend needed; Jekyll's built-in server makes local preview easy; contribution workflow is a simple file addition plus menu entry; supports multiple languages; can be containerized.
- Cons: Local runs require either Docker or a Ruby environment (Ruby 2.1 or above); the non-cached Docker workflow downloads all gems on every run.
FAQ
How do I run the Screwdriver Guide locally?
Clone the repository, then either run the Jekyll Docker image with docker run -v $PWD:/srv/jekyll:rw -p 4080:4000 -it jekyll/jekyll jekyll serve --source docs --destination _site, or install Ruby, RubyGems, and Bundler and run bundle install followed by bundle exec jekyll serve --source docs --destination _site. Open http://127.0.0.1:4000/ in your browser.
What Ruby version do I need?
Jekyll supports Ruby version 2.1 or above. The guide was tested with Ruby 2.4.1, RubyGems 2.6.12, Bundler 1.15.1, and Jekyll 3.8.4.
Does the guide support multiple languages?
Yes. When running locally, you can access language-specific index pages at paths like http://127.0.0.1:4000/ja/ for the Japanese index page.
How do I add a new documentation page?
Add a new Markdown document to the folder hierarchy in docs, then add an entry to the tree in docs/_data/menu.yaml. Jekyll will pick it up on the next build.
Can I contribute to the guide?
Yes. The repository includes a contributing guide linked from the README, and the About section of the docs covers contributing and support.