Newsletter
Join the Community
Subscribe to our newsletter for the latest news and updates

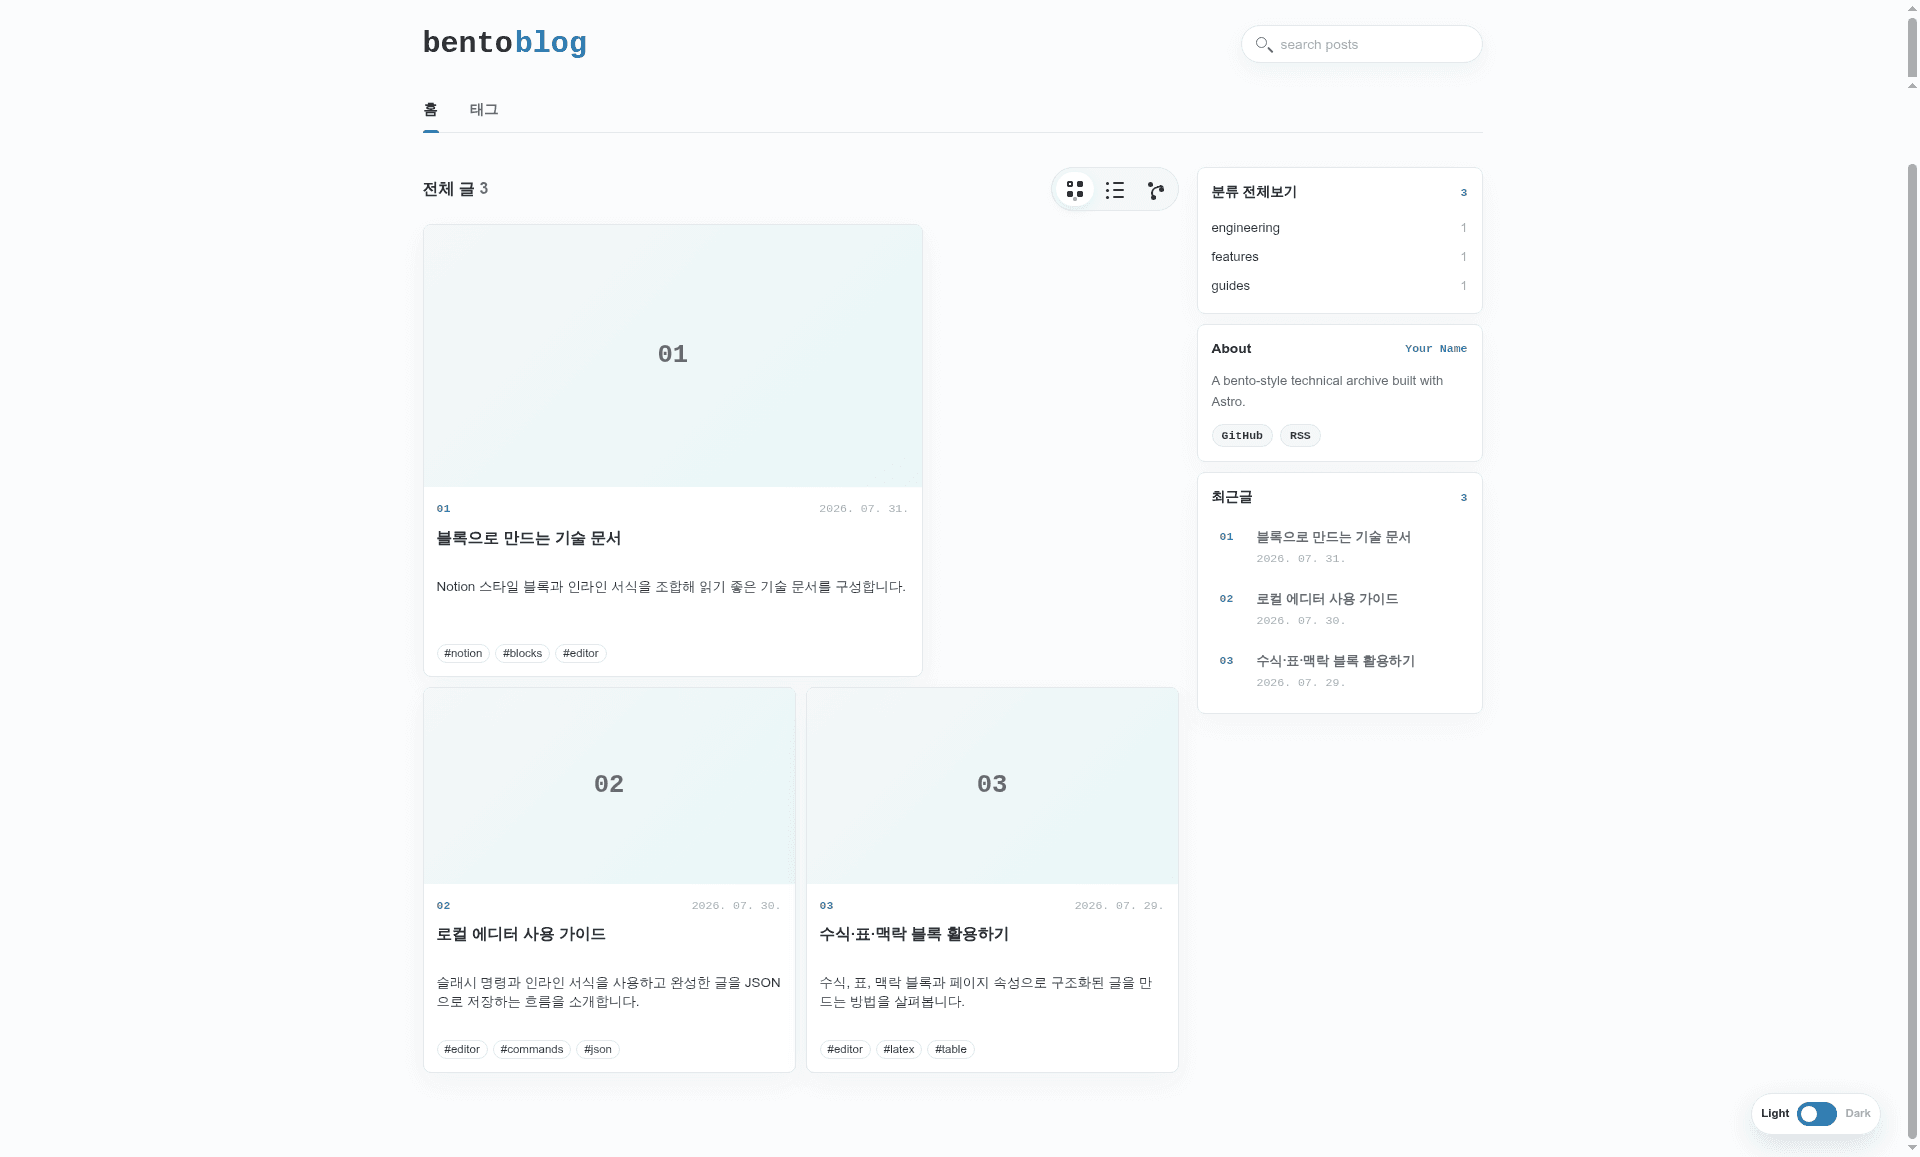
A free, open-source Astro blog theme with bento, list, and network archive views, a Notion-inspired block post format, and a built-in browser editor.
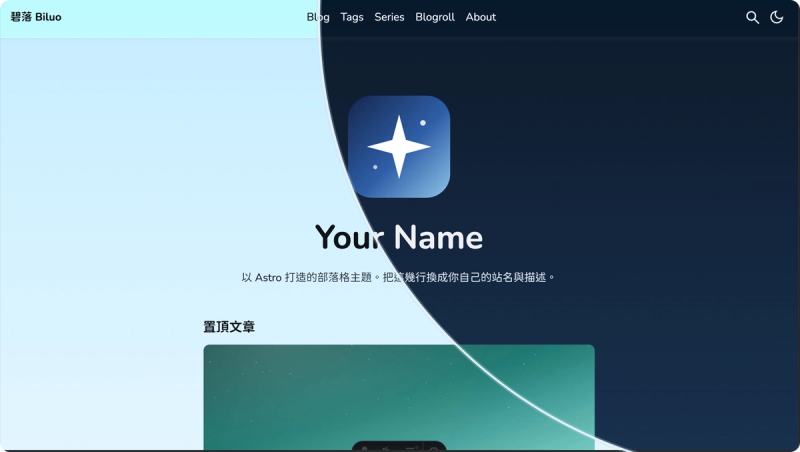
A clean, performance-focused Astro blog theme deployed to Cloudflare Workers Static Assets, with Pagefind search, Giscus comments, dark mode, series and tags.
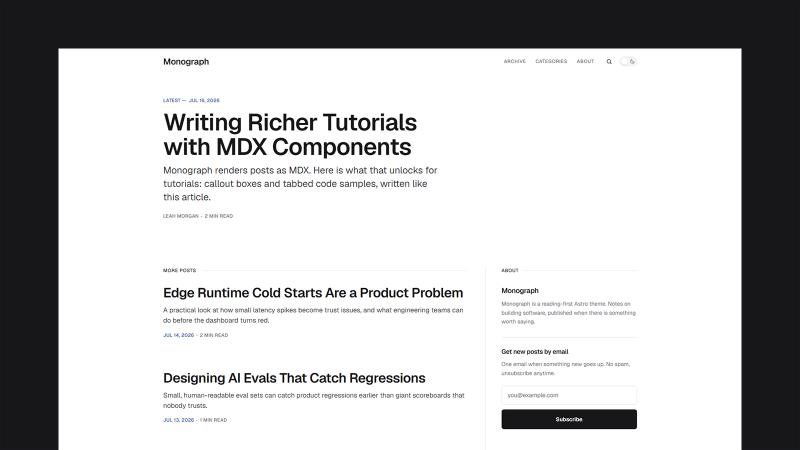
Free text-first Astro 7 blog theme for essays, notes, and long-form writing with static output, search, and dark mode.
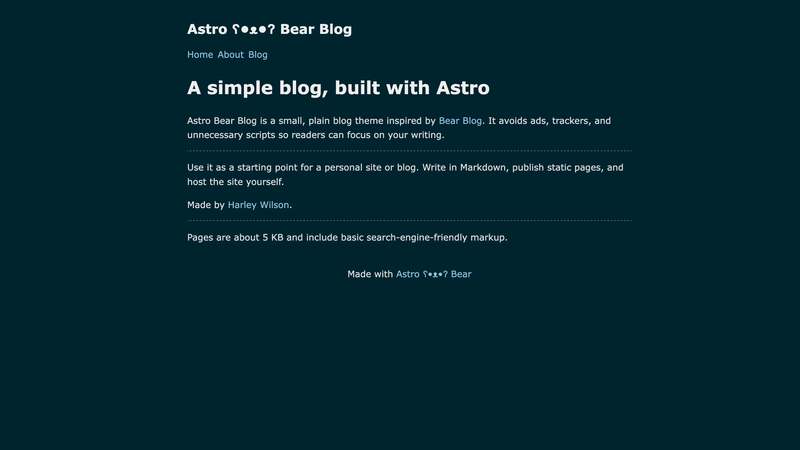
A complete, static Astro blog template with Bear Blog-inspired design, Markdown/MDX content, tags, RSS, and minimal CSS.
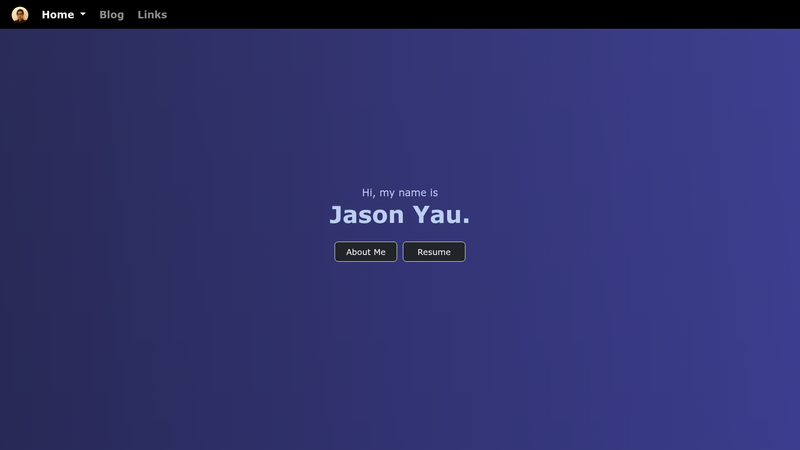
Fully customizable personal portfolio and blog website made with Spring Boot
Astro Bento Blog Template is a free, open-source Astro blog theme that combines a bento-grid archive, a block-based post format, and a built-in browser editor for producing static blogs.
Astro Bento Blog Template is a free, open-source Astro blog theme that takes Post JSON v2 documents as content and generates a static blog with bento, list, and network archive layouts. It is maintained by dgddgd314 on GitHub, requires Node.js 22.12.0 or newer, and is licensed under MIT. The theme uses Astro Content Collections, Tailwind CSS 4, and TypeScript.
To get started, use GitHub's "Use this template" button or run npm create astro@latest my-blog -- --template dgddgd314/astro-bento-blog-template, then install dependencies with npm install and run npm run dev. The default local site starts at http://localhost:4321. Customize src/config.ts for site metadata, URLs, and branding, and place Post JSON v2 files under src/content/blog/. For GitHub Pages project sites, set the deployment URL and base path in the config.
Yes, the template is free and open-source under the MIT license. You can view and fork the repository on GitHub at github.com/dgddgd314/astro-bento-blog-template.
Node.js 22.12.0 or newer is required. The template uses Astro, Tailwind CSS 4, and TypeScript, and dependencies are managed through npm.
Push the project to a GitHub repository on the main branch, open Settings → Pages, choose GitHub Actions as the deployment source, and run the included workflow. It builds the site and publishes the dist/ folder.
The upload feature is optional and only activates when you configure Drive settings in the /editor/. You need a Google Drive folder, a Google Cloud project with the Drive API enabled, and a Web application OAuth client ID. The editor requests only the drive.file scope and stores the access token in memory.