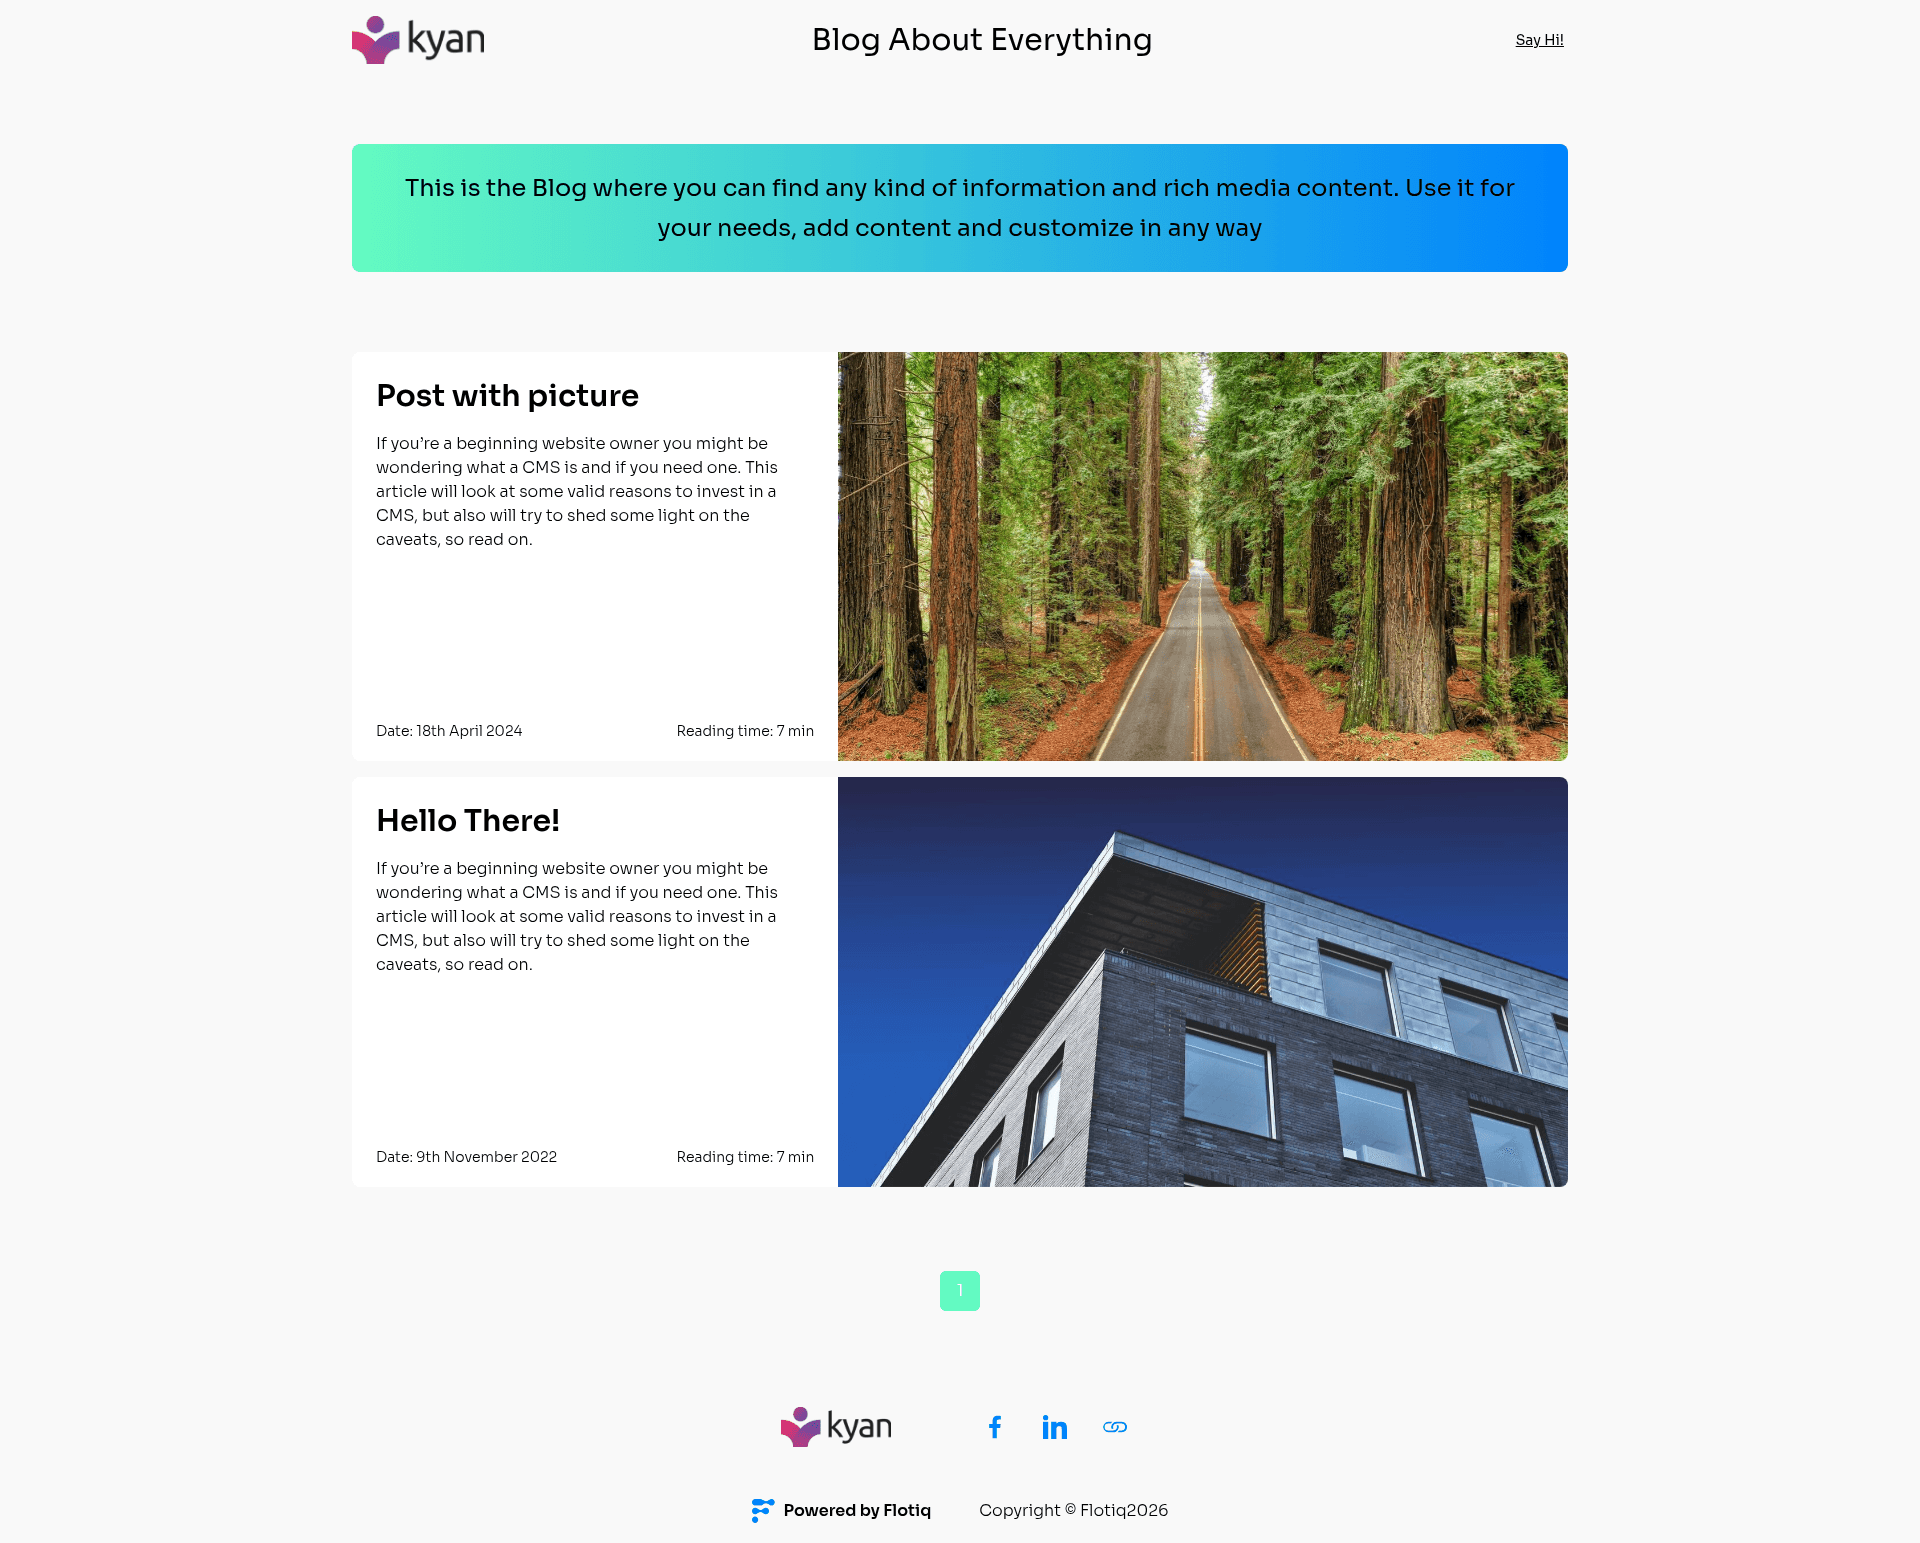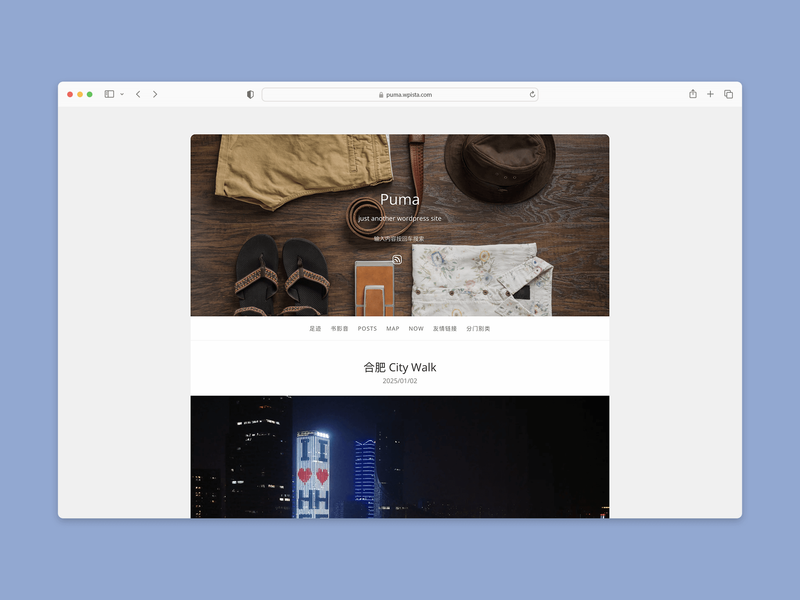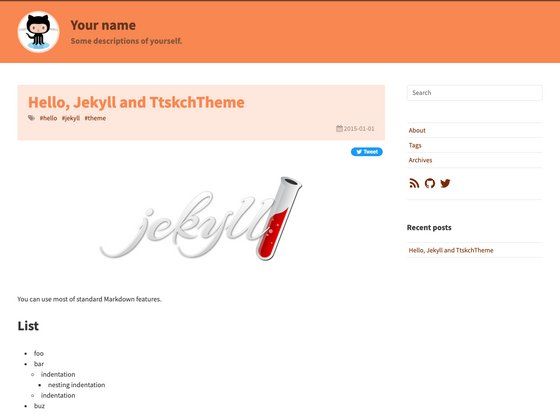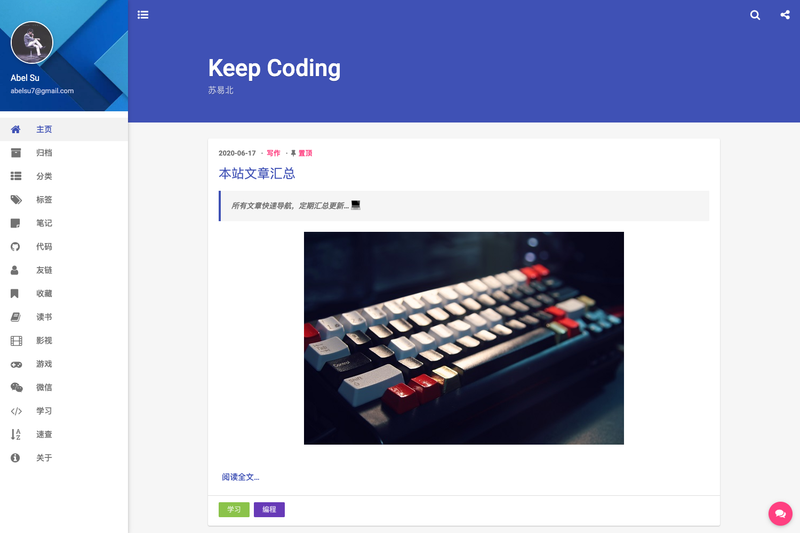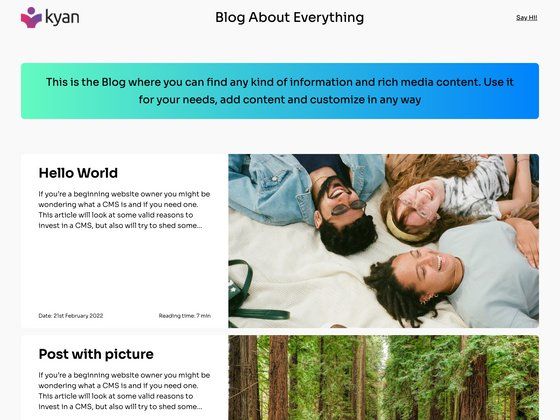
Flotiq Gatsby Blog 1 is a Gatsby 5 starter template for building a blog site whose content is managed in the Flotiq headless CMS and rendered as static pages styled with Tailwind CSS. A live demo is available at flotiq-gatsby-blog-1.netlify.app, and the starter is maintained by Flotiq with an MIT license.
What is the Flotiq Gatsby Blog 1 starter?
This starter is a complete Gatsby project boilerplate for a blog. It takes content stored in a Flotiq account as input, pulls it into Gatsby's GraphQL data layer via the gatsby-source-flotiq plugin, and produces a static blog site. It runs on Node.js version 18.0.0 or higher because it depends on Gatsby 5, and it includes the configuration files needed for development, deployment, and content management.
Key Features
- Gatsby 5 framework — Built on Gatsby 5, so it requires Node.js 18.0.0 or newer and uses Gatsby's file layout (gatsby-config.js, gatsby-browser.js, gatsby-node.js) for customization.
- Flotiq headless CMS integration — Uses the gatsby-source-flotiq plugin to fetch Content Objects from a Flotiq account during the Gatsby build, with no manual content types required to start.
- Tailwind CSS styling — Tailwind is configured through tailwind.config.js, and the source directory includes global styles under src/style.
- Flotiq React components — The flotiq-components-react library is included for rendering Flotiq Content Objects inside React components.
- One-command scaffold with Flotiq CLI — Running
flotiq startwith a project name and a read-and-write API key clones the repo, installs dependencies, writes the .env file, imports example data, and launches the development server. - Sample data import — The .flotiq directory contains content type definitions, and the
flotiq import .flotiqcommand adds four example objects to your Flotiq account so the blog has content immediately. - Multiple deploy targets — One-click deploy buttons are provided for Heroku, Netlify, and Cloudflare Workers, with a wrangler.toml and worker-index.js included for the Workers deployment.
- Environment variable setup — The .env.development file expects GATSBY_FLOTIQ_API_KEY for the CMS connection and GA_MEASUREMENT_ID for Google Analytics.
Who should use the Flotiq Gatsby Blog 1 starter?
- Developers new to Flotiq — Use this starter to see how gatsby-source-flotiq connects a Flotiq account to Gatsby's data layer, then edit src/templates/index.js to change the blog layout.
- Blog owners who want a headless CMS — Write and edit posts in the Flotiq editor instead of Markdown files, and rebuild the Gatsby site to publish changes.
- Teams needing multi-platform deployment — Deploy the same codebase to Netlify, Heroku, or Cloudflare Workers with the provided configuration files and one-click setup buttons.
What can you do with the Flotiq Gatsby Blog 1 starter?
- Launch a blog quickly: Scaffold the project with the Flotiq CLI, import the four sample Content Objects, and run
gatsby developto get a working blog at localhost:8000. - Manage content in a visual editor: Use the Flotiq editor to create and update Content Objects, then rebuild the static site to reflect changes in production.
- Deploy to a serverless platform: Use the Cloudflare Workers deploy button and add a GATSBY_FLOTIQ_API secret to your GitHub repository to redeploy with your own API key.
How does the template work?
- Install the Flotiq CLI globally with
npm install -g flotiq-cli. - Run
flotiq start [projectName] [flotiqApiKey]using a read-and-write API key; the CLI clones the template, installs dependencies, creates the .env file, and imports sample data. - Run
gatsby developto start the development server, or redeploy after editing content in the Flotiq editor. - For production, issue a
gatsby buildafter content changes, or configure the Flotiq Gatsby or Netlify plugin to trigger rebuilds automatically.
Pros and cons
- Pros: MIT licensed; includes a live demo; supports three one-click deploy targets; ships with sample content and content type definitions; no manual content types needed to import data.
- Cons: Because Gatsby generates static pages, every content change in Flotiq requires a rebuild; in development you must rerun
gatsby developafter data updates and rungatsby cleanafter Content Type Definition changes.
FAQ
What Node.js version does the Flotiq Gatsby Blog 1 starter require?
The project requires Node.js 18.0.0 or higher, as stated in the README. This is because the starter depends on Gatsby 5, which no longer supports older Node versions.
How do I update content in production?
When you edit a Content Object in the Flotiq editor, you must rebuild the site with gatsby build. For Gatsby Cloud or Netlify, the README points to official Flotiq plugins that automate rebuilds; for other hosts, you can configure a webhook on data change.
Do I need to create content types before importing sample data?
No. The README explicitly notes that you do not need any content types in your account. The .flotiq directory supplies the necessary content type definitions, and the import command adds four example objects to your account automatically.
What environment variables are required?
The .env.development file must contain GATSBY_FLOTIQ_API_KEY (your Flotiq API key) and GA_MEASUREMENT_ID (your Google Analytics measurement ID). The values are read by the gatsby-source-flotiq plugin and the analytics setup during build.
Can I deploy this starter to Cloudflare Workers?
Yes. The repository includes a wrangler.toml and worker-index.js for Cloudflare Workers, and a deploy button is provided. If you use your own API key, you need to fork the repository, add GATSBY_FLOTIQ_API as a GitHub secret, then run the "Deploy Cloudflare Worker" workflow manually.