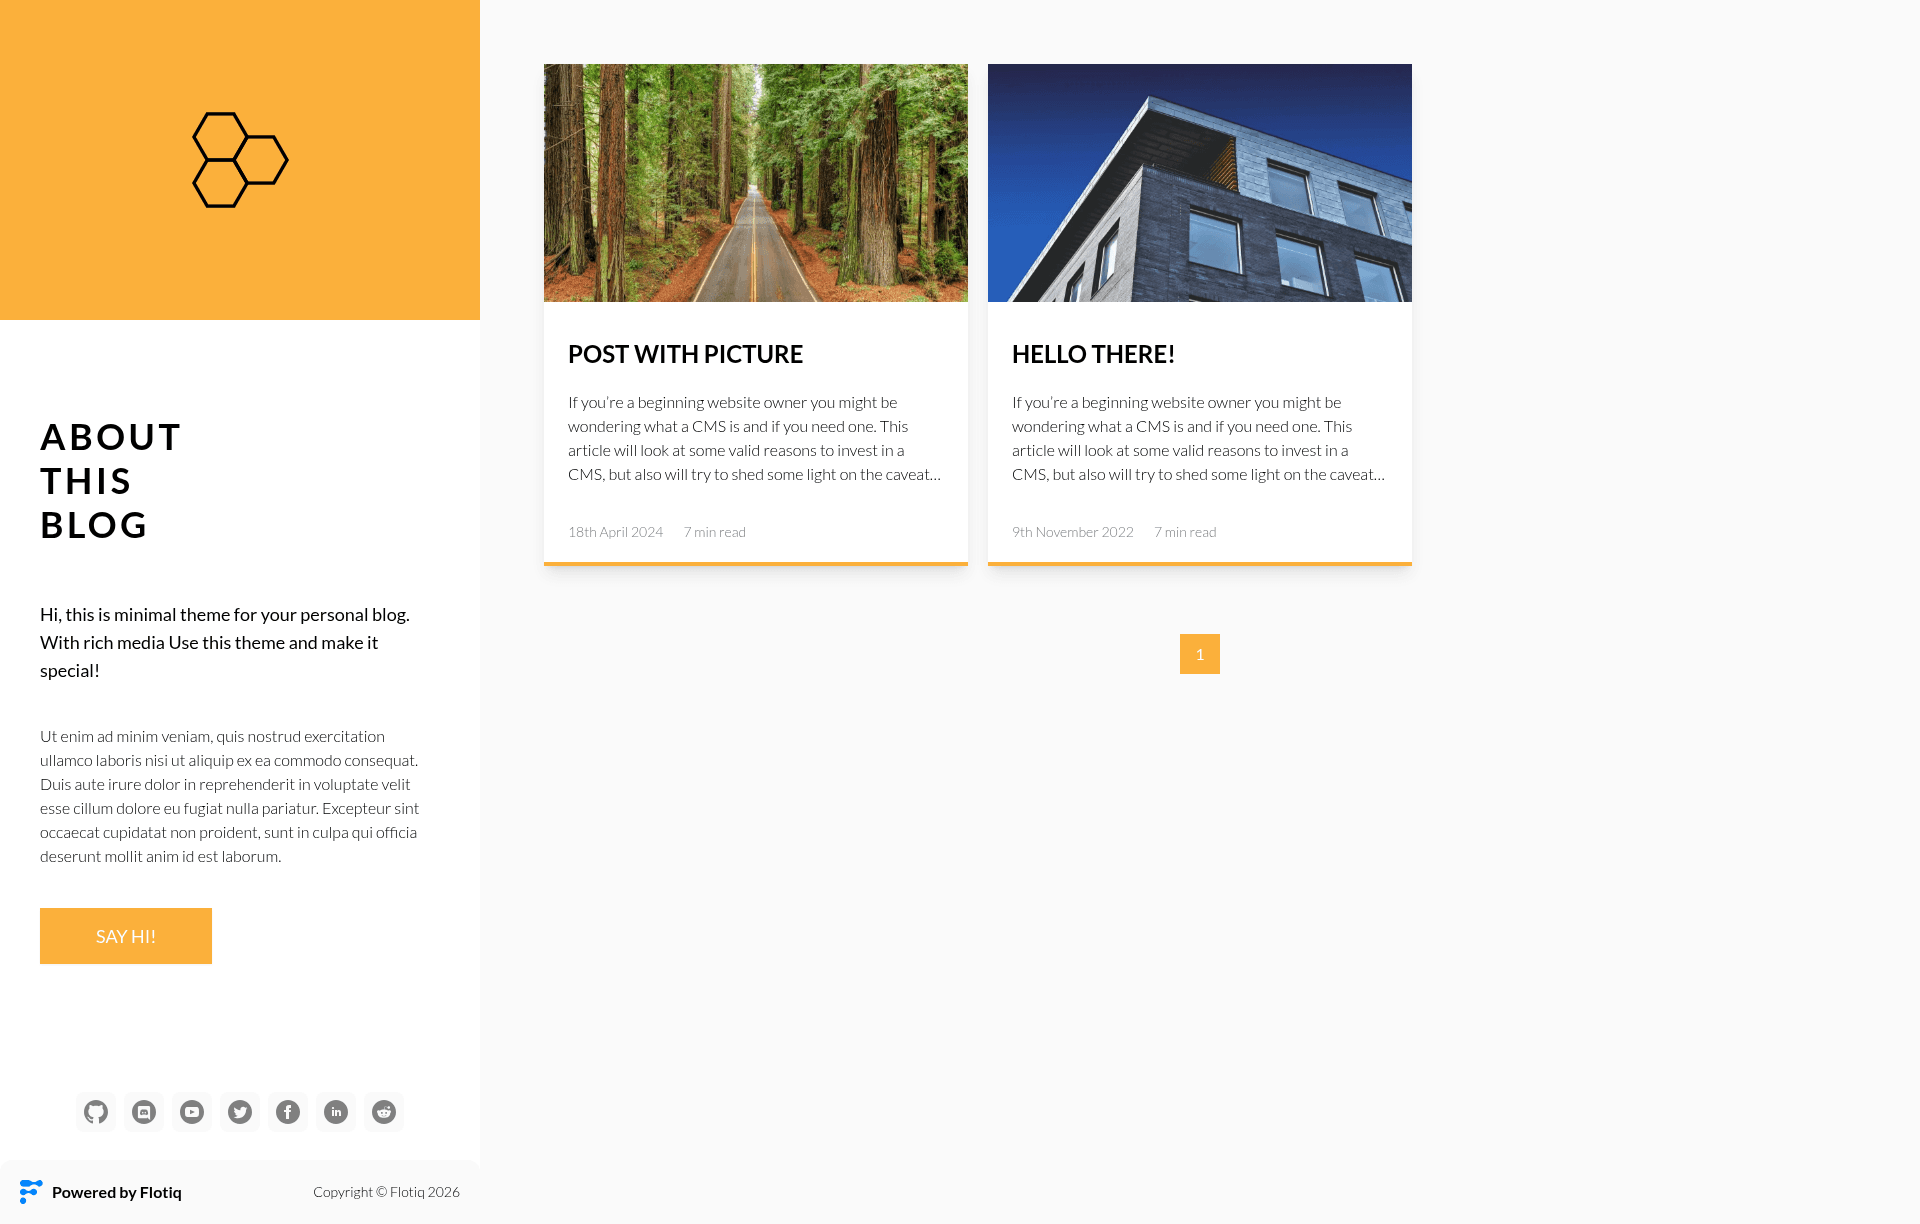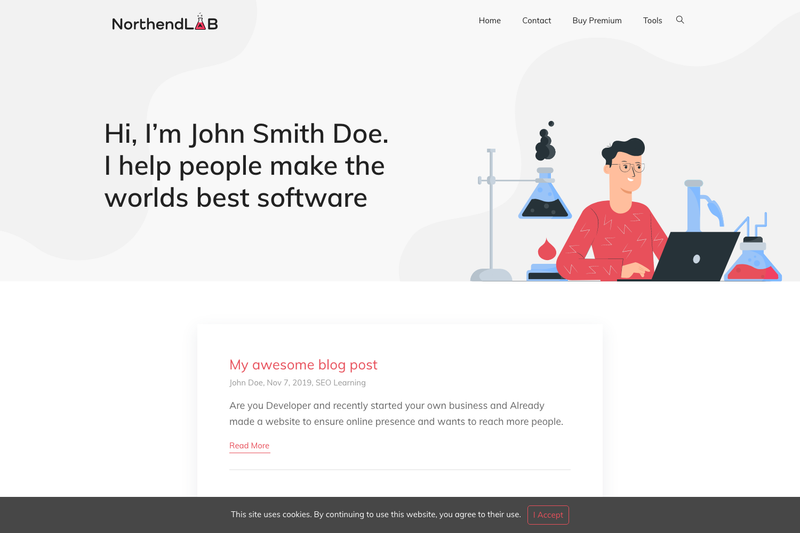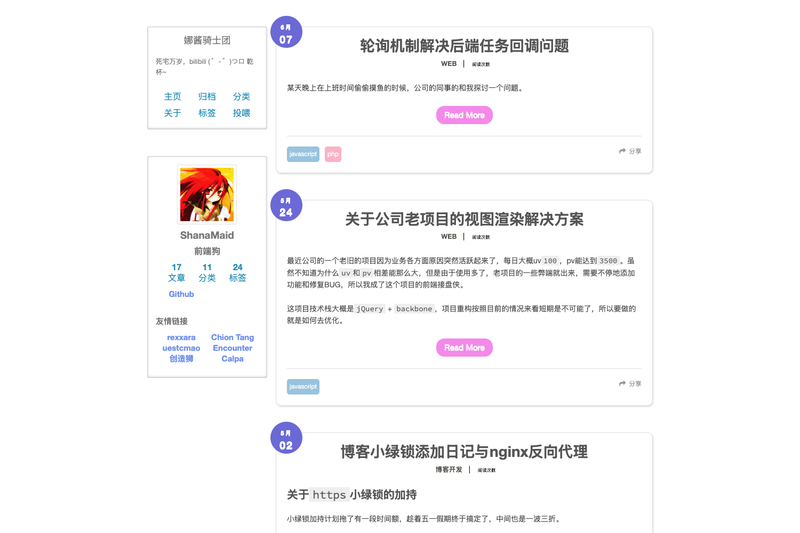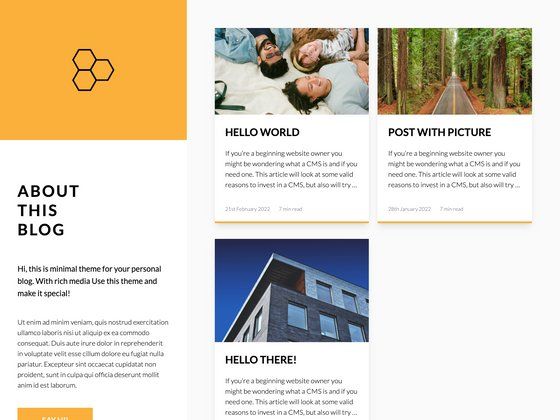
Flotiq Gatsby Blog 2 is a Gatsby starter that produces a static blog site from content managed in the Flotiq headless CMS, styled with Tailwind CSS and deployable to Netlify, Heroku, or Cloudflare Workers.
What is Flotiq Gatsby Blog 2?
Flotiq Gatsby Blog 2 is an open-source project starter created by the Flotiq team for building blog websites with Gatsby. It takes Flotiq content objects — fetched via the gatsby-source-flotiq plugin using a read/write API key — and compiles them into a static Gatsby 5 site. The template runs on Node 18 or newer and includes a live demo at https://flotiq-gatsby-blog-2.netlify.app.
The repository is structured as a standard Gatsby project with src/templates, src/components, src/layouts, src/pages, src/sections, and src/style directories, plus a .flotiq directory containing the content type definitions needed for the starter to work. Configuration lives in .env.development, where you set GATSBY_FLOTIQ_API_KEY and GA_MEASUREMENT_ID.
Key Features
- Flotiq CLI quick start — Run
flotiq startwith a project name, the GitHub repository URL, and a Flotiq read/write API key to clone the template, install npm dependencies, populate the .env file, import example data, and launchgatsby developin one command. - Tailwind CSS styling — The template ships with tailwind.config.js and global styles in src/style, giving you a utility-first CSS setup out of the box.
- Flotiq components for React — A component library designed to work with Flotiq Content Objects is included, so you can display your content without writing custom markup.
- Example data import — Running
flotiq import .flotiq [flotiqApiKey]adds four example objects to your Flotiq account, so you can see the blog populated immediately. - One-click deployments — Deploy buttons are provided for Heroku, Netlify, and Cloudflare Workers, each backed by configuration files like app.json, netlify.toml, and wrangler.toml.
- GraphiQL during development — Gatsby's built-in GraphiQL tool is available at localhost:8000/___graphql to experiment with content queries.
- MIT license — The starter is openly licensed for reuse and modification.
Who is it for?
- Developers starting a blog with Flotiq — use the CLI quick start to scaffold a working project in minutes, then edit src/templates/index.js to customize the design.
- Content teams that need a CMS — manage blog posts and other content objects in the Flotiq editor, then rebuild the static site to publish changes.
- Developers deploying to serverless platforms — take advantage of the included Cloudflare Workers configuration (worker-index.js, wrangler.toml) and the Netlify/Heroku deploy buttons.
What can you do with Flotiq Gatsby Blog 2?
- Set up a content-managed blog quickly — Use the Flotiq CLI to generate a fully configured project with example data, then replace the sample content with your own through the Flotiq editor.
- Customize the front-end — Tailor the site by editing the Gatsby templates, sections, and components under src, relying on Tailwind utilities for styling.
- Deploy to a static host — Push to Netlify or Heroku with the one-click buttons, or deploy to Cloudflare Workers; for Workers with your own API key, add a GATSBY_FLOTIQ_API secret to the forked repository and re-run the deployment workflow.
- Learn Gatsby and Flotiq — The README links to official Gatsby and Flotiq documentation, plus GraphiQL, for exploring queries and the data layer.
How does Flotiq Gatsby Blog 2 work?
- Install the Flotiq CLI globally:
npm install -g flotiq-cli. - Run
flotiq start [projectName] https://github.com/flotiq/flotiq-gatsby-blog-2.git [flotiqApiKey](use a read/write API key). - The CLI creates the project, installs dependencies, writes environment variables, and imports four example content objects.
- Start development with
gatsby develop— the site appears at localhost:8000. - Edit source files; in production, run
gatsby buildto recompile static pages after content changes.
FAQ
What environment variables do I need?
The .env.development file must contain GATSBY_FLOTIQ_API_KEY with your Flotiq API key, and GA_MEASUREMENT_ID for Google Analytics. The Flotiq CLI sets the API key automatically during quick start.
How do I update content after publishing?
Because Gatsby generates static pages from CMS content, you must rebuild the site whenever data changes. In development, rerun gatsby develop; in production, rebuild with gatsby build. If a Content Type Definition changes, run gatsby clean first. Hosting integrations for Gatsby Cloud and Netlify, or webhooks, can automate this.
Can I use my own Flotiq API key with the Cloudflare Workers deployment?
The built-in Cloudflare deploy button uses Flotiq's starter API key. To use your own, fork the repository, add a GATSBY_FLOTIQ_API secret under GitHub repository settings, then trigger the "Deploy Cloudflare Worker" workflow from the Actions tab.
What Node version is required?
The starter requires Node 18 or newer because it depends on Gatsby 5.
Is the starter free to use?
The starter itself is released under the MIT license, so it is free to use and modify. You will also need a Flotiq account; the content mentions creating one at editor.flotiq.com/register.html, and an API key for importing data.