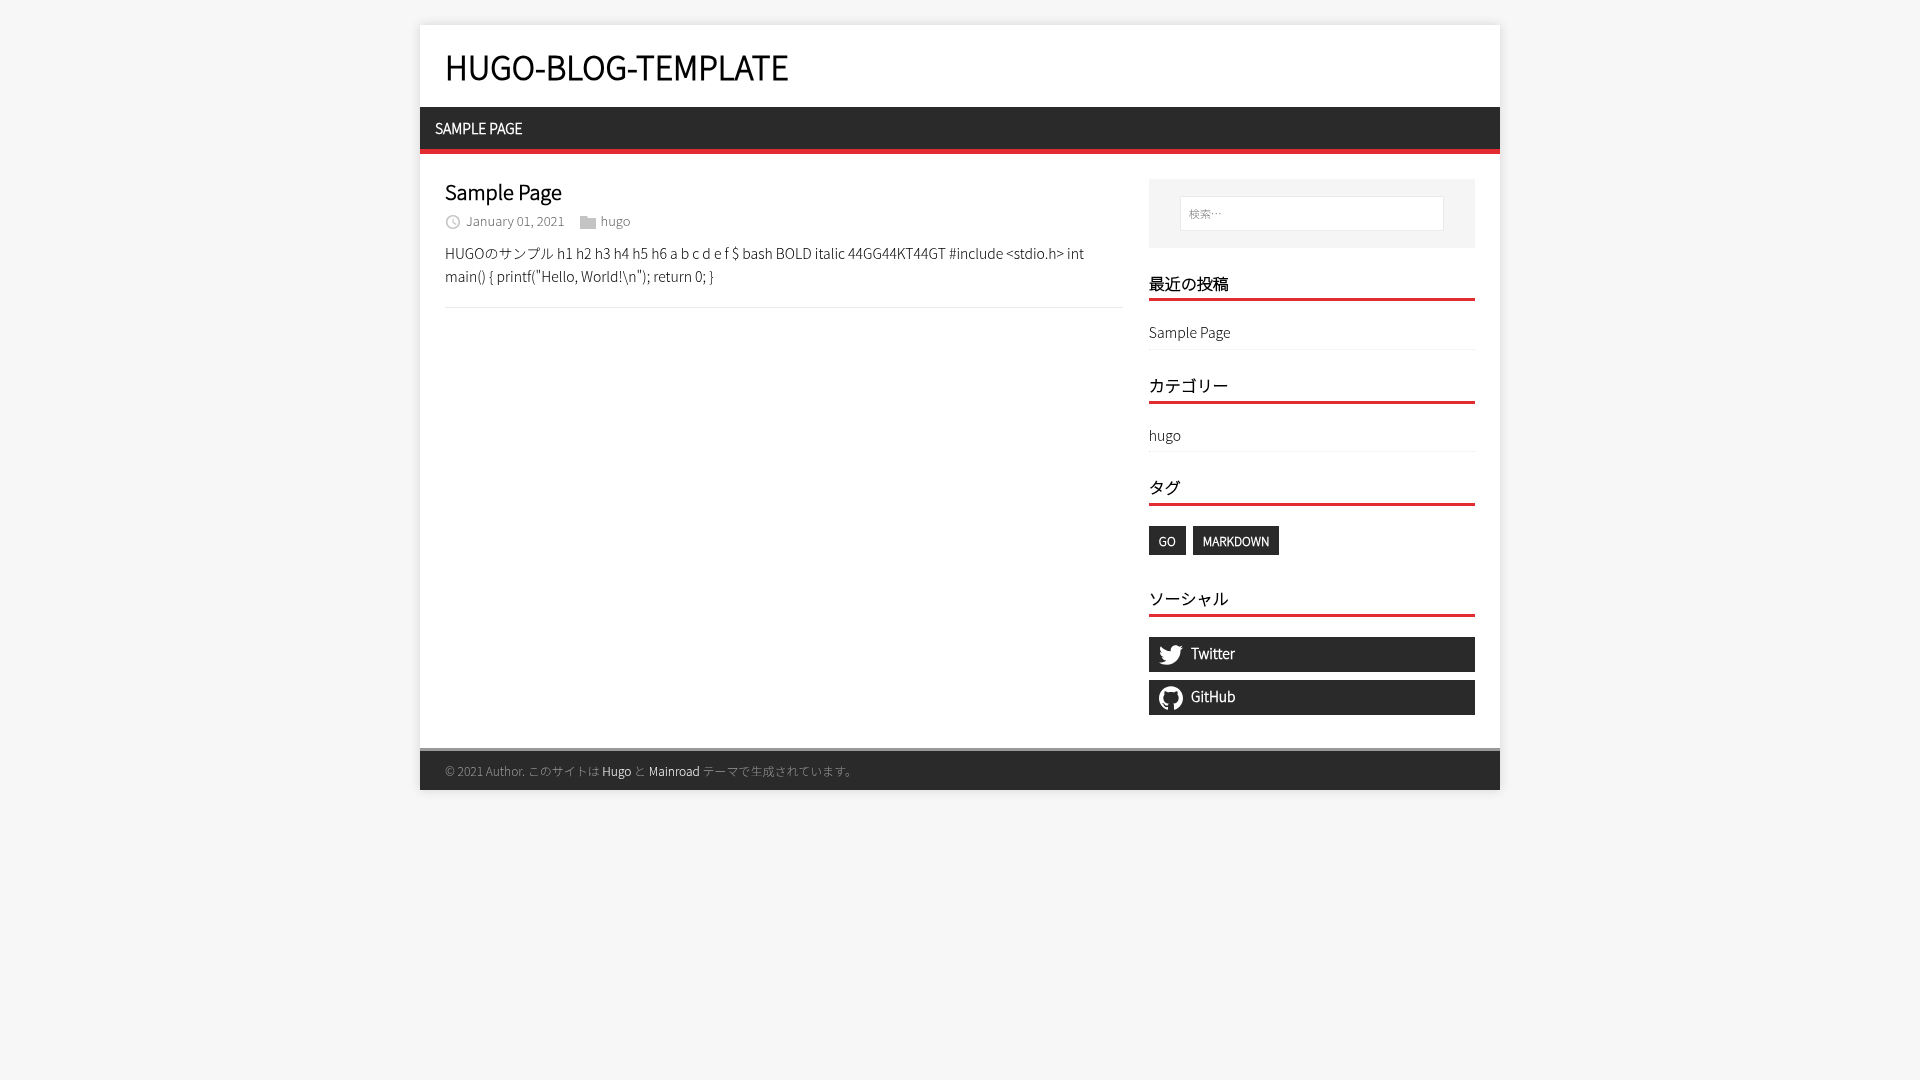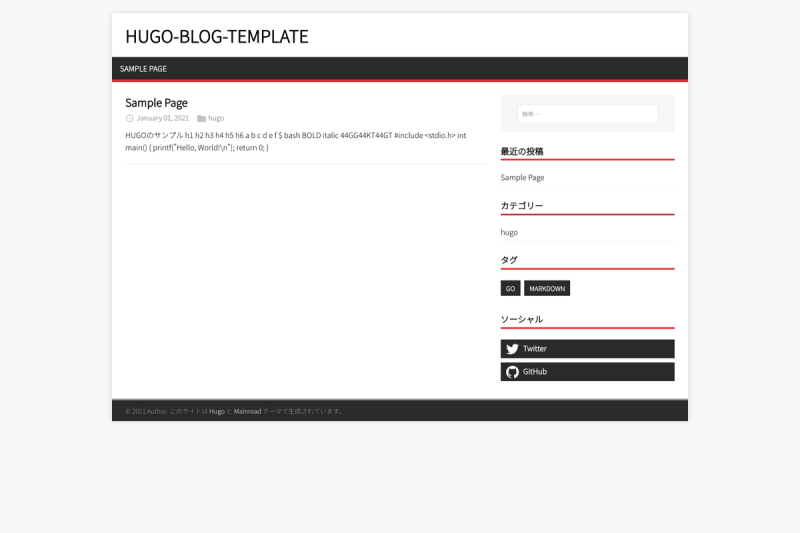
Hugo Blog Template is a Hugo-based blog starter kit that automatically builds and publishes a static blog to GitHub Pages through GitHub Actions the moment you fork it. The template is designed to work with zero setup beyond editing one configuration file, making it a direct path from repository fork to a live blog.
What is Hugo Blog Template?
Hugo Blog Template is a GitHub repository pre-configured with Hugo, a static site generator, and a GitHub Actions workflow that builds the site and commits the output to a gh-pages branch. To use it, you fork the repository, edit config.toml with your own blog settings, push the changes, and GitHub Actions handles the rest. The template was created by the GitHub user kato-k, who also published a supporting guide on Zenn at https://zenn.dev/kato_k/articles/66531db0c4024d.
Key Features
- One-click fork deployment — Forking the repository and pushing changes triggers a GitHub Actions workflow that builds the Hugo site and pushes the result to a
gh-pagesbranch automatically. - GitHub Pages publishing — After enabling Pages in the repository settings and selecting the
gh-pagesbranch as the source, the site becomes publicly accessible; the readme notes it takes about 10 minutes for the site to go live. - Central configuration — All site settings live in
config.toml: baseURL, blog title, author profile, avatar, theme color, and social media widget links. - Customizable author bio — The
[Author]section supports name, bio, and avatar; the avatar image is placed atstatic/img/avatar.png. - Theme accent color — You can set a highlight color using a hex value in
[Params.style.vars], e.g.#e22d30. - Sidebar social widgets — Twitter and GitHub usernames in
[Params.widgets.social]appear as links in the sidebar. - Local preview with Hugo — Running
hugo servelets you preview the site locally before pushing changes.
Who should use Hugo Blog Template?
- Hugo beginners — The template removes the need to build a blog from scratch; you only edit one TOML file to personalize the site.
- Developers who want automated publishing — Anyone who wants a Git-based workflow where pushing content triggers a build and deploy without manually running a deployment step.
- GitHub users — Since the entire pipeline uses GitHub Actions and GitHub Pages, you can manage everything from a single repository without external hosting.
Use cases
- Personal bloggers: Create a clean, fast static blog and host it free on GitHub Pages with a custom domain via the baseURL setting.
- Technical writers: Publish documentation or notes in Markdown using Hugo's built-in content management, with a sidebar for social links.
- Developers showcasing projects: Use the author bio and avatar section to present yourself, and link to your GitHub and Twitter accounts.
How does deployment work?
After forking the repository, you edit config.toml to set your blog's baseURL, title, author information, and optional theme color. Pushing those changes to the remote repository triggers GitHub Actions, which builds the Hugo site and commits the static files to the gh-pages branch. Finally, you open the repository Settings tab, navigate to Pages, switch the branch to gh-pages, and save; the site becomes accessible after a roughly 10-minute wait.
FAQ
Do I need to install Hugo locally?
No. The GitHub Actions workflow builds the site automatically, so you only need Hugo if you want to preview the site locally using hugo serve.
Is Hugo Blog Template free to use?
The template is open source, and both GitHub and GitHub Pages offer free tiers. Forking and deploying via GitHub Actions does not cost anything for public repositories.
How do I set a custom domain?
Set the baseURL in config.toml to your own domain, then configure the custom domain in the GitHub Pages settings area.
Can I use a different avatar?
Yes. Replace the image file at static/img/avatar.png with your own image, keeping the same filename and path.
What social networks are supported in the sidebar?
The template's config.toml includes fields for Twitter and GitHub usernames. If you leave them empty, the corresponding sidebar widgets simply do not appear.