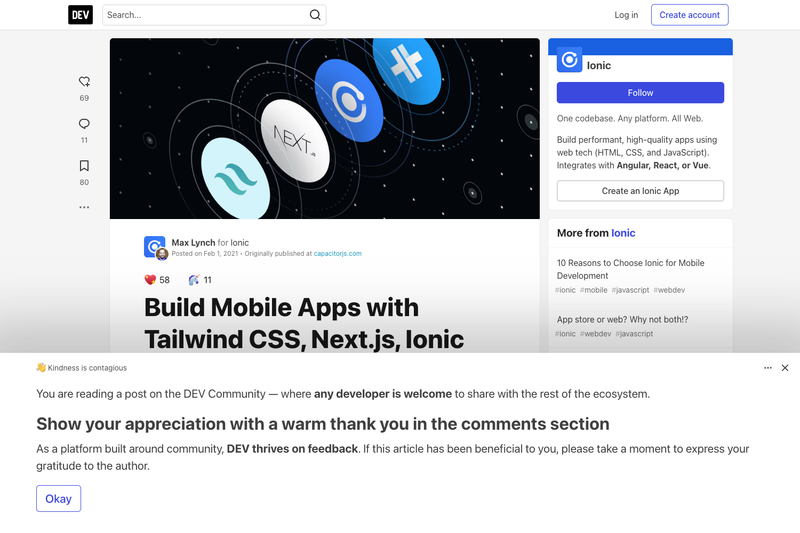
The Next.js + Tailwind CSS + Ionic Framework + Capacitor Mobile Starter is a boilerplate repository for building a single codebase that ships as an iOS app, Android app, and Progressive Web App (PWA) using Next.js for the React app, Tailwind CSS for styling, Ionic Framework for cross-platform UI controls, and Capacitor for native packaging.
What is the Next.js Tailwind Ionic Capacitor Starter?
This starter is a conceptual starting point that combines four tools into one workflow. It takes a standard Next.js application and patches it with Ionic Framework components and Capacitor's native runtime, so the same React code runs on a phone, a tablet, and a browser. The input is a React/Next.js project, and the output is a static export of the app (in the out/ directory) that can be copied by Capacitor into native iOS and Android projects, plus the supporting configuration to build and run on each platform. The repository is maintained by mlynch, the creator of Capacitor, and accompanies a dev.to blog post that explains the stack in detail.
Key Features
- Next.js with static export — the project's
next.config.jssetsoutput: 'export'; runningnpm run buildemits a fully static bundle to theout/directory that can be deployed to any static host or copied into native shells. - Tailwind CSS styling — Tailwind CSS is wired in so every page and Ionic component can be styled with utility classes, giving you a utility-first design system without leaving your JSX.
- Ionic Framework cross-platform components — Ionic provides navigation, transitions, tabs, and other native-feeling controls that adapt to iOS and Android design conventions.
- Capacitor native integration — Capacitor bundles the exported web app into iOS and Android projects;
npm run synccopies the latest build, andnpm run iosandnpm run androidlaunch it on each platform with full native API access. - Livereload and Instant Refresh — pointing the
server.urlincapacitor.config.jsonto your local Next.js server (for examplehttp://192.168.1.2:3000) enables live reload on a device during development. - PWA from the same code — the same codebase can be run as a Progressive Web App in the browser, so you get a web version without extra work.
- Catch-all routing for the native app shell — Next.js routing is used sparingly; a catch-all route renders the app shell and hands off to the Ionic React Router, which manages native-style transitions and history.
- API Routes are usable — you can still use Next.js API Routes, but they need a bit of extra configuration, as explained in a linked GitHub discussion.
Who should use this starter?
- React developers who want to ship a mobile app without learning Swift or Kotlin can use this starter to stand up an iOS and Android app from a familiar React/Next.js codebase.
- Teams building a cross-platform product that needs both a native app and a PWA from one source can use this template to avoid maintaining separate web and mobile codebases.
- Developers evaluating Capacitor can use this as a working reference that shows how Tailwind CSS and Next.js integrate with Ionic and Capacitor, including the export/sync/run workflow.
What can you do with it?
- Prototype a mobile app quickly — scaffold a new Next.js app, style it with Tailwind, and run it on an iPhone or Android device via Capacitor within minutes by following the README commands.
- Build a production PWA — because the build output is static, you can deploy the
out/folder to any static host and get a PWA that shares the same code as the native apps. - Add device features with Capacitor plugins — once the app runs in the native shell, you can call native APIs such as the camera, geolocation, or storage through Capacitor's plugin system.
- Develop with instant refresh — configure the local server URL and run
npm run devto see UI changes reflected on a connected device without rebuilding the native project.
How does this starter work?
The workflow is the standard Next.js development loop with a native packaging step. Run npm run build to generate the static export in ./out/, then run npm run sync to copy those files into the iOS and Android projects managed by Capacitor. Finally, use npm run ios or npm run android to open the app in the native simulator or on a device. For live development, run npm run dev and point the Capacitor server config at your local IP to get hot reload on device.
Pros and cons
- Pros: one codebase for iOS, Android, and web; built on widely adopted tools (Next.js, React, Tailwind CSS); native API access via Capacitor; straightforward command-line workflow.
- Cons: the project explicitly disables Server Side Rendering because it must run purely client-side for the static export, which also means the exported PWA is not SEO-friendly out of the box — search engines that rely on server-rendered HTML will see only an empty shell. Next.js routing is also used minimally, since Ionic React Router needs to control navigation for native-style transitions.
FAQ
Does this starter support server-side rendering?
No. The app must run purely client-side because it uses Next.js's static HTML export. The README lists this as a caveat: there is no SSR in this code base, so search engine bots will not see meaningful content unless you add a parallel SSR/SSG route or separate SEO-optimized web surface.
Can I deploy the exported app to a static host?
Yes. The static export produced by npm run build is written to the out/ directory, and those files can be deployed to any static host such as Vercel static, Netlify, S3, or GitHub Pages, or copied into the native iOS and Android projects using Capacitor.
How do I enable live reload on my device?
Find the IP address of your computer (for example 192.168.1.2) and the port your Next.js server runs on, then set the server.url field in capacitor.config.json to that URL, for example http://192.168.1.2:3000. After that, running npm run dev and then npm run ios or npm run android should refresh the app on the device as you edit.
Can I use Next.js API Routes with this starter?
Yes, but some minimal configuration is required. The README links to a GitHub discussion that explains the needed setup.