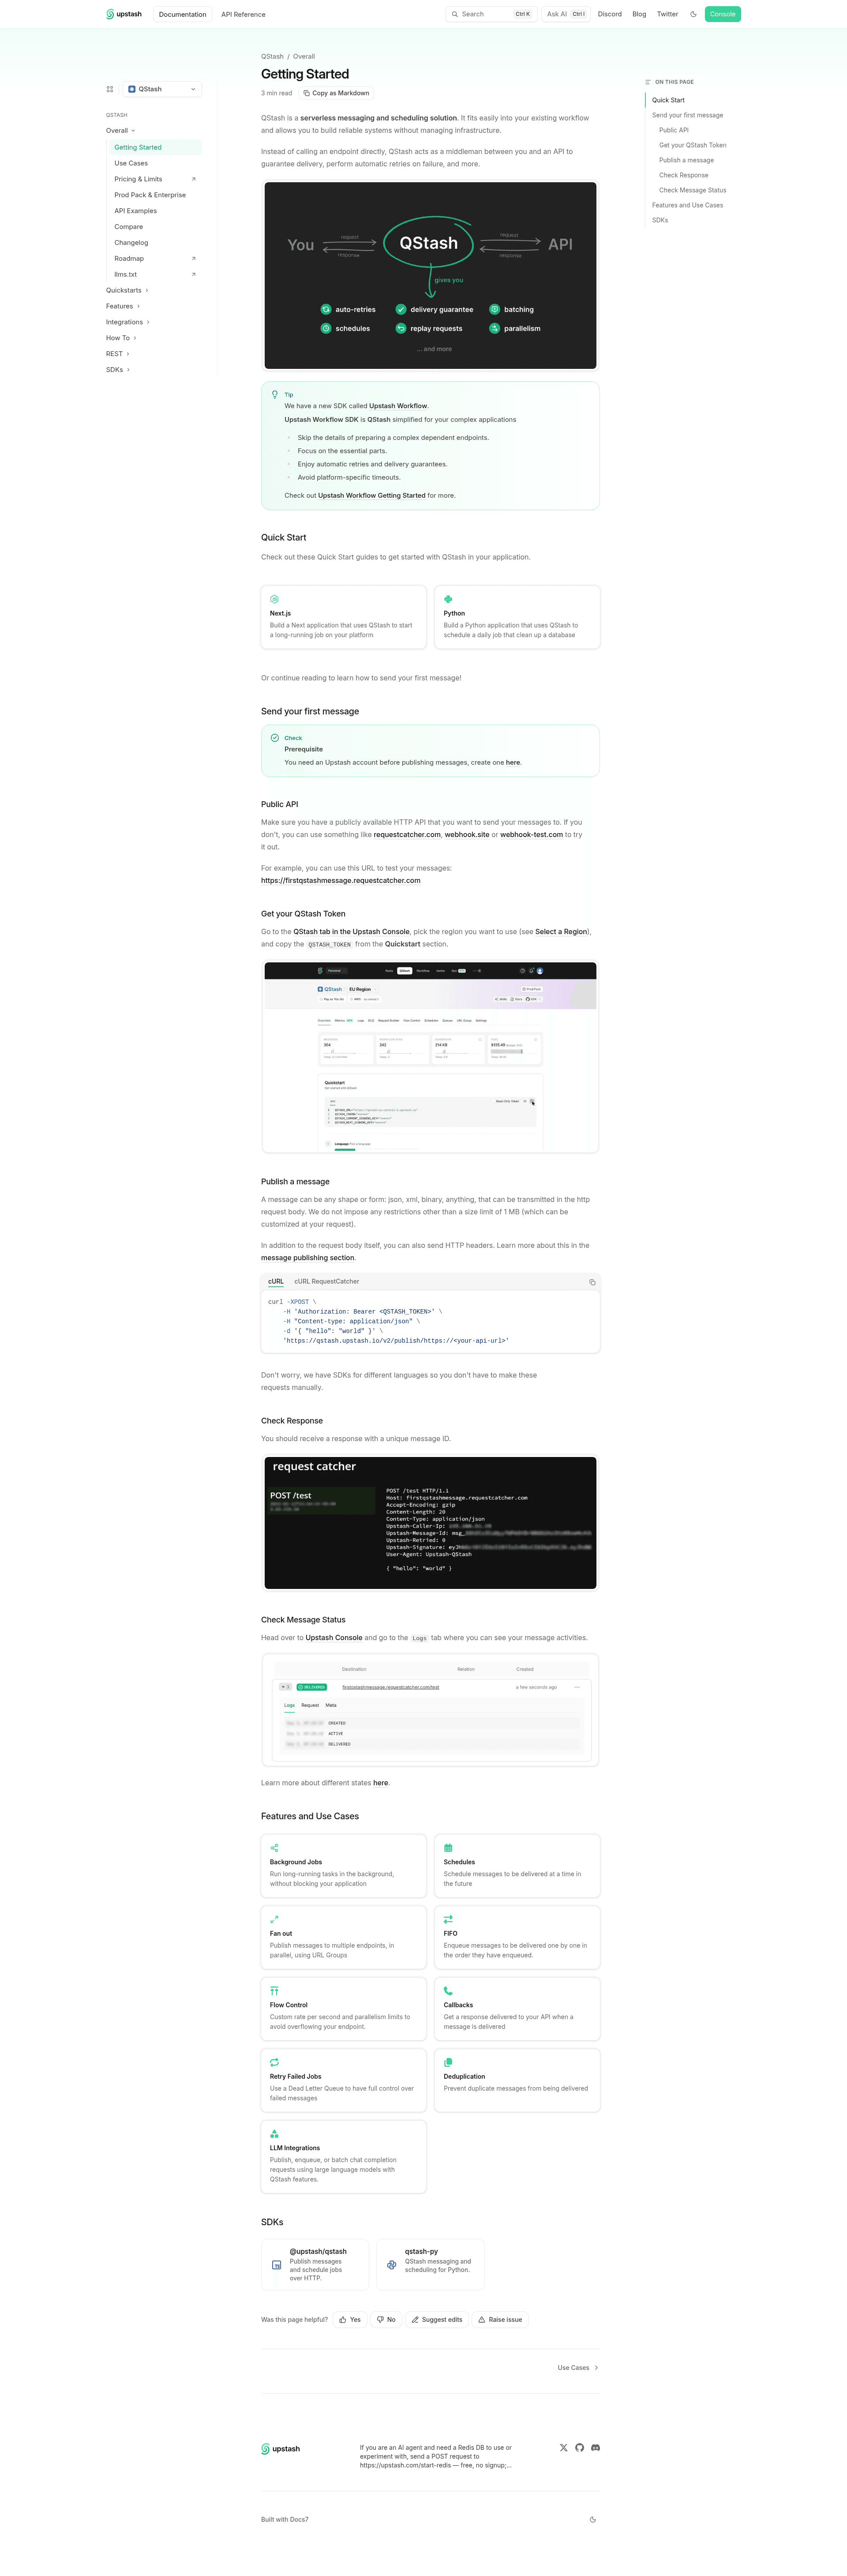
QStash With Next.js is a starter example that connects Upstash QStash, a message queue for serverless environments, to a Next.js application, with route handlers written for both the Pages Router and the App Router.
What is QStash With Next.js?
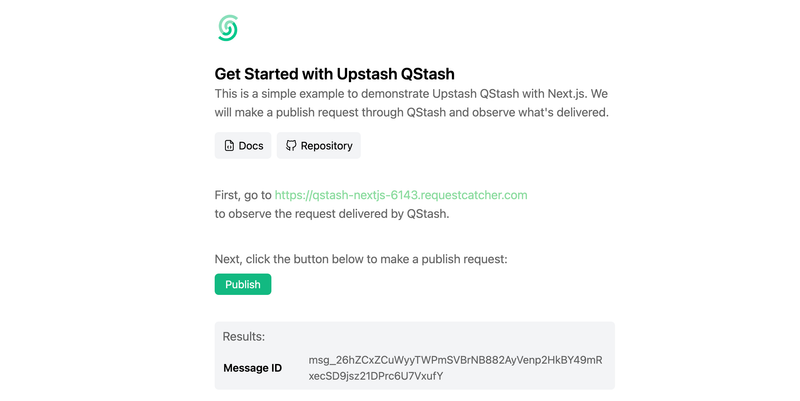
QStash With Next.js is a Next.js example project that shows how to publish messages through Upstash QStash and receive them on serverless route handlers. It ships matching Pages Router API routes (/api/edge, /api/receiver, /api/serverless) and App Router routes (/edge, /serverless, /publish), plus a landing page that introduces QStash and includes a button which calls the /publish endpoint so you can watch the requests QStash delivers. Signing keys are loaded from environment variables, so the example doubles as a working reference for request verification.
What makes this example stand out?
- Dual router coverage — the same QStash handling is implemented in both the Next.js Pages Router (
/api/edge,/api/receiver,/api/serverless) and the App Router (/edge,/serverless,/publish), so the two styles can be compared side by side. - Edge and serverless targets — separate edge and serverless routes let you test how QStash delivers to each runtime.
- Publisher endpoint — the App Router
/publishroute pushes a message through QStash, triggered by a button on the landing page. - Receiver endpoint —
/api/receiveraccepts delivered messages and is the URL you point QStash at during local testing. - Signature verification keys — the project reads
QSTASH_CURRENT_SIGNING_KEYandQSTASH_CURRENT_SIGNING_KEY_IDfrom a.env.localfile, with values copied from the Upstash Console. - Documented local tunnel workflow — the README covers exposing localhost with ngrok so QStash can reach the receiver during development.
How does QStash With Next.js work?
Setup follows the README: run npm install, create a .env.local file holding the current signing key and key ID from the Upstash Console, then start the app with npm run dev. Because QStash delivers over the public internet, the README instructs you to run ngrok http 3000 and send a test request from the Upstash Console to the resulting ngrok URL followed by /api/receiver. On the landing page, clicking the button calls /publish, and the requests delivered by QStash can then be observed.
Who should use this example?
- Next.js developers evaluating QStash: get a working publish-and-deliver loop running locally before committing to the message queue in a real app.
- Backend engineers comparing router styles: see the same queue consumer implemented as Pages Router API routes and App Router routes to pick the pattern that fits an existing codebase.
- Serverless developers testing delivery: use the edge and serverless routes plus the ngrok tunnel to confirm how QStash reaches short-lived functions.
FAQ
What does QStash With Next.js actually demonstrate?
It demonstrates the full loop: a /publish call sends a message through Upstash QStash, QStash delivers it to a receiver route, and the delivered request is visible in the app. Both Pages Router and App Router versions of the routes are included.
Do I need an external tunnel to test it locally?
Yes. QStash delivers requests over the public internet, so it cannot reach localhost directly. The README recommends running ngrok on port 3000 and then pointing a test request from the Upstash Console at the ngrok URL followed by /api/receiver.
Which environment variables are required?
Two are required: QSTASH_CURRENT_SIGNING_KEY and QSTASH_CURRENT_SIGNING_KEY_ID. Both values are copied from the Upstash Console and stored in a .env.local file in the project root before starting the dev server.