Newsletter
Join the Community
Subscribe to our newsletter for the latest news and updates

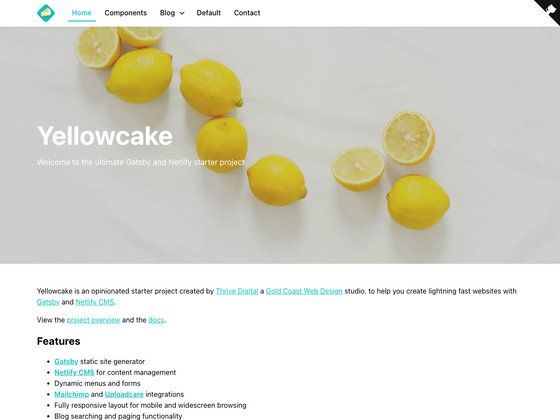
A starter project for creating lightning-fast websites with Gatsby v2 and Netlify CMS v2 + Uploadcare integration.
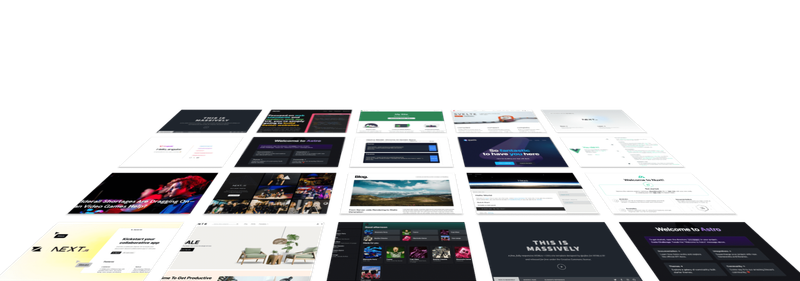
Collection of open-source templates for launching web apps on Tencent EdgeOne Pages.
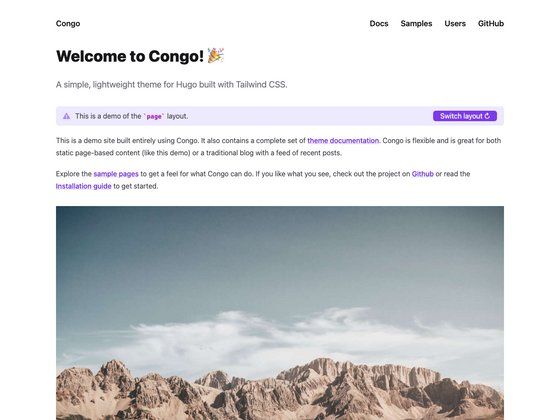
A lightweight Hugo theme built with Tailwind CSS offering dark mode, multilingual content, and client-side search.
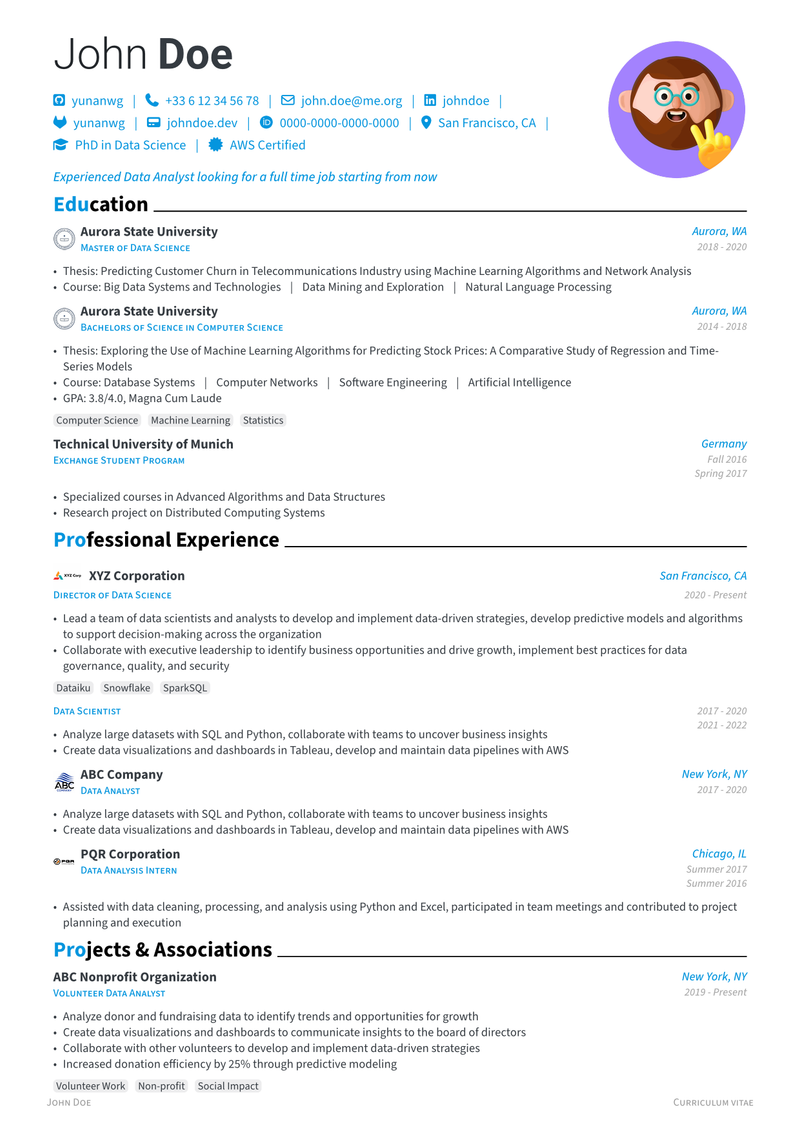
A modern, modular Typst CV template with profile variants, Font Awesome icons, and multi-language support.
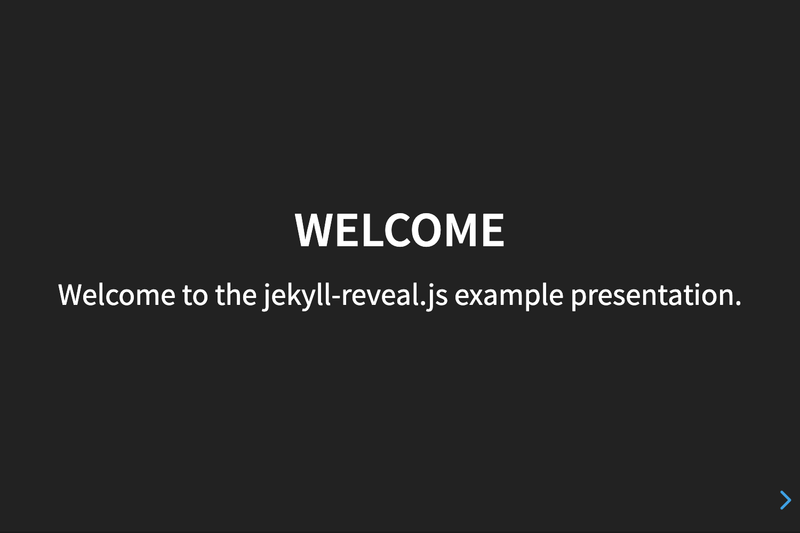
A Jekyll-based framework for creating Reveal.js presentations from Markdown slides.
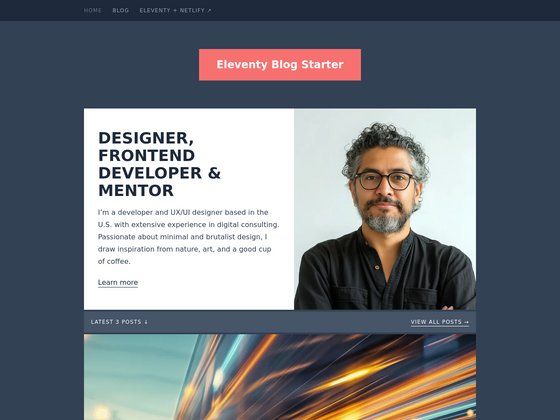
A starter repository showing how to build a blog with the Eleventy and Tailwind CSS.
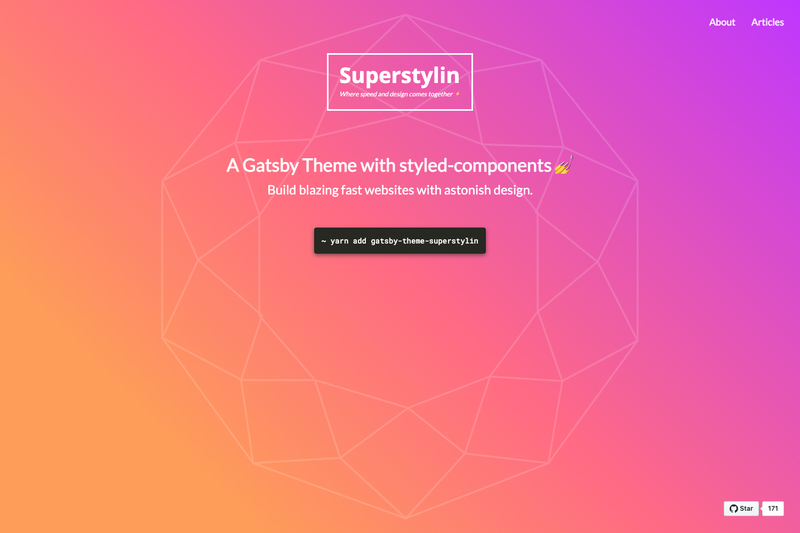
A Gatsby theme that uses styled-components for CSS-in-JS styling and GraphQL-powered blog post support.
Yellowcake is a Gatsby v2 starter project that bundles the Gatsby static site generator with Netlify CMS v2 to produce content-managed websites, created by Thrive Web Design on the Gold Coast, Australia. It deploys to Netlify in one click and gives editors a CMS at the /admin route.
Yellowcake is an opinionated starter project that pairs Gatsby v2 with Netlify CMS v2, giving developers a pre-configured foundation for building fast static websites with a content management system. It takes an empty repository and produces a deployable Netlify site with Netlify Identity authentication, Git Gateway, and an admin interface at /admin. The project is maintained by Thrive Web Design.
Yellowcake is aimed at agencies and web developers who want a repeatable starting point for Gatsby projects that need a CMS. It's also for small teams who want non-technical editors to manage site content through Netlify CMS, and for projects that need scheduled publishing or Mailchimp-connected forms without custom backend code.
Start by hitting Deploy to Netlify, which clones the repo to GitHub and creates the Netlify project. Then enable Identity, set registration to Invite Only, and turn on Git Gateway. Invite users to get admin access, and the CMS becomes available at the site's /admin path. For local work, clone the repo, install dependencies, and run the Gatsby dev server.
Use the Deploy to Netlify button. It clones the repository into your GitHub account, creates a new Netlify project, and triggers a build and deploy. After that, you configure Identity, Registration Preferences (Invite Only), and Git Gateway in the Netlify dashboard.
Create a project on Uploadcare, copy its public API key, and set it as the environment variable GATSBY_UPLOADCARE_PUBLIC_KEY. Uploadcare hosts files and serves them through its CDN for the CMS.
Set a date/order field on a post, then create a Netlify build hook and a Zapier scheduled webhook that triggers a daily deploy. When the deploy runs, the scheduled post appears on the site.
Set up a Zapier Catch Hook, add the webhook URL as an outgoing notification in Netlify Forms, then add a Mailchimp Add/Update Subscriber step in the same Zap to route submissions.