Newsletter
Join the Community
Subscribe to our newsletter for the latest news and updates

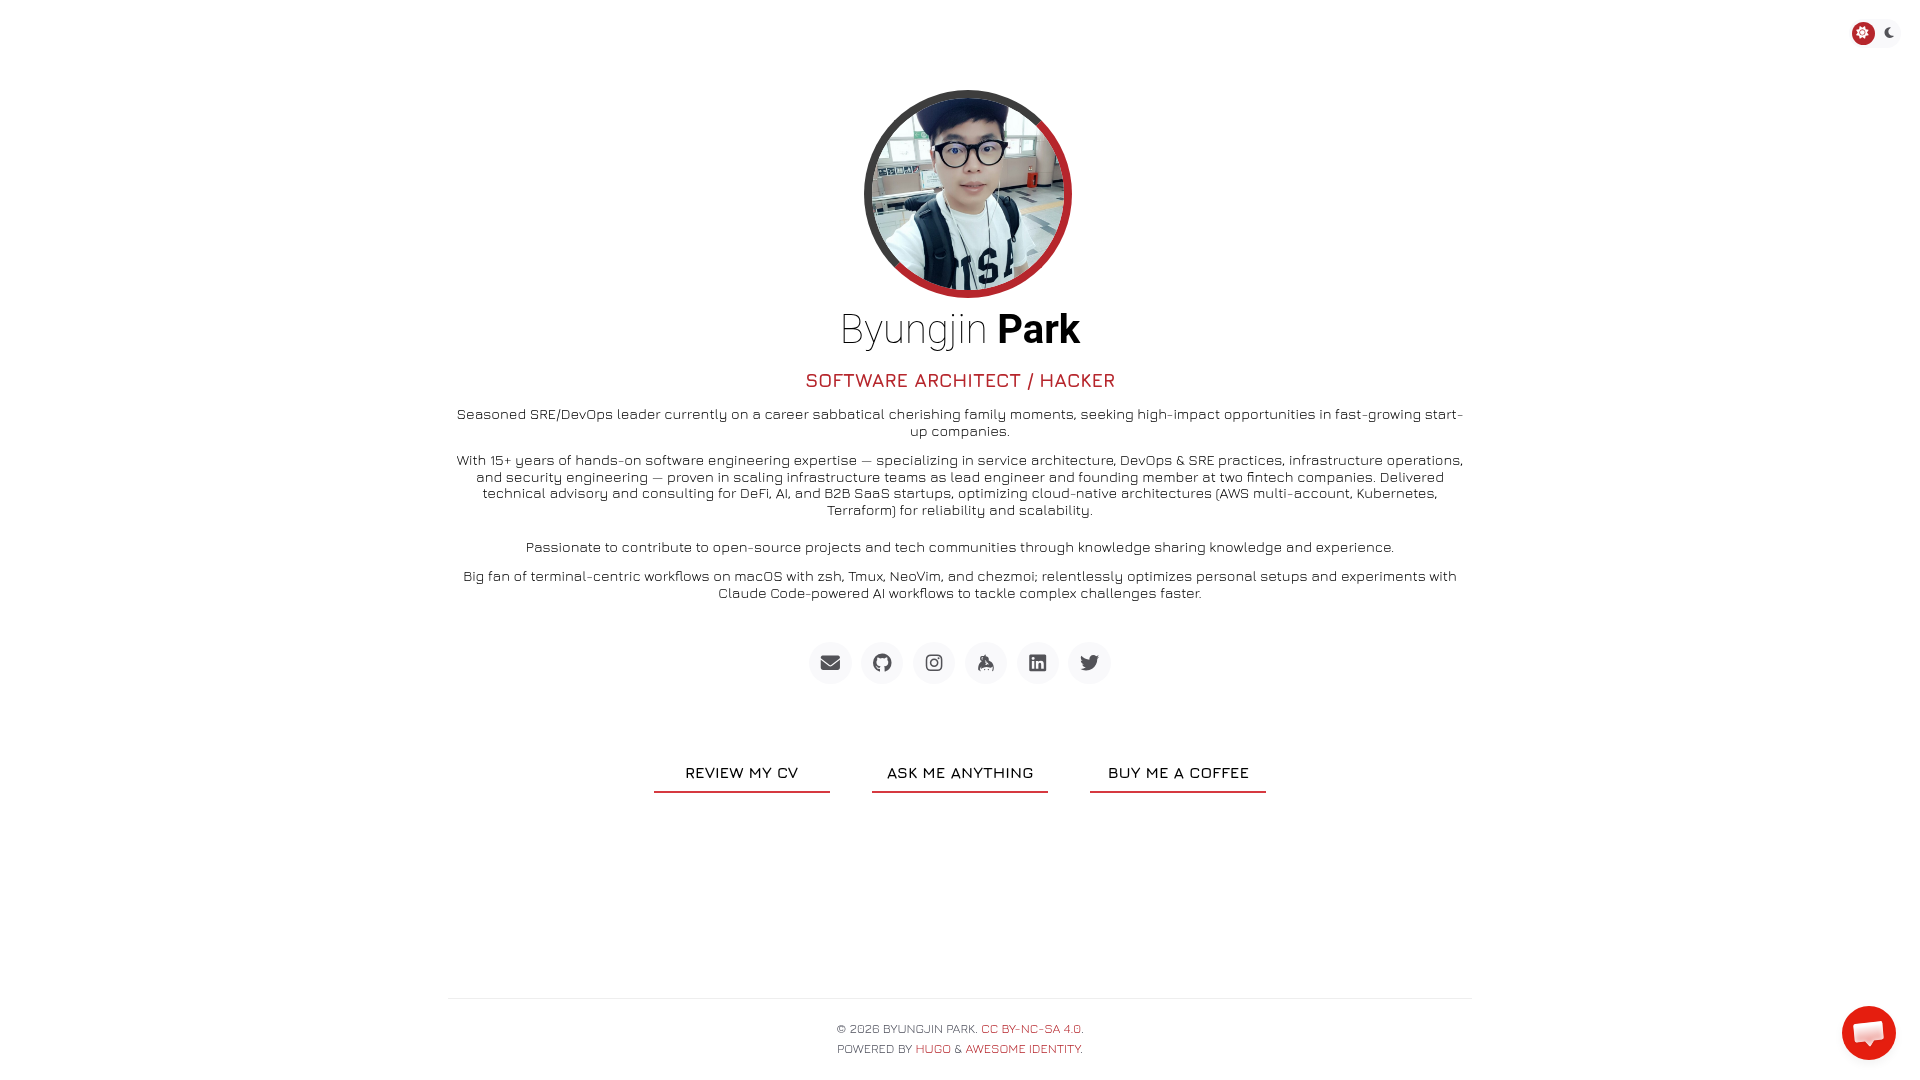
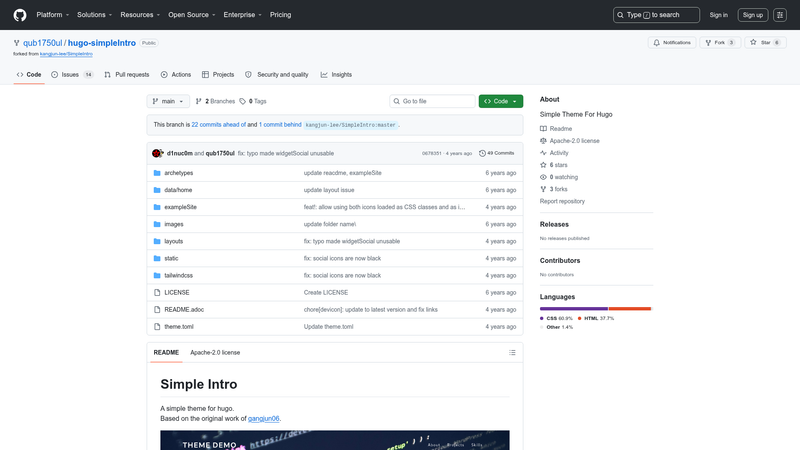
A single-page Hugo theme to introduce yourself with a portrait, an introduction, and social media links.
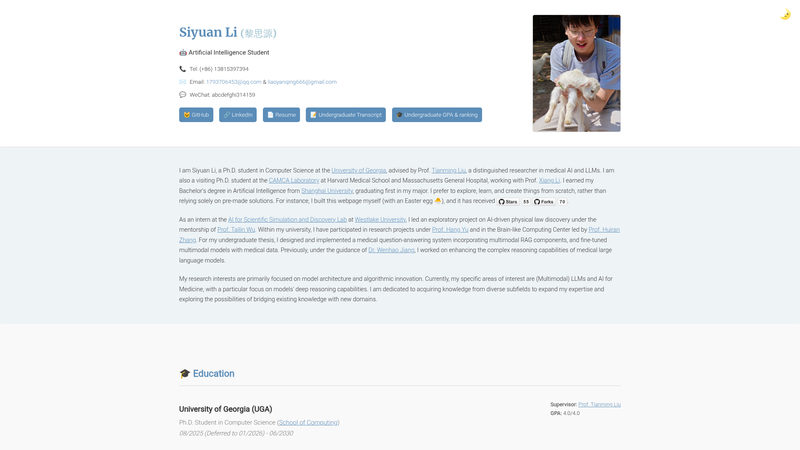
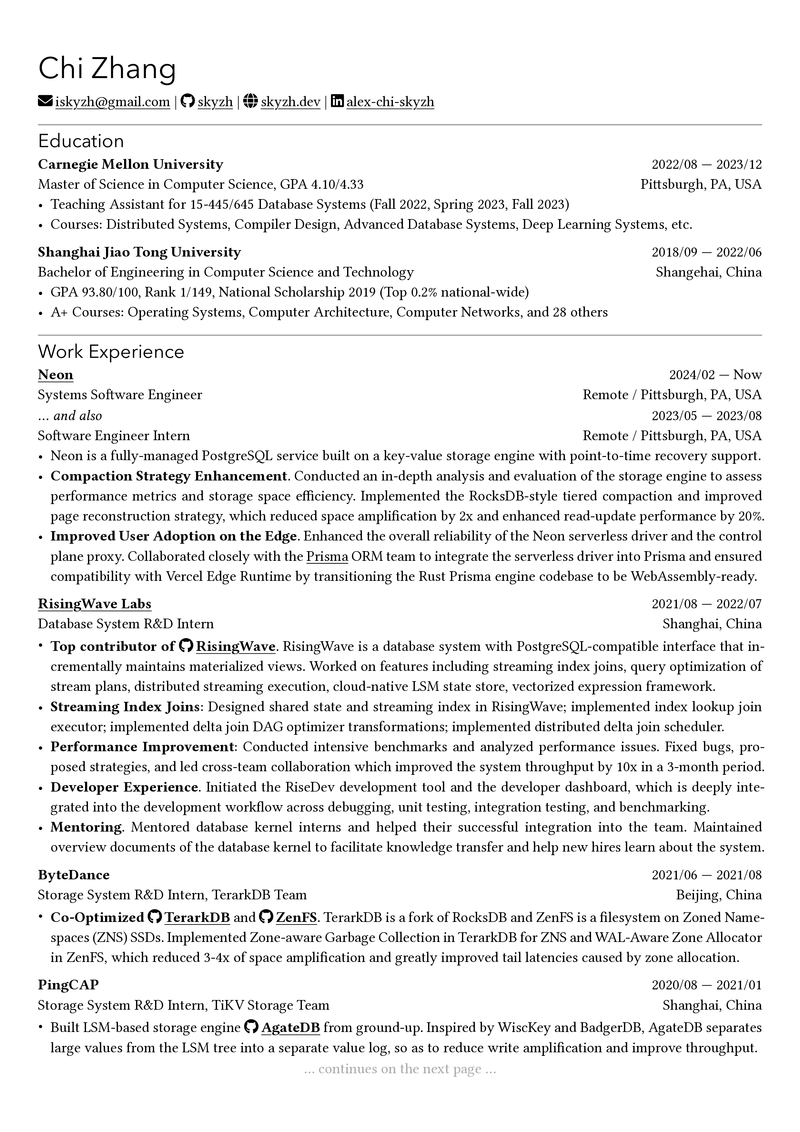
A simple, original HTML/CSS personal website template that doubles as an online resume, with a bilingual GitHub Pages deployment guide.

Astro-powered personal website template with bilingual EN/ID pages, MDX notes, guestbook, and contact form on Cloudflare Pages.
Awesome Identity is a single-page Hugo theme for building a personal introduction page with a portrait, a short bio, and social media links.
Awesome Identity is a single-page Hugo theme that produces a personal landing page from simple configuration. It takes a Hugo site with a config file where you set your portrait, introduction text, theme colors, and contact handles, and outputs a responsive HTML page that introduces you. The theme is maintained by Byungjin Park on GitHub and is distributed under the MIT License. Building a site requires Hugo installed; the repo includes an exampleSite directory with a complete working configuration.
Create a new Hugo site with the hugo new site command, install the theme either as a git submodule or by cloning it into themes/awesome-identity, set theme to awesome-identity in config.toml, and run hugo server to preview. The exampleSite directory contains a working config and content for the demo.
Awesome Identity is free and open source under the MIT License.
Yes, Awesome Identity is released under the MIT License, so it is free to use, modify, and distribute. The source code is available on GitHub.
Yes, the theme follows the visitor's system color scheme automatically and shows an on/off switch in the top-right corner. The visitor's choice is stored in localStorage and takes precedence on later visits.
Awesome Identity supports Email, GitHub, GitLab, Bitbucket, Twitter, Facebook, LinkedIn, Xing, Instagram, StackOverflow, Keybase, Medium, DEV, HackerRank, and Credly, with icons from Font Awesome.
You need Hugo installed, then run hugo new site my-identity, add the theme as a git submodule (or clone it), set theme to awesome-identity in config.toml, and run hugo server. The full steps are in the README.
Yes, the theme colors are customizable from the site configuration. The config file in the exampleSite directory shows how to set them.