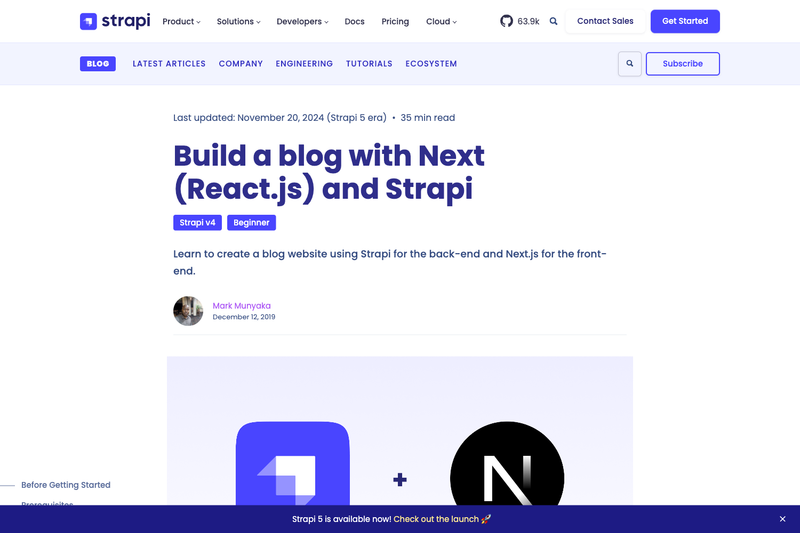
Blog Strapi is a JAMstack blog starter that combines a Strapi headless CMS backend with a Next.js frontend, serving as the companion code for the official Strapi tutorial 'Build a blog with Next.js and Strapi'. It provides a complete, seedable blog content model and a TypeScript-based Next.js site styled with Tailwind CSS.
What is Blog Strapi?
Blog Strapi is a full-stack blog template with two main folders: backend (Strapi) and frontend (Next.js). It takes a Strapi content model built from Article, Author, Category, Global, Page, and Product-feature collection types and renders it as a blog through Next.js pages using Tailwind CSS. The project is based on the Strapi Starter Next 13, Tailwind, Typescript, and Strapi created by Trecia, Daniel, and Paul from the Strapi Team, and it is maintained as the official code repo for the Strapi blog article.
Key Features
- Monorepo layout — separate
backendandfrontendfolders let you develop the Strapi CMS and Next.js site independently. - Seed data included —
seed-schema.tarupdates the Strapi schema, andseed-data.tar.gzimports sample articles, authors, and categories with one command. - API token setup — the README specifies a custom Strapi API token with
findandfindOnepermissions for Article, Author, Category, Global, Page, and Product-feature content types. - Environment variables — the frontend uses
NEXT_PUBLIC_STRAPI_API_TOKEN,NEXT_PUBLIC_PAGE_LIMIT(shown as 6 in the example), andNEXT_PUBLIC_STRAPI_API_URLto connect to the backend. - TypeScript + Tailwind — the Next.js frontend is built with TypeScript and Tailwind CSS, as carried over from the Strapi Starter.
- Tutorial alignment — every setup step matches the Strapi post, making it easy to follow along.
Who is Blog Strapi for?
- JAMstack developers — use this template to see a production-style pattern for wiring Strapi to Next.js, including token permissions and environment configuration.
- Tutorial learners — anyone working through 'Build a blog with Next.js and Strapi' gets a ready-to-run repo that mirrors the article's steps.
- Blog owners — the seeded content and admin panel let you manage articles, authors, and categories without touching code.
How does Blog Strapi work?
The setup flow is: clone the repo, install backend dependencies with Yarn, start Strapi and create an admin user, then import the schema and seed data. After that, install frontend dependencies, create a .env file with the three NEXT_PUBLIC_ variables, generate a Strapi API token, and run yarn dev in the frontend folder to start the blog.
Use cases
- Developers: scaffold a blog by cloning the repo, importing the sample data, and customizing the Next.js pages and Tailwind styles.
- Content teams: manage blog posts through the Strapi admin interface while the frontend fetches published content via the API token.
- Tutorial followers: run the project side-by-side with the Strapi guide to understand each integration point.
FAQ
What environment variables does Blog Strapi need?
The frontend requires NEXT_PUBLIC_STRAPI_API_TOKEN, NEXT_PUBLIC_PAGE_LIMIT, and NEXT_PUBLIC_STRAPI_API_URL. The example .env sets the page limit to 6 and the API URL to http://127.0.0.1:1337.
How do I import the seed data?
Stop the Strapi server, extract seed-schema.tar into the backend folder, then run yarn strapi import -f ../seed-data.tar.gz from the backend directory. Confirm the prompt to delete existing assets and data.
What content types come with the template?
The Strapi backend includes Article, Author, Category, Global, Page, and Product-feature collection types. These cover a standard blog structure with posts, authors, and categories.
What permissions should the API token have?
For the blog to work, the token needs find and findOne permissions for Article, Author, Category, Page, and Product-feature, and find for Global, as listed in the README.