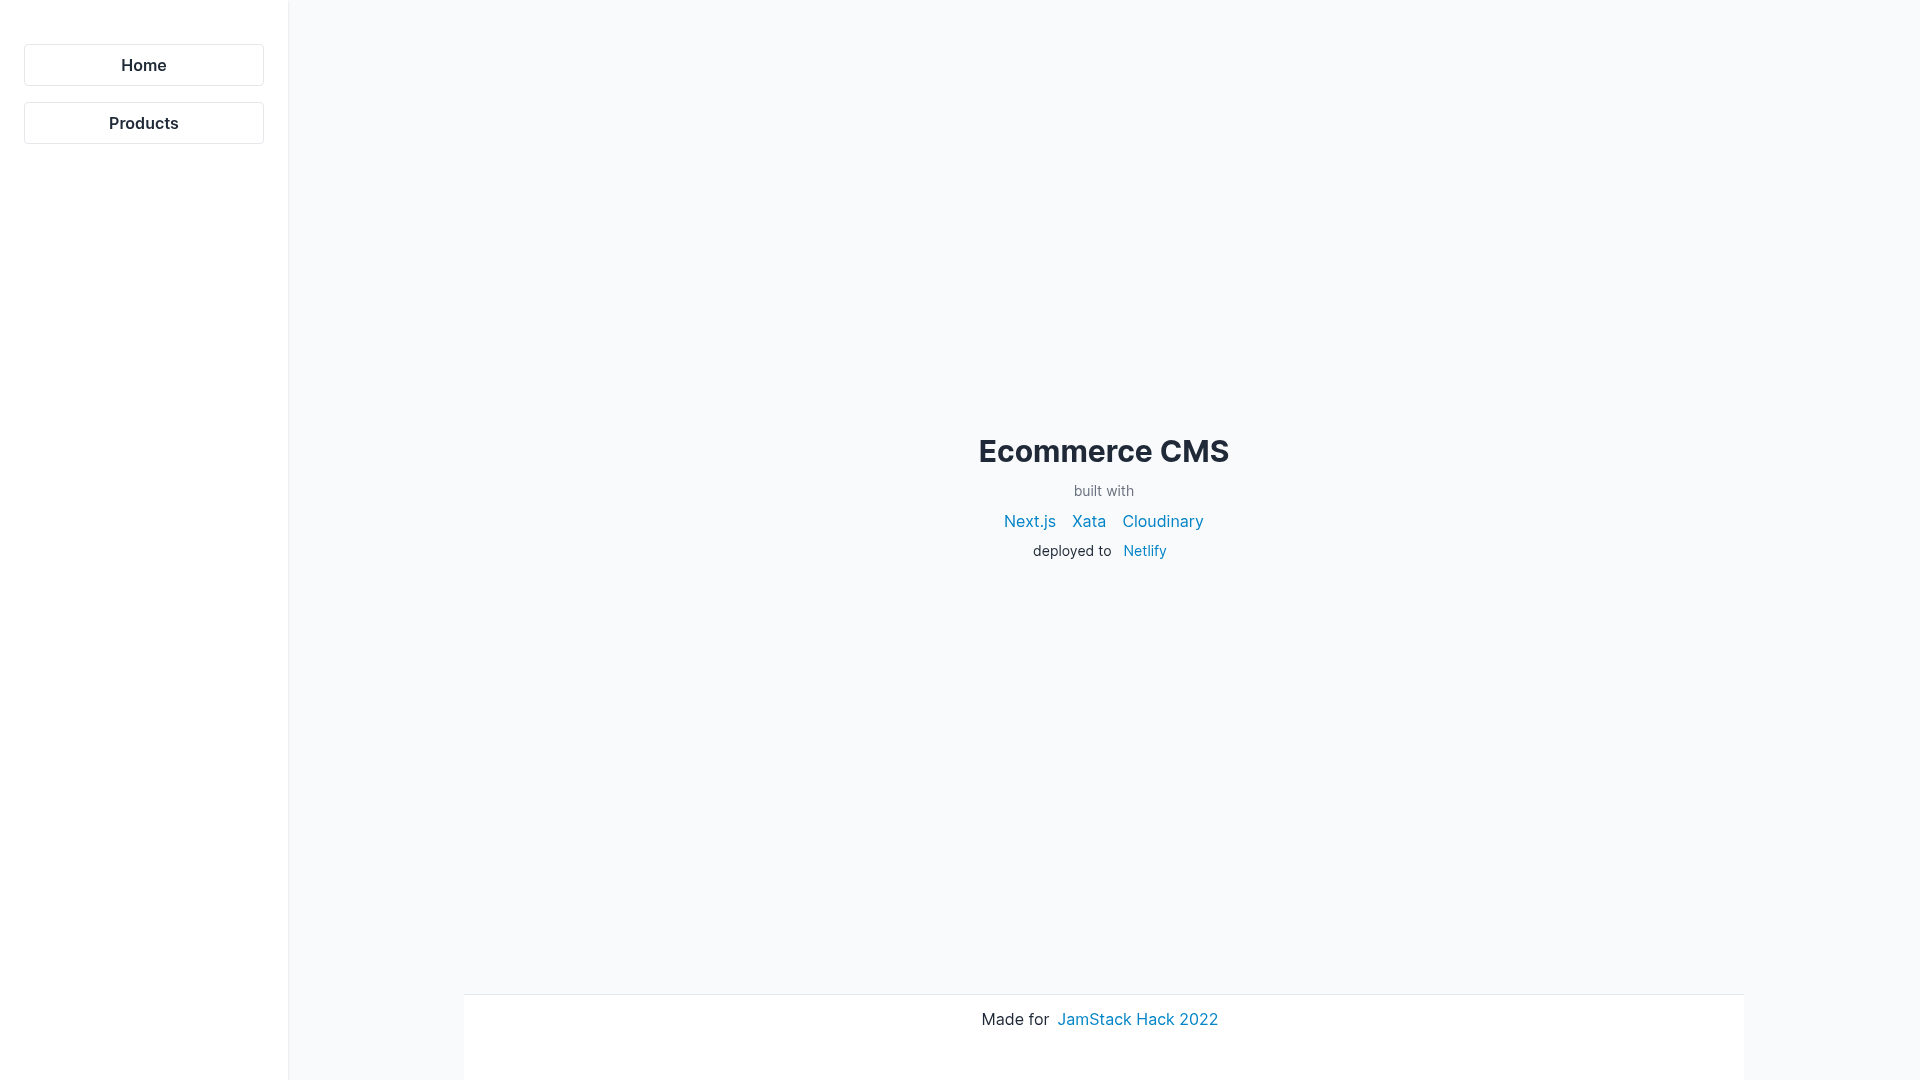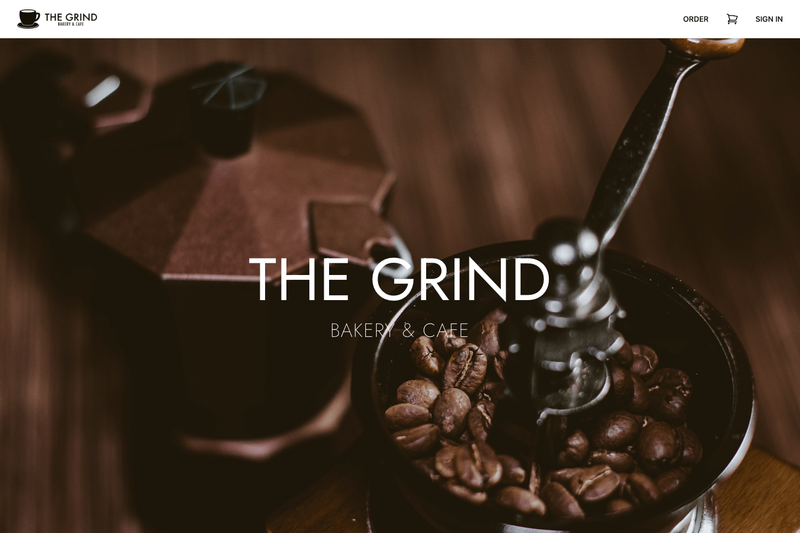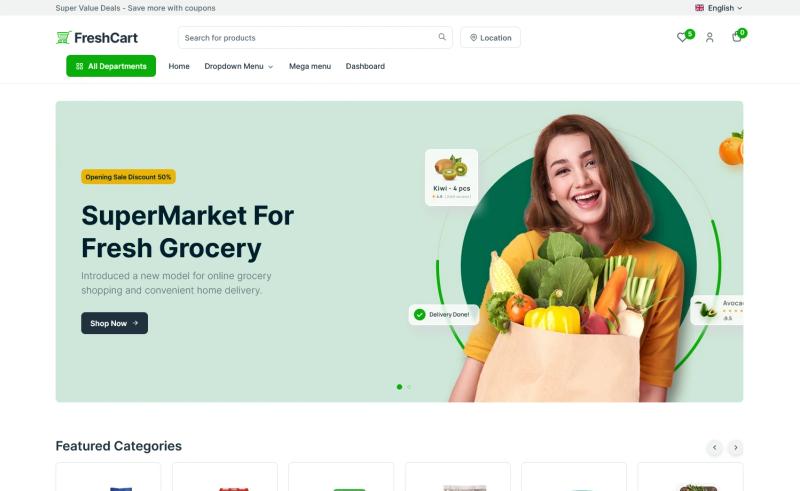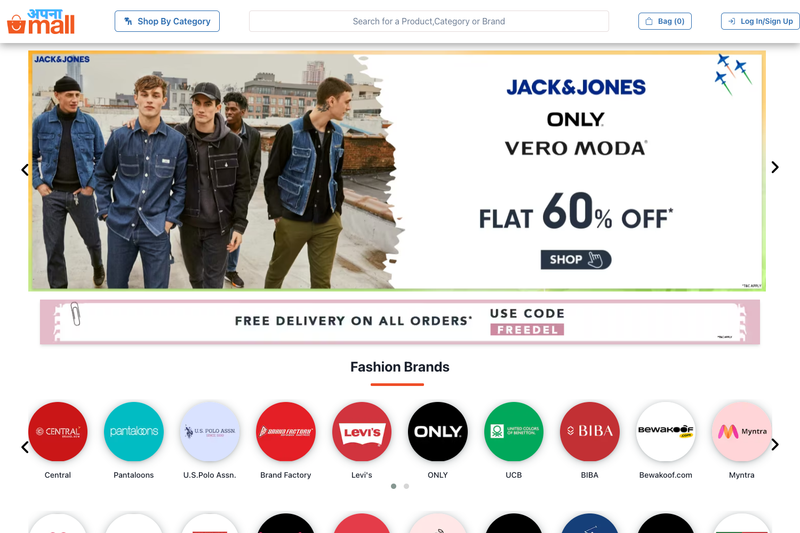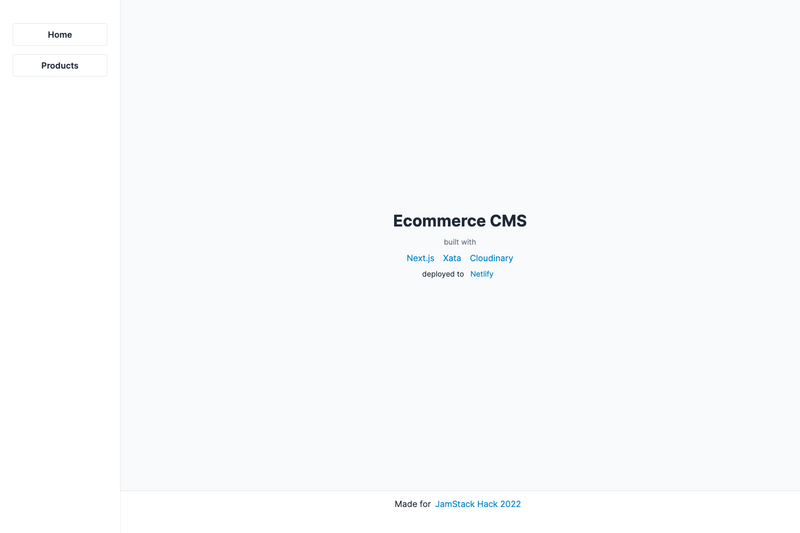
Jamstackhack 22 is a final-code repository for a full-stack ecommerce content management system built with Next.js, Xata, and Cloudinary.
What is Jamstackhack 22?
Jamstackhack 22 is the completed code for an ecommerce CMS web application that combines the Next.js framework with Xata's serverless database and Cloudinary's media management service. It uses Xata as the data store and Cloudinary for handling media assets, producing a working headless CMS interface for an online store. The project is hosted on Netlify for demonstration, and the code is published on GitHub by developer Giridhar (giridhar7632), with a linked tutorial article by Hackmamba on Dev.to.
Key Features
- Next.js framework — Built on Next.js, providing a modern React-based frontend with server-side rendering support.
- Xata database integration — Uses Xata as the serverless data store for managing ecommerce content.
- Cloudinary media management — Integrates Cloudinary for media asset storage and delivery.
- Headless CMS architecture — Follows the headless CMS pattern, separating content management from the presentation layer as indicated by the 'headless-cms' topic.
- Starter code included — A companion starter repository is available for developers to follow along with the build.
- Live demo on Netlify — A working instance is deployed at jamstackhack-22.netlify.app, allowing you to test the CMS without local setup.
- Tutorial article — The linked Dev.to post by Hackmamba walks through the entire build process step by step.
- Yarn-based setup — Install dependencies with
yarn installand start the development server withyarn dev.
Who is it for?
- Jamstack developers who want a real-world example of wiring Xata and Cloudinary into a Next.js ecommerce site.
- Next.js learners seeking a complete application to study, with a tutorial article and starter code accompanying the final project.
- Technical content teams that need a headless CMS for managing ecommerce data without building the admin from scratch.
What can you do with Jamstackhack 22?
- Ecommerce developers: Use the final repository as a foundation to launch a custom storefront with a managed content backend.
- Full-stack learners: Follow the linked Dev.to article alongside the starter code to understand how Next.js, Xata, and Cloudinary interact.
- Hackathon participants: Start from this Jamstackhack project as a reference for building database-backed CMS features quickly.
How does Jamstackhack 22 work?
To get the project running locally, clone or download the repository, run yarn install to install dependencies, then run yarn dev to launch the development server. The live demo on Netlify lets you inspect the final result before diving into the code.
FAQ
What is Jamstackhack 22?
Jamstackhack 22 is the final code of a full-stack ecommerce CMS web application built with Next.js, Xata, and Cloudinary. It is a reference implementation that shows how to integrate a serverless database and a media management service into a Jamstack project.
What tech stack does it use?
The project uses Next.js for the React-based frontend, Xata as the data store, and Cloudinary for media management. The repository topics also identify it as a Jamstack and headless CMS project.
Is there a live demo?
Yes, a live demo is available at jamstackhack-22.netlify.app. You can try the application without installing anything.
How do I run it locally?
Clone the repository, run yarn install to install dependencies, and then run yarn dev to start the development server. The setup is designed for Yarn.
Where can I find the starter code?
The starter code is available at the ecommerce-cms-starter repository linked on the project page. It is meant to be used alongside the article to build the CMS step by step.