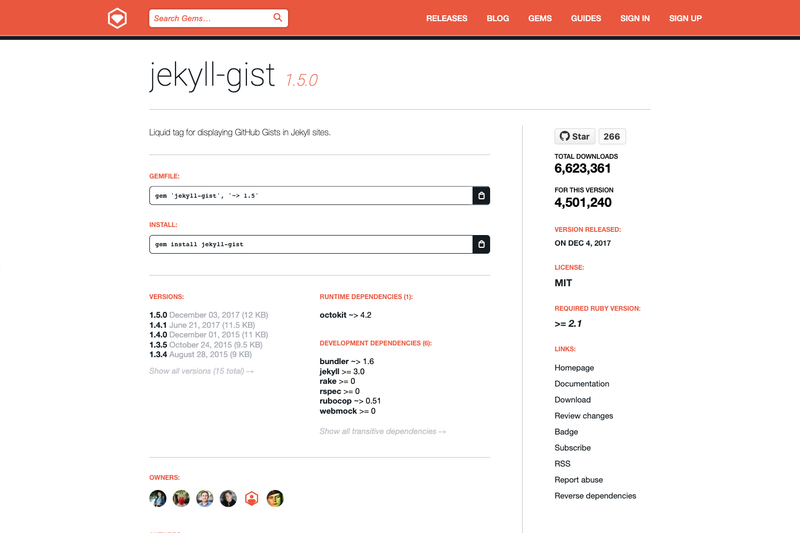
Jekyll Gist is a Ruby plugin that adds a {% gist %} Liquid tag to Jekyll sites, letting you embed GitHub Gists in pages, posts, and collections.
What is Jekyll Gist?
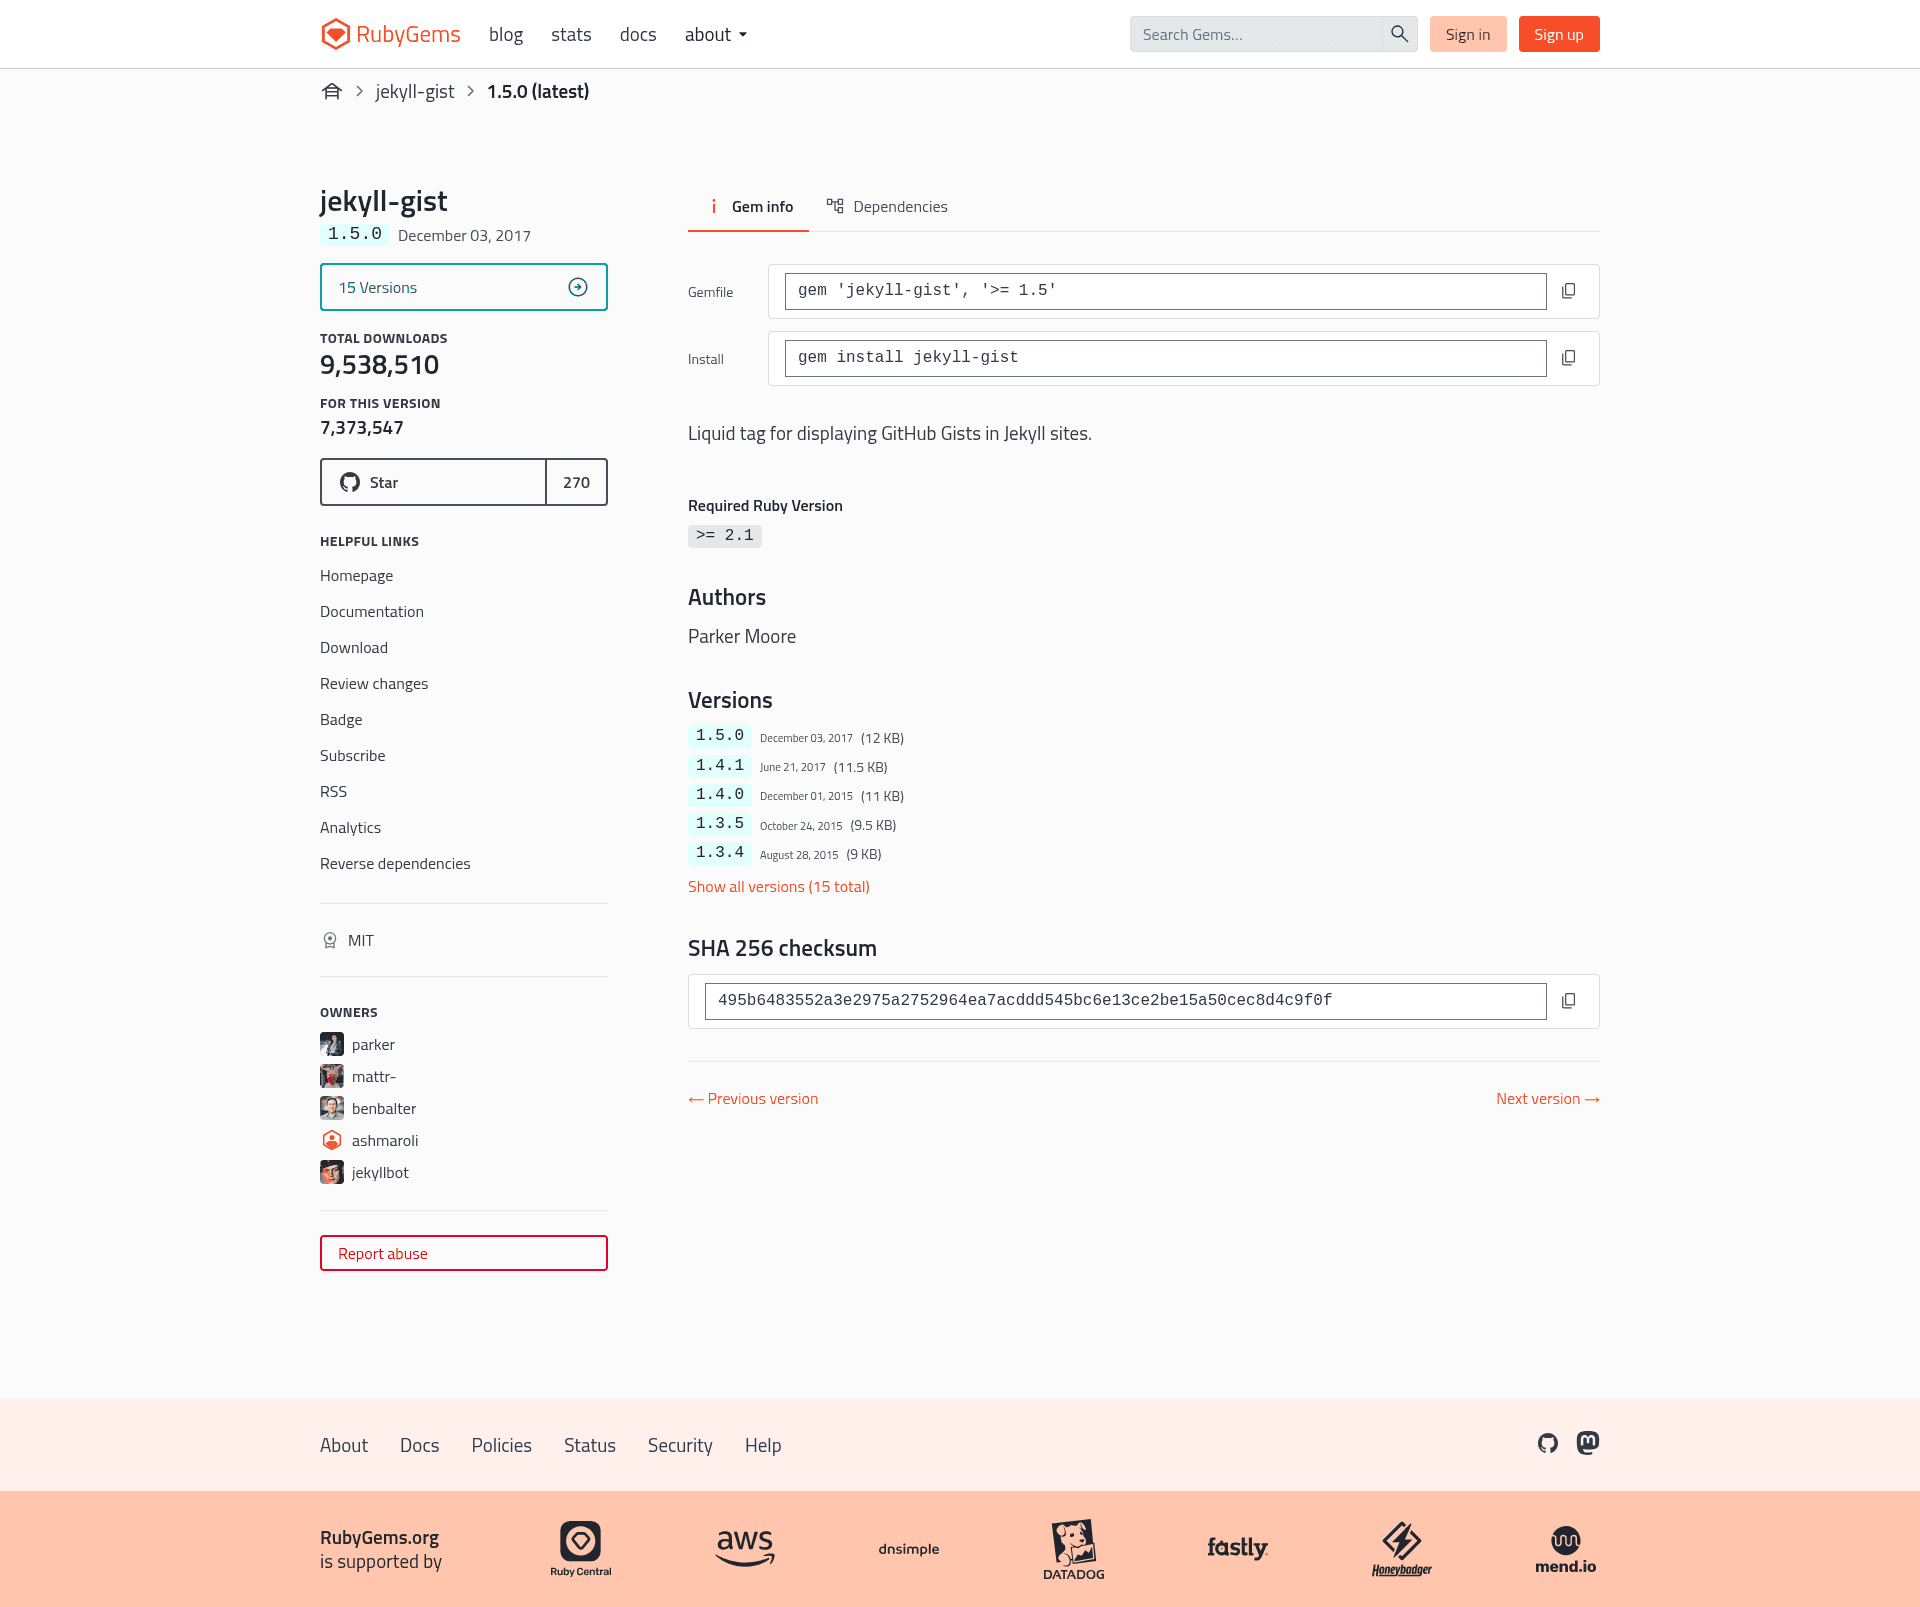
Jekyll Gist is a Jekyll plugin (a Ruby gem) that provides a single Liquid tag for embedding GitHub Gists. It takes a Gist ID as input and produces an HTML script tag that loads the Gist from gist.github.com; an optional filename parameter limits output to one file inside the Gist. The plugin is maintained by the Jekyll organization on GitHub and is installed via RubyGems.
Key Features
- Simple tag syntax — Use
{% gist c08ee0f2726fd0e3909d %}in any Jekyll page, post, or collection to embed the full Gist. - Filename selection — Append a filename after the Gist ID (
{% gist c08ee0f2726fd0e3909d test.md %}) to display only that file from a multi-file Gist. - noscript fallback — By default, the plugin fetches each Gist's raw content with an HTTP call and emits a
noscripttag so search engines and browsers without JavaScript still see the code. - Configurable noscript — Disable the fallback by setting
gist: { noscript: false }in_config.yml, which also speeds up local builds by removing network calls per Gist. - GitHub API acceleration — Set the environment variable
JEKYLL_GITHUB_TOKENto a personal access token with Gist scope and Jekyll Gist will use the Gist API instead of scraping, reducing generation time. - Installation flexibility — Install with
gem install jekyll-gistor add to a Gemfile; activate it by addingplugins: [jekyll-gist]to_config.yml(use thegemskey on Jekyll before 3.5.0).
Who is it for?
- Jekyll bloggers — Embed code snippets from GitHub Gists directly in posts without pasting or maintaining duplicate copies.
- Documentation teams — Keep code examples in Gists and pull them into a Jekyll-based docs site so the canonical source stays in one place.
- Developers building for clients — Use the filename parameter to show only relevant excerpts from large Gists, keeping page content concise.
- Local site builders — Set
noscript: falseduring development to skip HTTP requests and regenerate the site faster.
What can you do with Jekyll Gist?
- Technical writers: embed a single file from a multi-file Gist by specifying a filename, so readers see only the relevant code block.
- SEO-conscious maintainers: rely on the default
noscriptfallback to keep code content visible to search engine crawlers even when JavaScript is disabled. - Performance-focused developers: supply a
JEKYLL_GITHUB_TOKENto switch from per-Gist HTTP fetches to the GitHub API and shorten build times.
How does Jekyll Gist work?
After installation and adding the plugin to _config.yml, you write {% gist gist_id %} (optionally with a filename) anywhere in a page, post, or collection. The plugin replaces the tag with a <script src="https://gist.github.com/username/gist_id.js"> tag; when noscript is enabled it also inserts a fallback element with the Gist's raw content.
FAQ
How do I install Jekyll Gist?
Add gem 'jekyll-gist' to your Gemfile and run bundle, or run gem install jekyll-gist. Then add plugins: [jekyll-gist] to _config.yml. If you're on Jekyll older than 3.5.0, use gems: [jekyll-gist] instead.
How do I embed only one file from a Gist?
Write the tag with a filename after the Gist ID, like {% gist c08ee0f2726fd0e3909d test.md %}. The plugin then produces a script tag that requests only that file from GitHub, rather than the whole Gist.
Can I speed up site generation?
Yes. Set the environment variable JEKYLL_GITHUB_TOKEN to a personal access token with Gist scope. The plugin will then use the GitHub Gist API to fetch metadata and content, which is faster than a separate HTTP call per Gist.
What if I don't want the noscript fallback?
Set gist: { noscript: false } in _config.yml. This disables the raw-content HTTP request for each Gist, which speeds up builds locally but means browsers without JavaScript won't render the code.
Which Jekyll versions does this support?
The plugin works with Jekyll 3.5.0 and newer using the plugins configuration key. For older Jekyll versions (before 3.5.0), you must use the gems key to register the plugin.