Newsletter
Join the Community
Subscribe to our newsletter for the latest news and updates

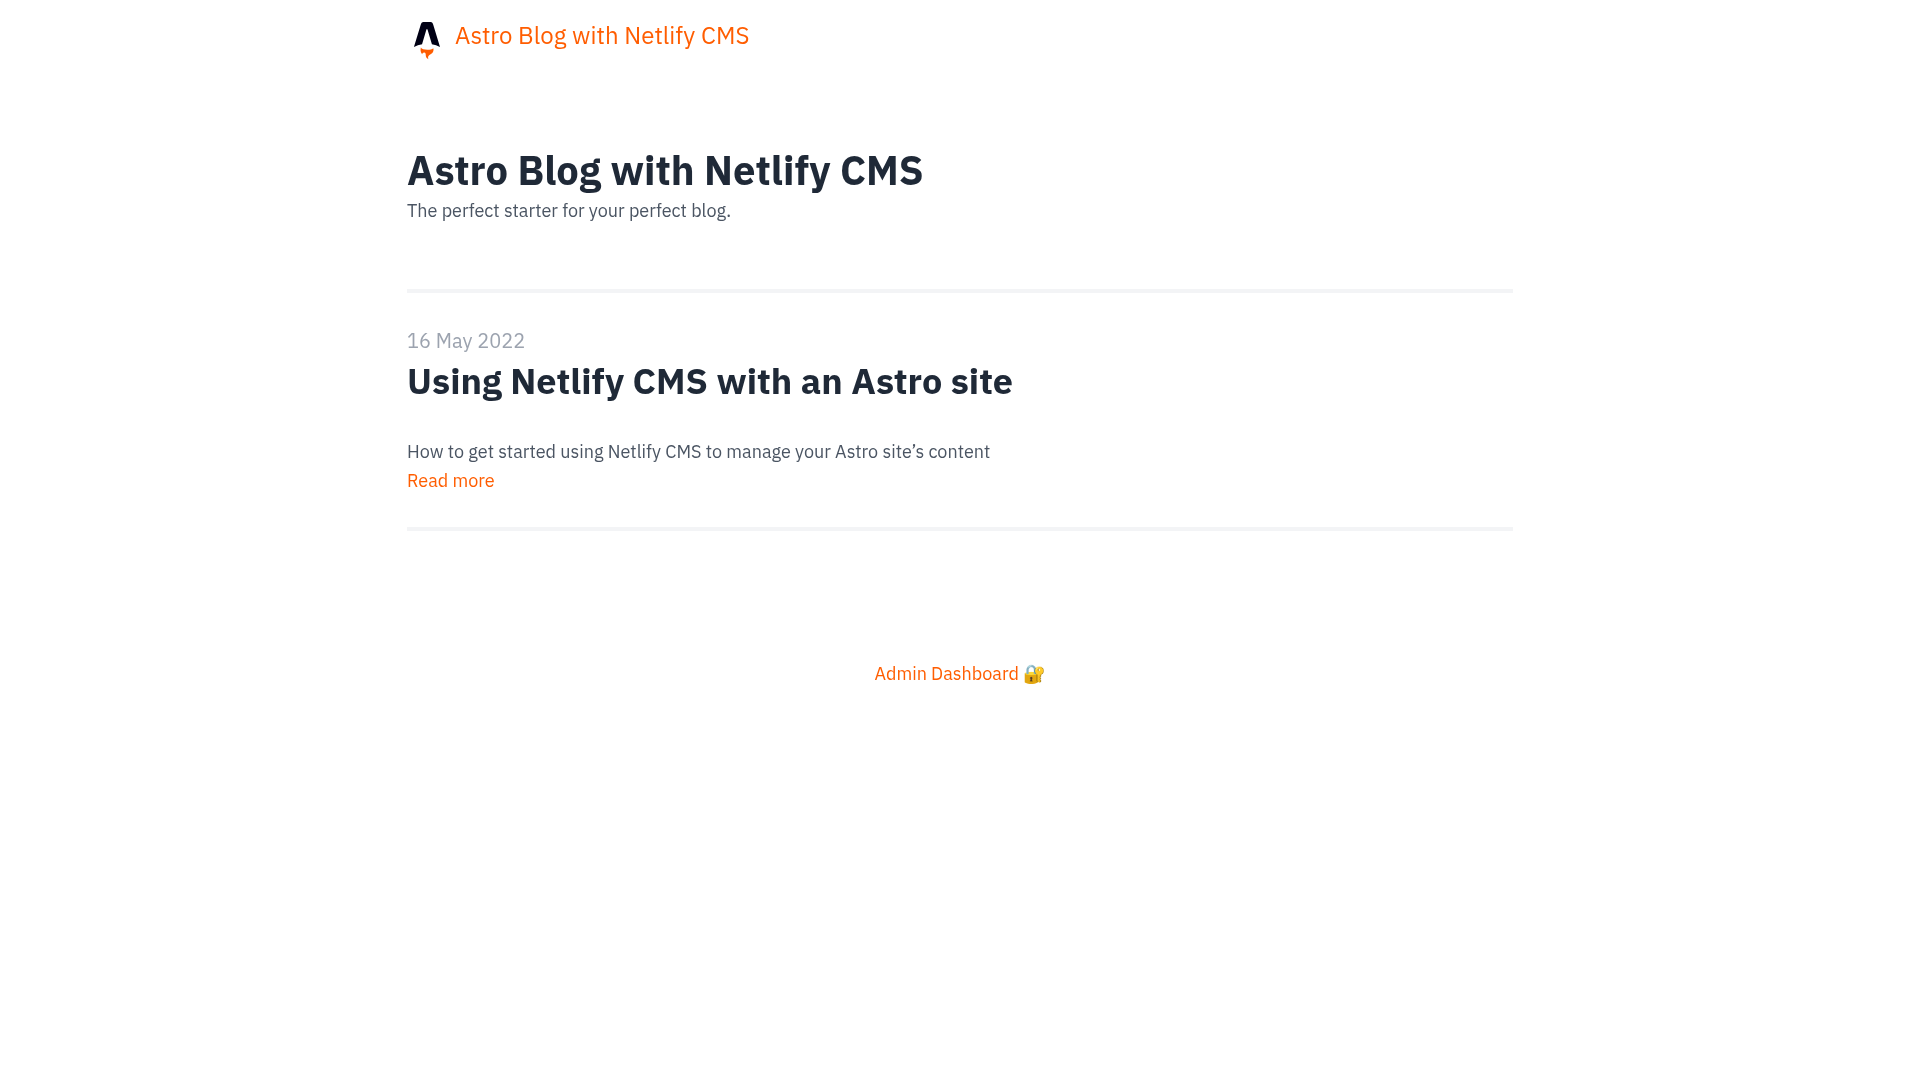
Blog Starter Template for Astro & Netlify CMS
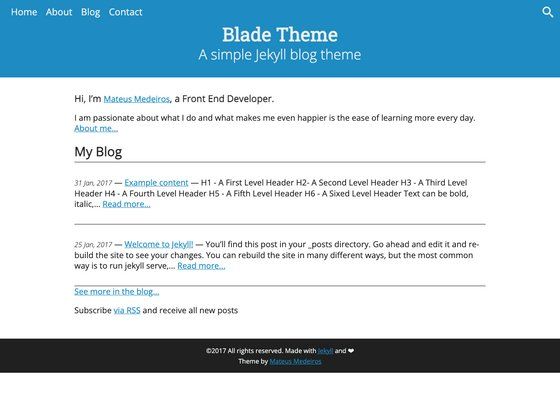
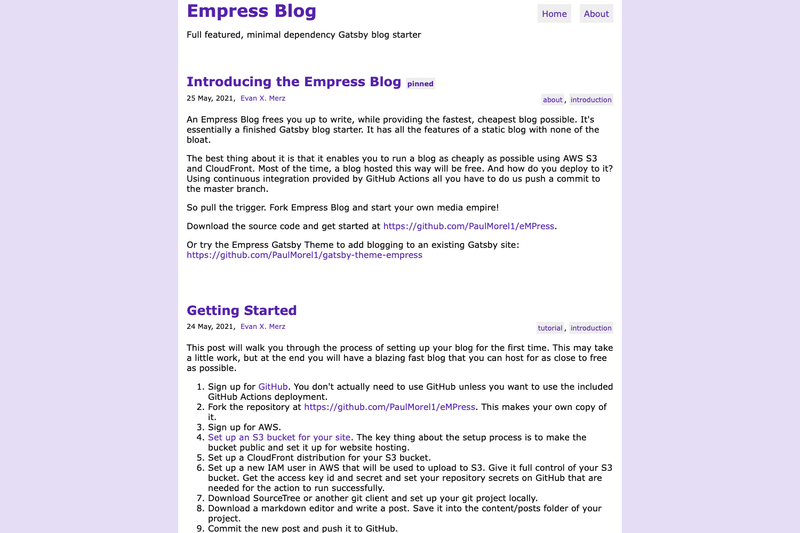
A simple Jekyll blog theme with responsive layout, SASS, syntax highlighting, pagination, search, Disqus comments, and SEO tags.
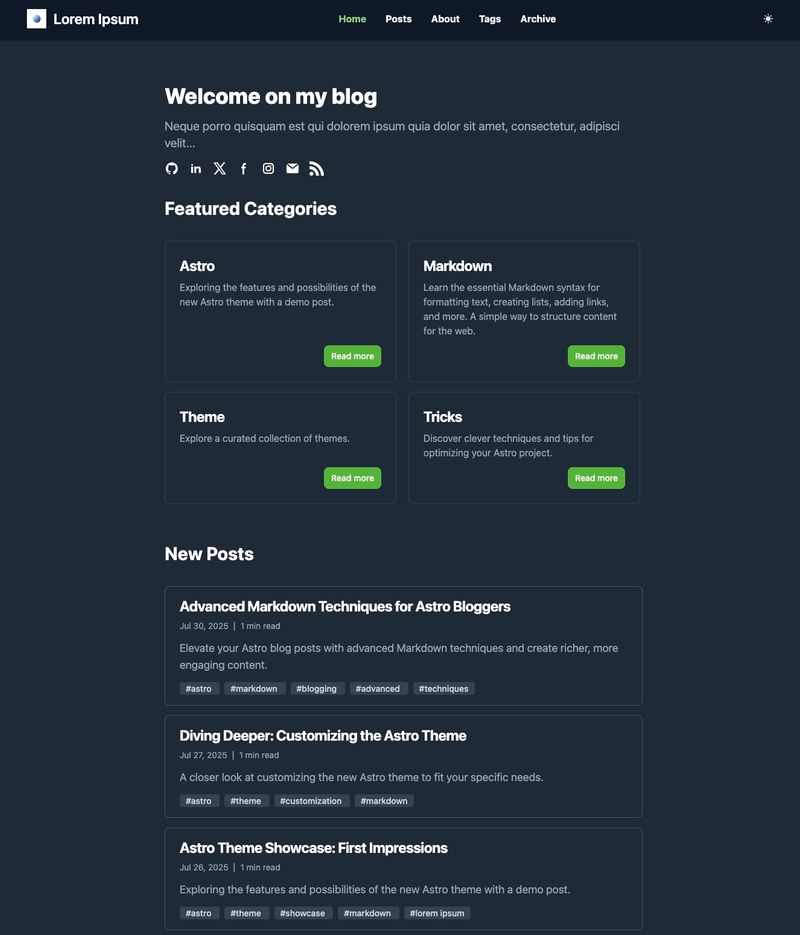
Astro blog theme with Flowbite/Tailwind styling, SEO, RSS, Markdown/MDX, and GitHub Pages deployment.
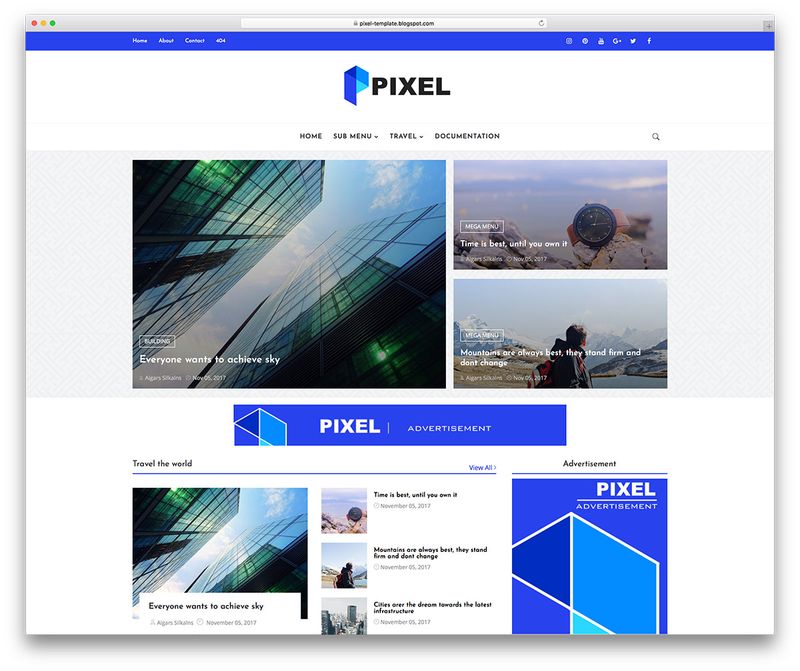
Free news & magazine Blogger template with mega menu, featured post grid, tabbed sidebar and AdSense slots. Zero jQuery, SEO-optimized, vanilla JS. By Colorlib.
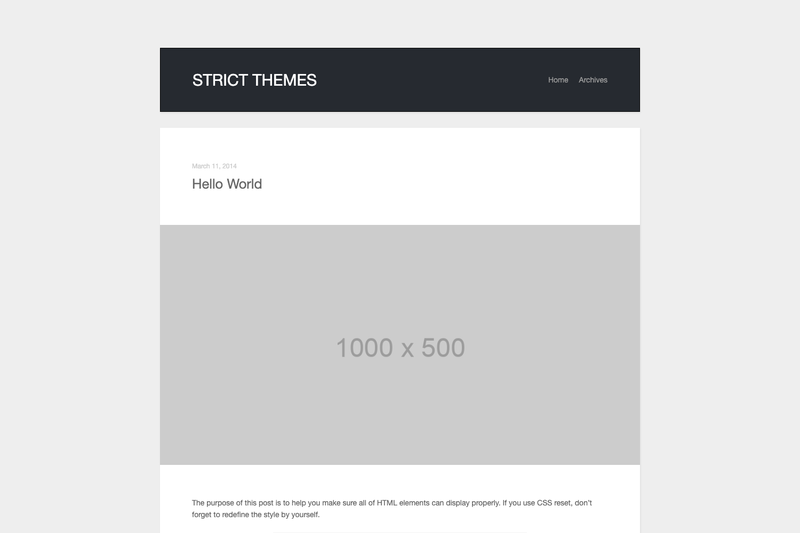
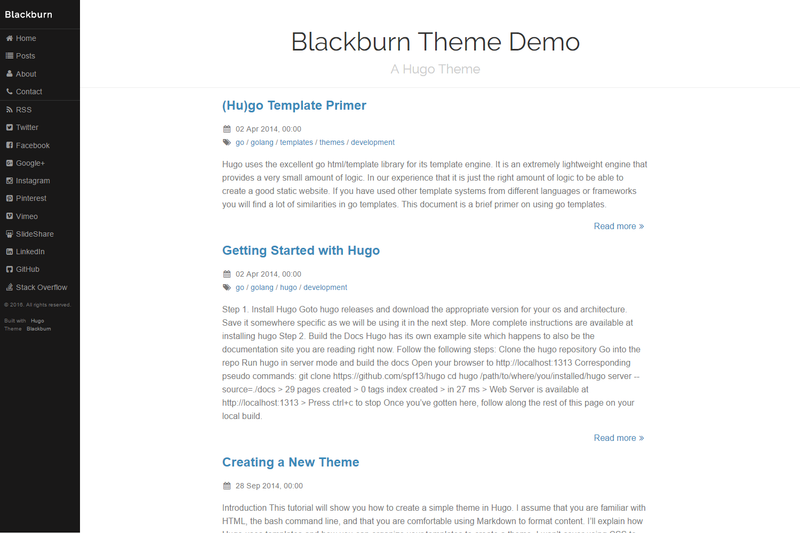
A clean, minimal and responsive theme for Hexo, the static site generator.
Astro Blog Starter with Netlify CMS is a blog template that pairs the Astro static site generator with Netlify CMS, giving you a git-backed content editing interface out of the box. This starter extends the basic Astro blog starter kit with the Astro Netlify CMS integration, so you get a complete blog site plus an admin panel for publishing.
This template is a pre-configured blog project built on Astro and Netlify CMS. It takes the standard Astro blog starter as its base and adds the Astro Netlify CMS integration, which registers an admin interface for content management. The output is a static blog site generated into a dist directory when you run pnpm run build, and the same project includes Netlify CMS configuration for editing posts from a web browser. The template was created by delucis, the author of the Astro Netlify CMS integration.
/admin path where editors can create and modify posts without touching code.pnpm run dev starts the local development server alongside a Netlify CMS proxy server, so you can preview the site and the admin interface together.pnpm run build generates a complete static site in ./dist/, and pnpm run preview serves that build while also running the CMS proxy.netlify.toml./admin page on your deployed site to write, edit, and publish blog posts, with changes saved as commits in your repository.pnpm run dev to start both the site and the CMS proxy, letting you test content changes on your machine before deploying.The quick deploy flow copies the repository to a GitHub or GitLab account and wires up continuous deployment on Netlify. After the first deploy, you must go into the Netlify dashboard to activate Netlify Identity and enable Git Gateway, which lets people sign in with email and password. Once that’s done, content editors can log into the admin UI, and their changes are committed through Git Gateway back to the repo, triggering Netlify to rebuild the static site.
After the deploy button copies the project and sets up continuous deployment, activate Netlify Identity in the Netlify UI and enable Git Gateway. Then run pnpm install and pnpm run dev locally to start developing, or open the /admin page on your deployed site to manage content.
Yes. The README lists commands using pnpm, but you can switch to npm or yarn. If you do, update the build and dev command configuration in netlify.toml so Netlify runs the correct package manager commands.
Running pnpm run build produces a static site in the ./dist/ folder. You can preview this output locally with pnpm run preview, which also starts the Netlify CMS proxy server so you can test the admin interface against the built site.
Yes. The template is designed to use Netlify Identity for authentication in Netlify CMS. You need to activate Netlify Identity and enable Git Gateway in the Netlify UI; without these steps, email/password login for the admin panel won’t function.