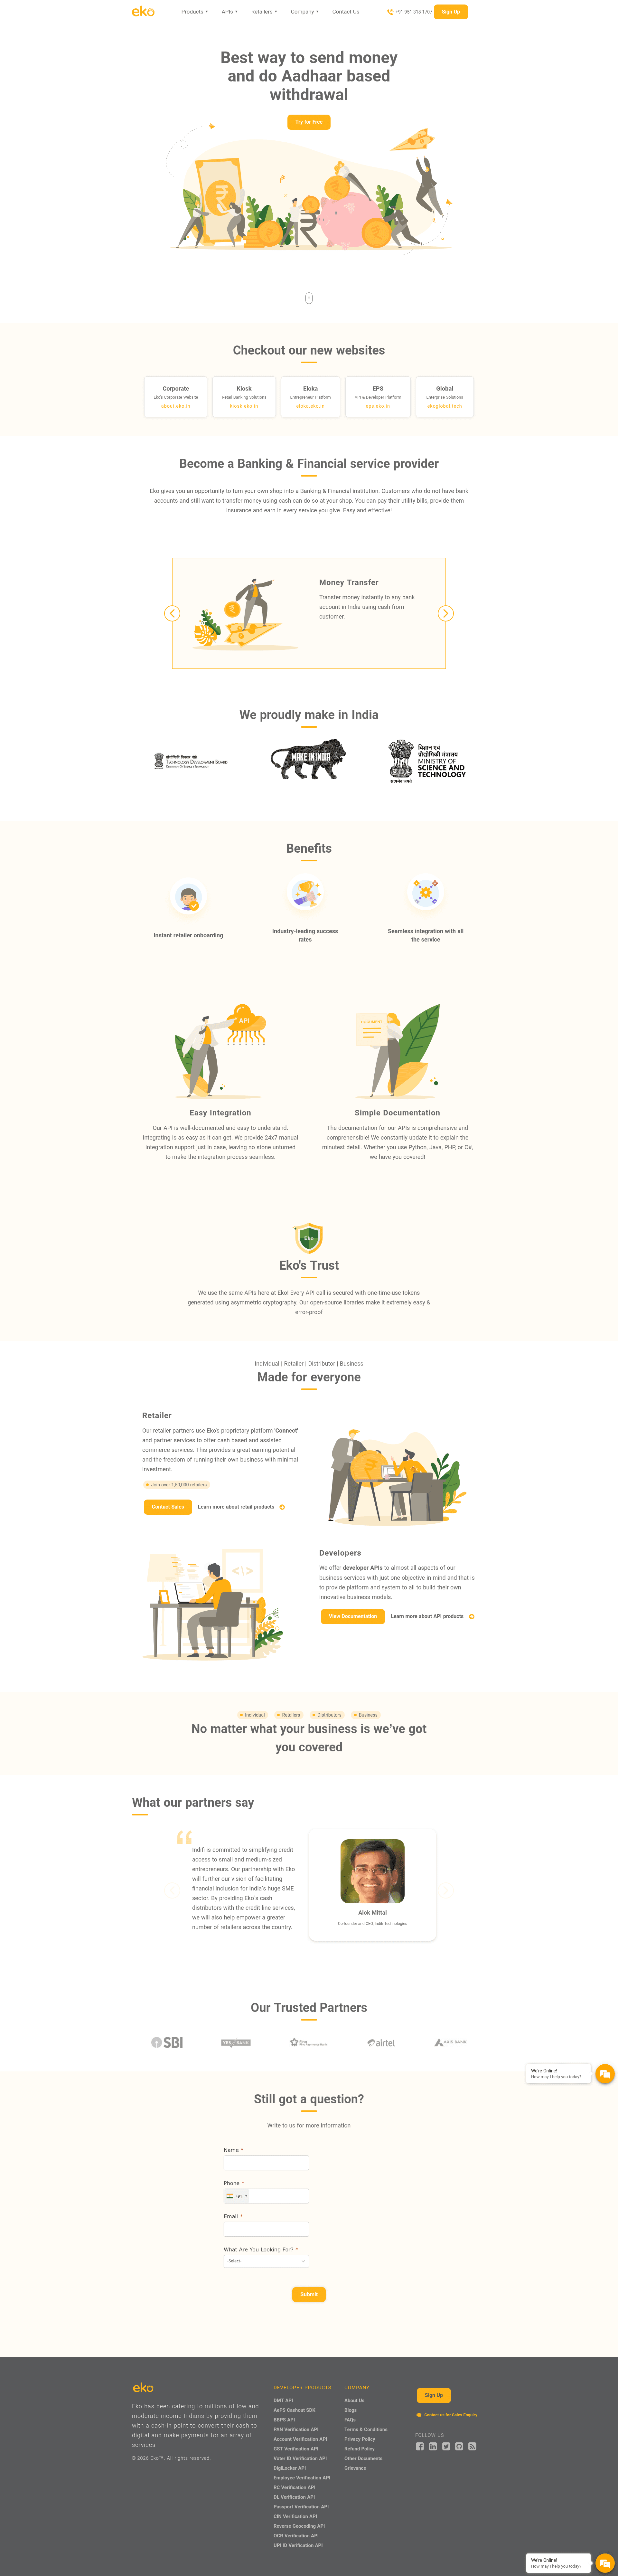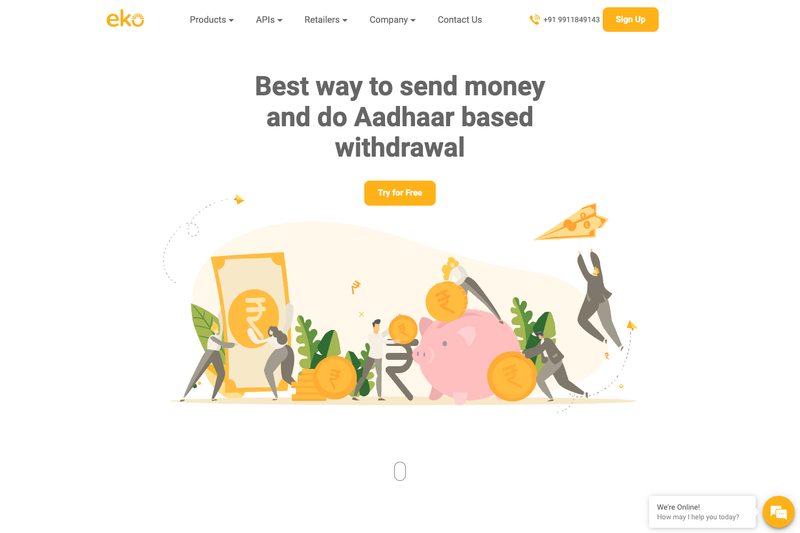
Eko Website & Blog is an open-source Eleventy (11ty) Jamstack starter that powers Eko's official site, combining a Markdown blog with config-driven retail and API product pages and Netlify CMS for content editing.
What is Eko Website & Blog?
Eko Website & Blog is an open-source Jamstack template built with Eleventy, the static site generator, and maintained by Eko India. It takes YAML configuration files and Markdown content as inputs, and produces a fully static HTML website with a blog, retail product pages, API product pages, a university video section, and a footer configurable via YAML. The repository includes a Netlify status badge, indicating that the site is designed for deployment on Netlify.
Key Features
- Eleventy build system — Uses Eleventy with internal plugins for minification and bundling of CSS and JavaScript files.
- Netlify CMS integration — Content editors can manage blog posts and site configuration through an admin panel available locally at
/adminwhen runningnpm run local-admin. - Config-driven product pages — Retail and API product pages are generated automatically from
products.yamlanddevelopers.yaml; each new entry is added to the navigation menu without coding. - Reusable components —
src/_includescontains full-width section components, navigation, footer, a paginated blog list, and a visitor sign-up form, all composed at build time. - Multiple page layouts —
src/_layoutsprovides templates for base pages, product pages, developer pages, blog posts, normal pages, and the Eko University video listing. - Markdown-first blogging — Blog posts are typically Markdown files with front matter; an
<!-- excerpt -->comment marks the first paragraph as the post description. - Custom shortcodes and filters —
utils/shortcodes.jsandutils/filters.jsadd reusable markup snippets and data-manipulation helpers, including a YouTube embed shortcode. - Flexible custom pages — Custom pages can be added as Nunjucks, HTML, Liquid, or JavaScript files in
src/, with URLs derived from the file name and subdirectories.
Who is it for?
- Corporate website teams — Teams needing a lightweight Jamstack site with separate retail and developer-facing product sections.
- Content editors — Editors who want to add blog posts and update product pages through Netlify CMS without touching code.
- Eleventy developers — Developers seeking a structured Eleventy project with reusable includes, data files, and custom utilities to adapt for their own projects.
What can you do with Eko Website & Blog?
- Product marketers — Add or edit retail products by modifying
products.yaml; new pages are created automatically and added to the navigation. - Developer relations teams — Maintain API product pages via
developers.yaml, using the same config-driven flow. - Content teams — Publish blog posts in Markdown with front matter, embed YouTube videos using the built-in shortcode, and manage everything through the Netlify CMS admin.
How does Eko Website & Blog work?
The site builds with Eleventy by merging data from src/_data YAML files (website, products, developers, footer, environment) with layouts and includes from src/_layouts and src/_includes. During development, npm start serves the site at localhost:8080; npm run build produces the production static output. Redirections for old links are handled through a src/_redirects file.
FAQ
How do I add a new blog post?
Add a new file in src/blog/; the file name becomes the URL. Write the post in Markdown and include front matter with title, description, and other metadata. Use the youtube shortcode with a video ID to embed YouTube videos.
How do I add a retail or API product page?
Open products.yaml or developers.yaml, copy an existing product entry, and change its values. The new page is generated and added to the navigation menu automatically.
How do I add a custom page?
Add a new file in src/ or a subdirectory. Use Markdown, Nunjucks, HTML, Liquid, or JavaScript. For full customization, create a Nunjucks file and add it to the navigation in src/_includes/navigation.njk.
How do I set up the project locally?
Install node/npm and git, clone the repository, run npm install, copy .env.example to .env, and run npm start to serve the site at localhost:8080. To open the admin panel, run npm run local-admin.
How do I add environment variables?
Edit src/_data/env.js to add the variable name, then access it anywhere in templates using env.VARIABLE_NAME.